Введение
Before proceeding with the replacement guide, make sure the headphones are unplugged from any device.
Выберете то, что вам нужно
-
-
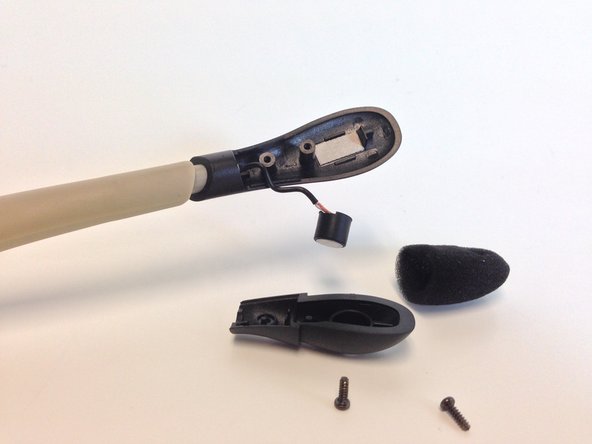
Remove star head screw from above base of the microphone with T6 Torx Screwdriver.
-
To prevent stripping, use an appropriate bit and ensure screwdriver is oriented perpendicular to the face of the screw.
-
-
-
To expose the next screw, peel foam cover from the base toward the end of microphone.
-
Remove screw with screwdriver and place in a safe location.
-
-
-
-
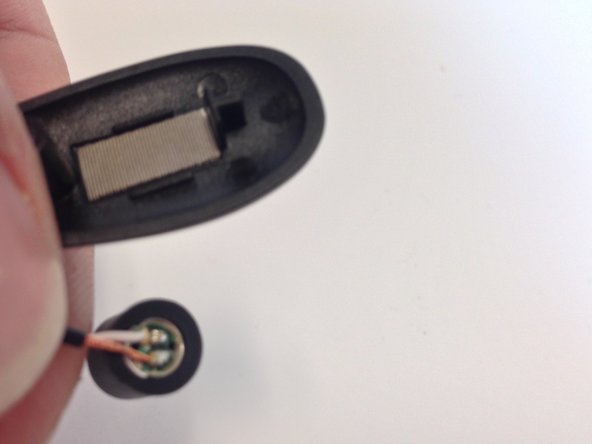
With Screws removed, remove the microphone from foam and plastic cover to be inspected.
-
If the microphone is corroded or wires are frayed, it must be replaced.
-
-
-
Clip both wires to remove defective microphone.
-
Be sure to clip as close to the base of the microphone as possible in order to have enough wire for the new microphone.
-
Align wires with corresponding pads on new microphone and solder in place.
-
For soldering, see the Ifixit soldering guide: How To Solder and Desolder Connections
-


To reassemble your device, follow these instructions in reverse order.
To reassemble your device, follow these instructions in reverse order.
Отменить: Я не выполнил это руководство.
Еще один человек закончил это руководство.
Команда

Michigan Tech, Team 5-1, Lauer Spring 2014 Участник Michigan Tech, Team 5-1, Lauer Spring 2014
MTU-LAUER-S14S5G1
2 членов
Автор 3 руководств