Введение
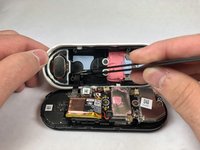
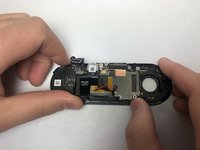
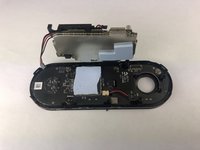
If your Nest Hello is not delivering clear audio, then the microphone may need to be replaced. Before following these step make sure that the microphone is not blocked by debris and doublecheck your settings in the Nest App. To reach the microphone on this device, you will need the iFixit, opening picks, Phillips #000 screwdriver, and tweezers. The Microphone on this device is integrated into the plastic housing beneath the face plate, so replacement of that complete piece is required. During disassembly it is also easy to damage the waterproofing O-Ring, so plan on replacing that as well.
Выберете то, что вам нужно
-
-
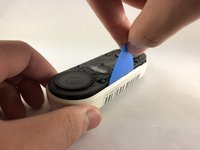
Insert the pick between the black faceplate and white casing of the Nest Hello.
-
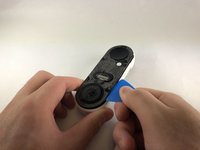
Pry the faceplate away from the device with the opening pick.
-
Completely remove the faceplate from the device, do not be afraid to pull hard.
-
-
-
Peel back the cover stickers and use the Phillips #000 screwdriver to remove the four screws.
-
-
-
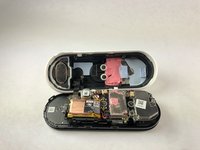
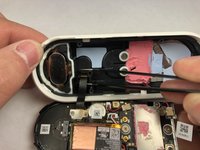
Insert opening pick between the white casing and the black internal circuitry and pry it out.
-
-
-
Use the Phillips #000 to remove the two screws holding the ribbon cable to the white casing.
-
-
-
Инструмент, используемый на этом этапе:Tweezers$4.99
-
Grip the connector with the tweezers as shown and pull it away from the casing.
-
-
-
Remove the six smaller screws shown with the Phillips #000 screwdriver.
-
Remove the three larger screws shown with the Phillips #000 screwdriver.
-
-
-
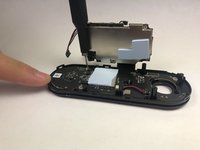
Holding the device as shown push the circuit board away from you and up to free it from the clips.
-
-
-
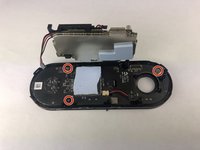
Use the Phillips #000 screwdriver to remove the three screws holding the last circuit board to the black plastic housing.
-
-
-
Insert the pick underneath the black connectors and pry them upward to disconnect them from the circuit board.
-
Work your way around the device, prying the circuit board away from the housing.
-
To reassemble your device, follow these instructions in reverse order.
Отменить: Я не выполнил это руководство.
Еще один человек закончил это руководство.
1 Комментарий к руководству
Where did you get the microphone replacement part?


