Перейти к основному содержанию

Nexus One Camera Replacement

Выберете то, что вам нужно

  1. Nexus One Camera Replacement, Rear Cover: шаг 1, изображение 1 из 2 Nexus One Camera Replacement, Rear Cover: шаг 1, изображение 2 из 2
    • Using two fingers, push up on the rear cover.

  2. Nexus One Camera Replacement: шаг 2, изображение 1 из 1
    • The rear cover slides up and off.

  3. Nexus One Camera Replacement, Battery: шаг 3, изображение 1 из 1
    • Using the plastic opening tools, pry the left bottom corner of the battery up.

  4. Nexus One Camera Replacement: шаг 4, изображение 1 из 1
    • Pull the battery up and out.

  5. Nexus One Camera Replacement, Battery Housing: шаг 5, изображение 1 из 1
    • Remove the two Torx T5 screws.

    • Remove the one Philips #00 screw.

  6. Nexus One Camera Replacement: шаг 6, изображение 1 из 2 Nexus One Camera Replacement: шаг 6, изображение 2 из 2
    • Using the plastic opening tool, pry up the battery housing upwards.

    • Push pry tool down, undoing the plastic tab.

  7. Nexus One Camera Replacement: шаг 7, изображение 1 из 2 Nexus One Camera Replacement: шаг 7, изображение 2 из 2
    • Pry the upper left tab open on the battery housing.

  8. Nexus One Camera Replacement: шаг 8, изображение 1 из 2 Nexus One Camera Replacement: шаг 8, изображение 2 из 2
    • Pry the top tab of the battery housing.

  9. Nexus One Camera Replacement: шаг 9, изображение 1 из 2 Nexus One Camera Replacement: шаг 9, изображение 2 из 2
    • Pry the right side tab of the battery housing.

  10. Nexus One Camera Replacement: шаг 10, изображение 1 из 2 Nexus One Camera Replacement: шаг 10, изображение 2 из 2
    • Pull up on the battery housing.

    • Slide the battery housing out to remove it.

  11. Nexus One Camera Replacement, Camera: шаг 11, изображение 1 из 3 Nexus One Camera Replacement, Camera: шаг 11, изображение 2 из 3 Nexus One Camera Replacement, Camera: шаг 11, изображение 3 из 3
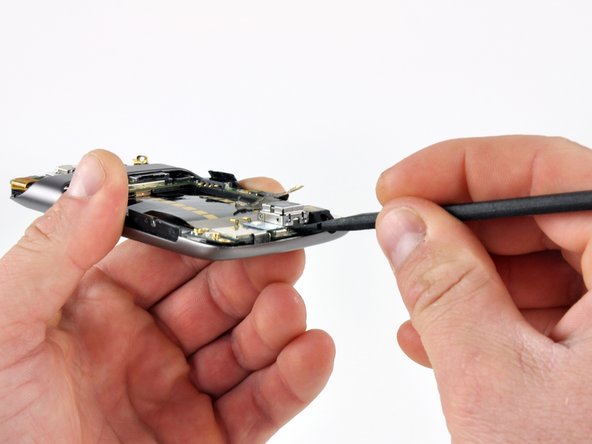
    • Place the spudger under the metal cover and pry upwards. (shoot bottom side first with tabbed clip)

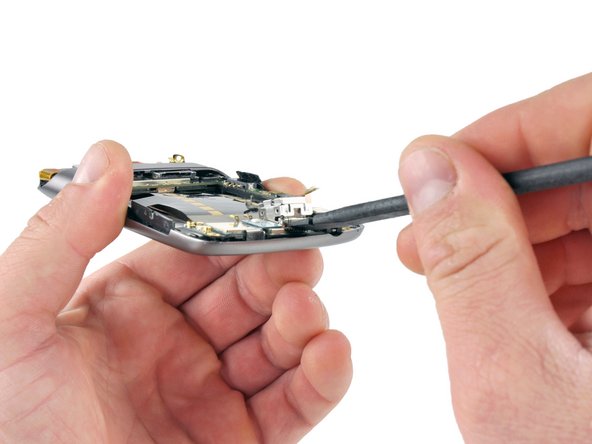
    • Swap the spudger to the other side of the cover base. Pry upwards. (fix?)

    • Grasp the camera module and pull up.

Заключение

To reassemble your device, follow these instructions in reverse order.

Еще один человек закончил это руководство.

Niklas Johnson

Участник с: 01/31/12

1 207 Репутация

Автор 18 руководств

0 Комментариев

Добавить комментарий

Просмотр статистики:

За последние 24часов: 0

За последние 7 дней: 0

За последние 30 дней: 0

За всё время: 3,498