Введение
This installation guide will help you remove and replace the flash assembly for the Nikon Coolpix 4600 camera. The lens assembly is very intricate and complicated, disassembly of the actual lens assembly should only be attempted by a professional. This guide will demonstrate how to remove and replace the assembly as a whole unit.
Выберете то, что вам нужно
-
-
Locate the six screws on the outside of the camera (2 3.3 mm on the bottom, 2 5.25 mm on the left, and 2 5.25 mm on the right).
-
Using a Phillips 00 screwdriver, remove all of the six screws.
-
-
-
Look closely at the connection between the ribbon cable and the motherboard. Locate the two grey tabs on either side of the connecting bracket.
-
Slide the grey tabs toward the bottom of camera. Gently disconnect the ribbon cable from the motherboard.
-
After disconnecting the data ribbon, you can now separate the back case from the front case.
-
-
-
Locate and remove the four 4.25 mm screws on the motherboard using a Phillips 00 screw driver.
-
-
-
Remove the ribbon cable on the top right of the motherboard. To remove the cable, slide the two grey tabs, located on both sides, towards the top of the camera and gently pull the cable out.
-
-
-
-
Turning the camera to the left and tilting it up, look at the left end of the motherboard to locate the grey bracket.
-
Twist the grey bracket counter clockwise to remove it from the silver LCD bracket.
-
-
-
Using a Phillips 00 screwdriver, remove the 4.25 mm screw on bottom left edge of the LCD bracket.
-
Lift off the LCD bracket and slip the grey bracket through the LCD bracket. The LCD bracket should now be completely removed.
-
-
-
Desolder the wire (both black and red) from the motherboard.
-
Remove the orange ribbon cable. This is done by sliding each side of the lock bar toward the center of the camera. Gently pull on the ribbon cable to remove.
-
-
-
Gently peel back the black tape on the bottom, middle of the motherboard. Underneath you will find a screw.
-
Remove the 4.25 mm screw with a Phillips 00 screwdriver.
-
-
-
Gently pull the motherboard away from the lens.
-
Flip the camera over.
-
Connecting the motherboard to the front case are seven wires.
-
Desolder the seven wires.
-
-
-
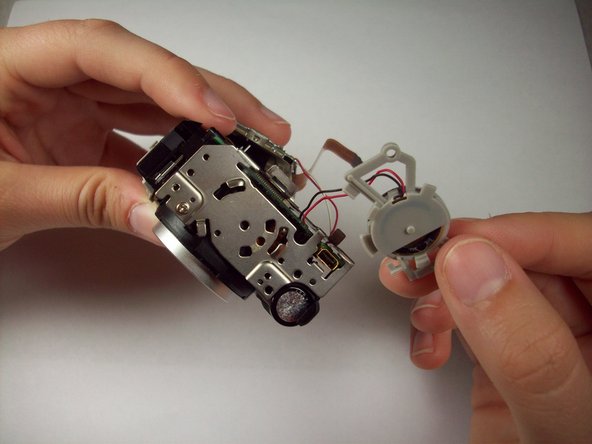
The flash and lens assembly should now be separate from the motherboard.
-
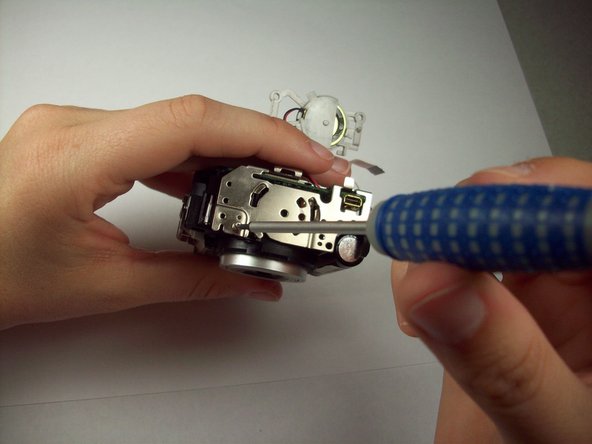
Locate the capacitor. It is the component that looks similar in size and shape to a AAA battery.
-
With the lens upright and facing you, gently lift the capacitor up and to the left to remove main flash assembly.
-
-
-
Locate the 4.8 mm screw above the middle of lens on the front side and remove it.
-
The flash bulb can now be lifted off the lens assembly.
-
-
-
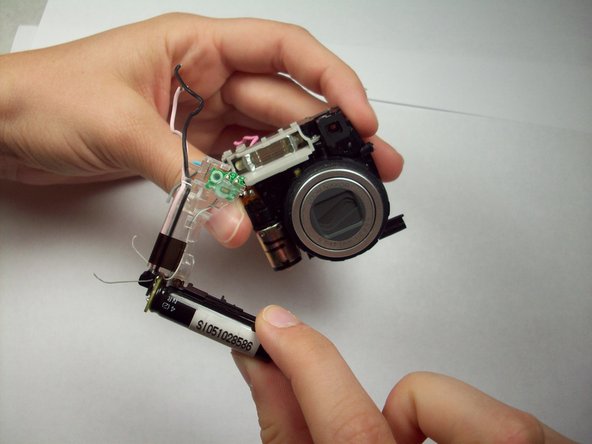
The lens assembly is now separated from all other components.
-
Follow the steps in reverse order to re-install new lens.
-


To reassemble your device, follow these instructions in reverse order.
To reassemble your device, follow these instructions in reverse order.
Команда

Cal Poly, Team 9-43, Regan Spring 2012 Участник Cal Poly, Team 9-43, Regan Spring 2012
CPSU-REGAN-S12S9G43
5 членов
Автор 12 руководств