Этот документ имеет более свежие изменения. Перейти к последней непроверенной версии.
Введение
Do you think your motherboard is fried? This guide can help you walk through the removal of this motherboard for the Nikon Coolpix 775.
Выберете то, что вам нужно
-
-
Unscrew the eight 4mm long JIS #00 screws from the bottom, right side, and the left side.
-
-
-
-
Grab the camera with both your hand from the front and the back.
-
Pull the two parts apart.
-
-
-
Flip the camera back so you can see the top.
-
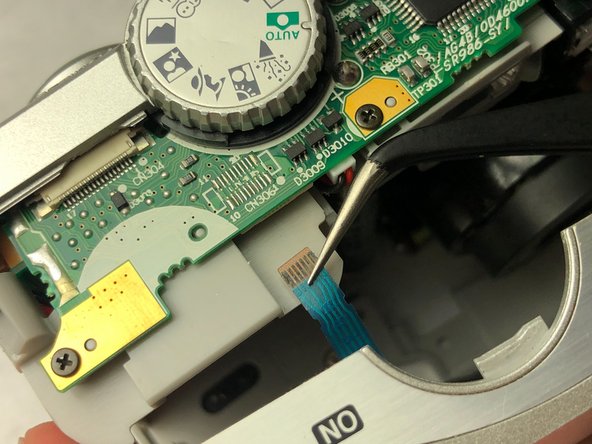
Pull the ribbon cable out of the socket connecting to the motherboard by using your hands or tweezers.
-
-
-
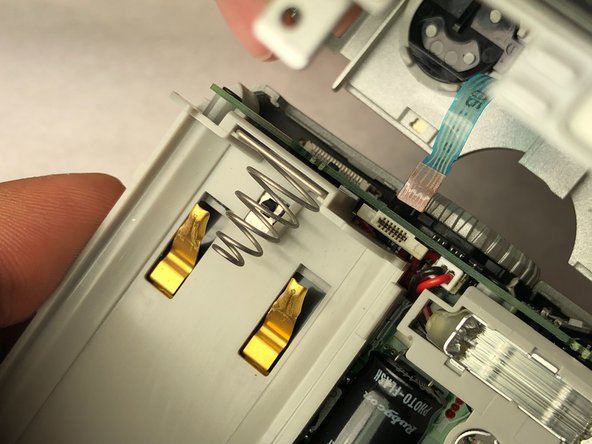
Look back to the top of the camera.
-
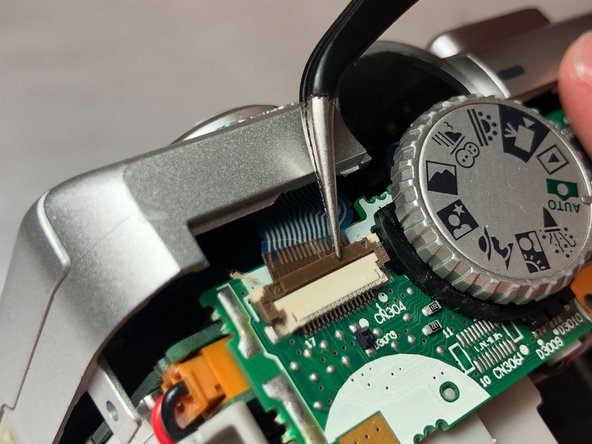
Flip up the tab that is exposed right by the dial using tweezers.
-
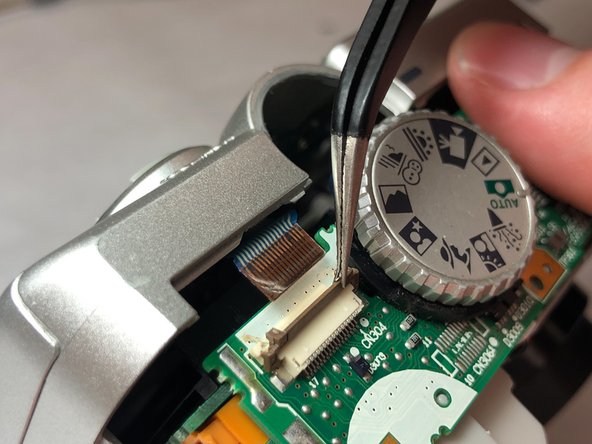
Release the ribbon to be able to separate the top part of the back of the camera.
-
-
-
Look at the top side of the camera.
-
Unscrew the two 4mm Phillips #00 screws.
-
Unscrew the 2mm JIS #00 screw as well.
-
-
-
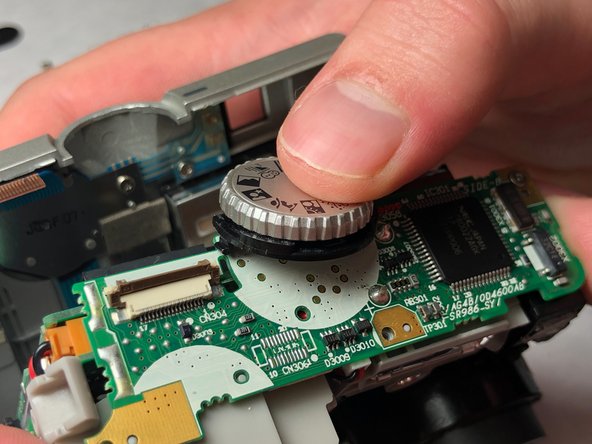
Push or slide the the top dial toward the backside of the camera to unclip from the motherboard.
-
-
-
Pull the red and black wire out of the socket on the motherboard.
-
Pull motherboard up out of camera.
-


To reassemble your device, follow these instructions in reverse order.
To reassemble your device, follow these instructions in reverse order.
Команда

IUPUI, Team S2-G3, Baechle Fall 2018 Участник IUPUI, Team S2-G3, Baechle Fall 2018
IUPUI-BAECHLE-F18S2G3
3 членов
Автор 6 руководств