Перейти к основному содержанию

Nikon Coolpix S7000 Navigation Button Replacement

Выберете то, что вам нужно

  1. Nikon Coolpix S7000 Navigation Button Replacement, Navigation Buttons: шаг 1, изображение 1 из 1
    • Turn the camera so the bottom side is facing you. Locate the two 40 mm, Phillips head screws on it.

    • Using a Philips #J000 Screwdriver, carefully remove each screw.

  2. Nikon Coolpix S7000 Navigation Button Replacement: шаг 2, изображение 1 из 1
    • Turn the camera to its right side.

    • Locate the lone 40 mm, Phillips head screw and remove it.

  3. Nikon Coolpix S7000 Navigation Button Replacement: шаг 3, изображение 1 из 1
    • Turn the camera so that the left side is facing you.

    • Locate and remove the two 40 mm, Phillips head screws.

  4. Nikon Coolpix S7000 Navigation Button Replacement: шаг 4, изображение 1 из 1
    • Carefully remove the back frame of the camera.

  5. Nikon Coolpix S7000 Navigation Button Replacement: шаг 5, изображение 1 из 1
    • Locate the two 20 mm, Phillips head screws on the keypad.

    • Remove the screws while making sure the keypad doesn't fall off afterwards.

  6. Nikon Coolpix S7000 Navigation Button Replacement: шаг 6, изображение 1 из 2 Nikon Coolpix S7000 Navigation Button Replacement: шаг 6, изображение 2 из 2
    • Using only your fingers, gently flip the keypad away from the camera.

    • Take care with the ribbon connecting the keypad and the camera. Do not tug on it, crease it, or otherwise damage the ribbon.

  7. Nikon Coolpix S7000 Navigation Button Replacement: шаг 7, изображение 1 из 1
    • Carefully flip the LCD display in the same direction as the keypad.

    • Take care not to damage the ribbon connecting the display to the camera.

  8. Nikon Coolpix S7000 Navigation Button Replacement: шаг 8, изображение 1 из 2 Nikon Coolpix S7000 Navigation Button Replacement: шаг 8, изображение 2 из 2
    • Locate the 30 mm, Phillips head screw in the upper-left corner of the midplate and remove it.

    • There are two 30 mm, Phillips head screws on the bottom side of the midframe. Locate and unscrew them.

    • There are two more 30 mm, Phillips head screws hidden on the right side of the midframe. Locate them and carefully remove them.

    • The ribbons are in close proximity to the hidden screws. Be careful not to nudge them in any way.

    • Once all the screws have been removed, gently lift the midframe to reveal the circuit.

  9. Nikon Coolpix S7000 Navigation Button Replacement: шаг 9, изображение 1 из 3 Nikon Coolpix S7000 Navigation Button Replacement: шаг 9, изображение 2 из 3 Nikon Coolpix S7000 Navigation Button Replacement: шаг 9, изображение 3 из 3
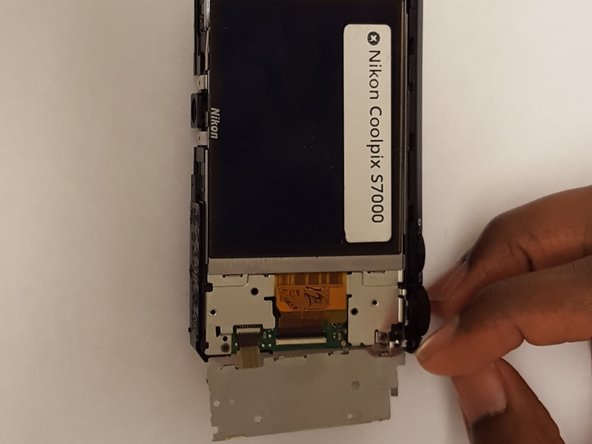
    • If you haven't already, with your fingernails, gently flip the tabs connecting to the button pad's ribbon.

    • Do not use metal objects for this. Fingernails will suffice. Slide the fingernail under the tab to lift it. You may need to lift it all the way in order to lift the tab.

  10. Nikon Coolpix S7000 Navigation Button Replacement: шаг 10, изображение 1 из 1
    • Lift the ZIF connector to release the ribbon cable.

    • Do not force out the ribbon, or else it will break.

    • The ribbon may bend a little due to its flexibility, but under no circumstances should you crease it.

Заключение

To reassemble your device, follow these instructions in reverse order.

Еще один человек закончил это руководство.

Shannon Beane

Участник с: 01/10/17

324 Репутация

Автор 2 руководств

Команда

USF Tampa, Team S2-G3, Lacy Spring 2017 Участник USF Tampa, Team S2-G3, Lacy Spring 2017

USFT-LACY-S17S2G3

4 членов

Автор 10 руководств

Один комментарий

Didn't show navigation button replacement? I believe two of the screws (I forget which) from Steps 1-3 are different lengths.

Steve Brown - Ответить

Добавить комментарий

Просмотр статистики:

За последние 24часов: 0

За последние 7 дней: 1

За последние 30 дней: 6

За всё время: 787