Введение
The rear panel protects the motherboard and other components inside the camera and houses controls like buttons and dials. This guide will teach you how to remove and replace the rear panel of your Nikon D5100.
Выберете то, что вам нужно
-
-
Remove the five screws around the camera using a Phillips #00 screwdriver.
-
-
-
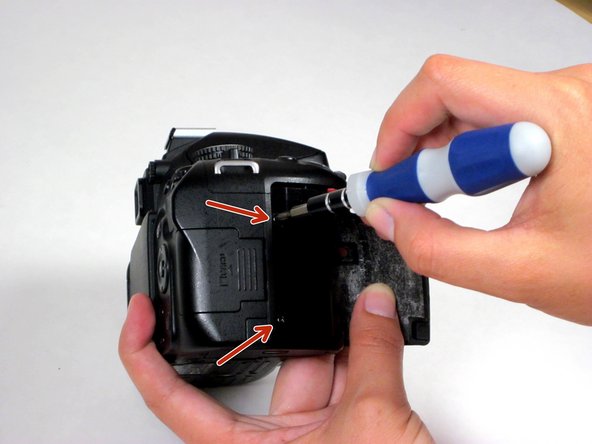
Use your fingernail to gently peel back the black rubber thumb grip, attached to the chassis with a strong adhesive.
-
Use the Phillips #00 to remove the screw underneath the black rubber grip.
-
-
-
Carefully peel back the black rubber hand grip, which is attached to the chassis with a strong adhesive.
-
Use the Phillips #00 to remove two screws beneath the handgrip.
-
-
-
-
Using a spudger, pry off the diopter adjustment dial cover and remove the screw underneath.
-
Next, using a Phillips #00 screwdriver, remove the three Phillips screws around the viewfinder.
-
-
-
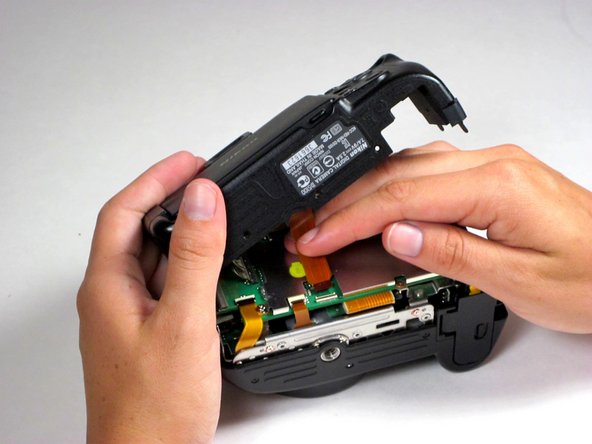
Remove the dark orange ribbon cable attaching the rear panel to the motherboard by flipping the black plastic clasp up, away from the motherboard, and pull the cable out of its white casing in the direction of the cable.
-
-
-
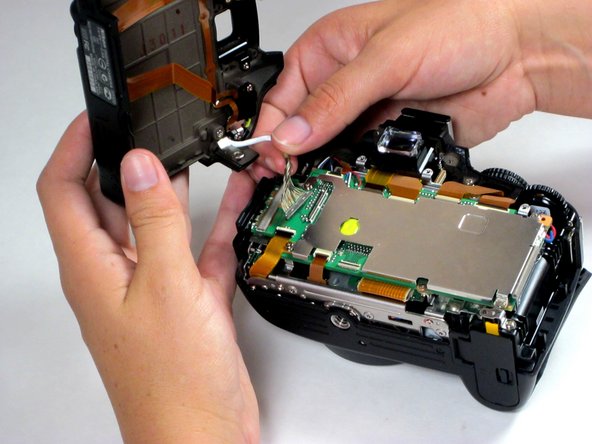
Remove the silver 16-pin cable by pulling gently upwards, away from the inside of the camera, until it separates from its port.
-
At this point, the rear panel is fully separated from the main body of the camera.
-


To reassemble your device, follow these instructions in reverse order.
To reassemble your device, follow these instructions in reverse order.
Отменить: Я не выполнил это руководство.
7 участников успешно повторили данное руководство.
Команда

Cal Poly, Team 10-54, Amido Spring 2014 Участник Cal Poly, Team 10-54, Amido Spring 2014
CPSU-AMIDO-S14S10G54
4 членов
Автор 5 руководств