Введение
This guide will help you replace the shell of the Left Joy-Con on your Nintendo Switch (model HAC-015).
If your Joy-Con shell is cracked or showing discoloration, you may want to replace it. The Joy-Con shell protects its inner components while also giving it an aesthetic appeal. A damaged shell will eventually damage the inner components and can also make it uncomfortable to play.
You can find replacement shells on Amazon, where they are much cheaper than buying them through Nintendo. These come in many different colors and designs.
When following the steps, be sure not to strip any of the screws or remove any components using too much force. Any small damage can cause your Joy-Con to not work after reassembly.
If you would also like to replace the Right Joy-Con shell, there is a helpful guide on iFixit that can walk you through that process.
Выберете то, что вам нужно
-
-
Start by unscrewing the four (4) tri-wing ("Y00")from the back panel.
-
-
-
Insert an opening pick into the seam at the bottom edge of the controller (opposite the L and ZL buttons).
-
Slowly slide the flat edge of your opening pick up the side of the Joy-Con.
-
-
-
With the charging rail facing away from you, open the Joy-Con like a laptop.
-
-
-
Gently pry the battery connector straight up from its socket on the motherboard using a plastic spudger (avoid metal ones to reduce the risk of shorting components). This will keep the Joy-Con from powering on during the repair.
-
-
-
Insert a spudger between the battery and the Joy-Con housing.
-
Gently pry out the battery.
-
-
-
Remove the three (3) 3½mm golden Phillips #00 screws from the midframe.
-
-
-
Carefully flip the midframe over, away from the motherboard, as if you were turning the page of a book.
-
-
-
-
Use tweezers to flip the ZIF connector lock opposite the cable.
-
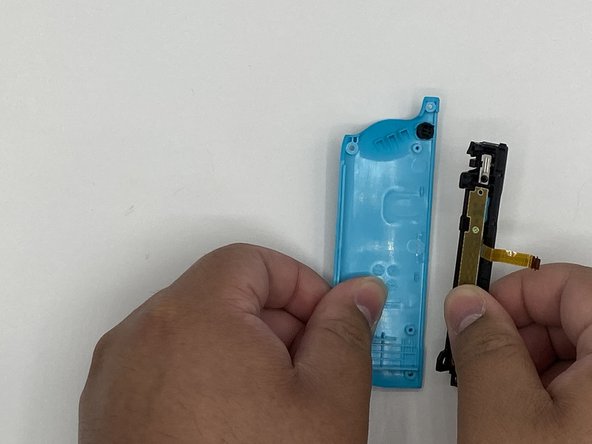
Use tweezers to gently pull the ZL button flex cable out of its ZIF connector socket. The midframe is now disconnected and can be removed.
-
-
-
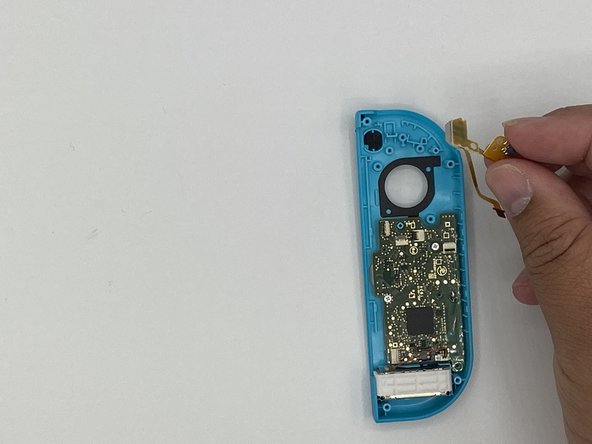
Unlock the rail's top ZIF connector and then disconnect the cable.
-
Unlock the rail's bottom ZIF connector and disconnect the cable. We can now remove the rail from the back frame.
-
Remove the L button and its spring.
Details for removing the ZL trigger are Step 12
-
-
-
Remove the screw holding the rail in place. Remove the rail from the back frame and set it off to the side.
-
-
-
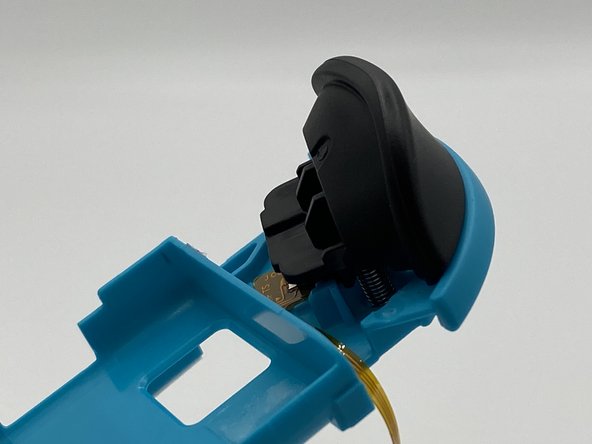
Depress the latch underneath the trigger using tweezers. Gently pry the trigger off.
Ahh nevermind. Figured this one out via brute force. Press and hold near the bottom of the trigger button—to keep the springs from flying away—then use a prying tool (I used a flat pick) to separate the top of the button from the midframe. The trigger button is held in place from behind with two circular indentations near the top of the button. Pry the button straight away from the midframe to release them.
-
-
-
Remove the screw holding the circuit board for the trigger in place.
-
Remove the circuit board.
-
-
-
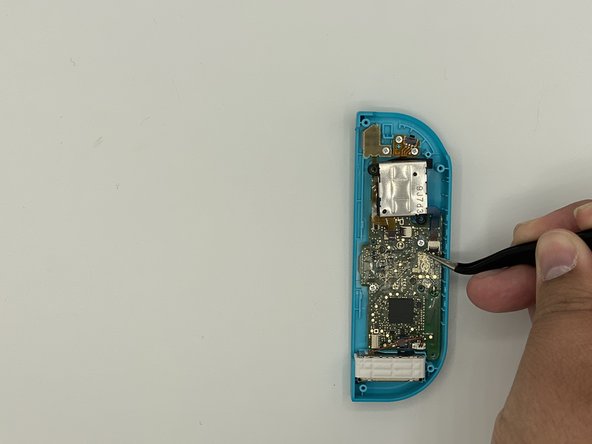
Remove the screws holding the joystick in place.
-
Unlock the ZIF connector and remove the ribbon cable using tweezers.
Unlock the ZIF connector and release the ribbon on the left that is covering a screw before attempting to remove the screws
-
-
-
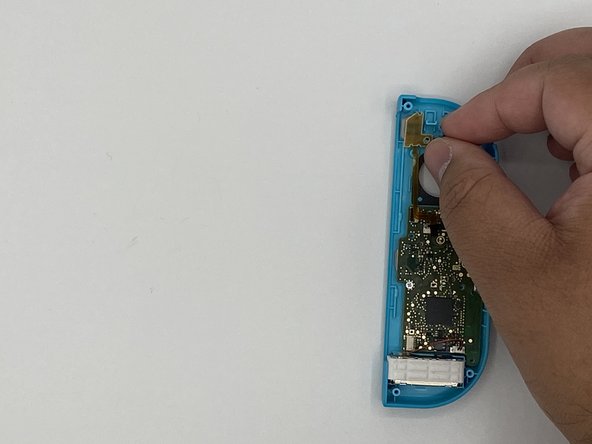
Remove the screws holding the flex circuit (marked by a red circle) for the minus and L buttons.
-
Remove the flex circuit.
-
-
-
Remove the screws holding the motherboard in place.
-
-
-
Using the spudger, gently pry the rumble pack out of its housing.
-
Remove the rumble pack and the motherboard.
-
-
-
Remove the remaining five buttons from the shell.
-


To reassemble your device, follow these instructions in reverse order.
To reassemble your device, follow these instructions in reverse order.
Отменить: Я не выполнил это руководство.
74 участников успешно повторили данное руководство.
Команда

University of North Texas, Team S1-G12, Raign Spring 2020 Участник University of North Texas, Team S1-G12, Raign Spring 2020
UNT-RAIGN-S20S1G12
2 членов
Автор 7 руководств
11 Комментариев
This guide was very helpful! A picture of the latch location on the trigger (step 12) would have been a big help, that step took a minute because I was putting pressure on the wrong spot.
I also noticed that most of the #00 screws were more receptive to a J00 bit. Might be worth noting in the tools section since swapping between them can strip a screw.
Used this guide for reference on the tools needed, someone else pointed out to use the J00 bit instead of the P00 and I’ll second that as the fit for the screws was much better, thanks for the guide much appreciated!
Exactly what I needed! Dropped a set of controllers on a tile flow and the rail popped out and pulled the ribbon cables too. I picked up another iFixit toolkit with some J bits to put it back together. I don’t know why I waited this long to fix it. Charged the controllers overnight and I’m up another set now!
Others above have mentioned that they needed to use a J00 bit instead of P00, but mine did not work with a J00 and was better with a P000
Small thing. In the tools list, it incorrectly says Y0 while the rest of the post correctly says Y00 for the back screws.
Nicht ohne Lupe, Pinzette und Spudger als Brillenträger an diese Reparatur gehen. Die Verbindungen der Flachkabel sind verdammt klein. Eine Gute Anleitung. Hat bei mir funktioniert!
I followed these instructions and everything works perfectly except my Switch doesn't think the joycon is attached anymore; it thinks I'm using it wirelessly even though it's docked into the system. Any advice?
It means you did not situate your Joycon rail correctly, since it does not “click” with the console. Take it apart, make sure the detach button and rail ribbons are secure, readjust, and reassemble your controller
Great guide, used it to mod my shell and replace the thumbstick at the same time. The only thing I would say is that if you are replacing the rail and slide locks you'll need a bit of extra guide via YT or something (not sure if there is one on here.) As others have said 'depress the latch' for the ZL button is tricky (kind of just pulled about on mine until it came off, still not sure where the latch is.) And one final thing, it says ZL button at one point but ZL is a trigger - they mean the Z button. But again, great guide, far less issues than expected - thank you to the author.