Перейти к основному содержанию

Nokero N222-Huron Mounting Technique

Выберете то, что вам нужно

  1. Nokero N222-Huron Mounting Technique, Nokero N222-Huron Mounting Technique: шаг 1, изображение 1 из 1
    • Place the mounting bracket in the desired location and mark the center location. This is where the screw will be placed.

    • It is optional to drill a pilot hole for the screw if splitting is a concern (usually for mounting in wood).

  2. Nokero N222-Huron Mounting Technique: шаг 2, изображение 1 из 3 Nokero N222-Huron Mounting Technique: шаг 2, изображение 2 из 3 Nokero N222-Huron Mounting Technique: шаг 2, изображение 3 из 3
    • Place the screw through the bracket, as shown, and screw it into the marked or drilled location.

  3. Nokero N222-Huron Mounting Technique: шаг 3, изображение 1 из 1
    • Make sure the bracket is facing in the desired direction before tightening the screw.

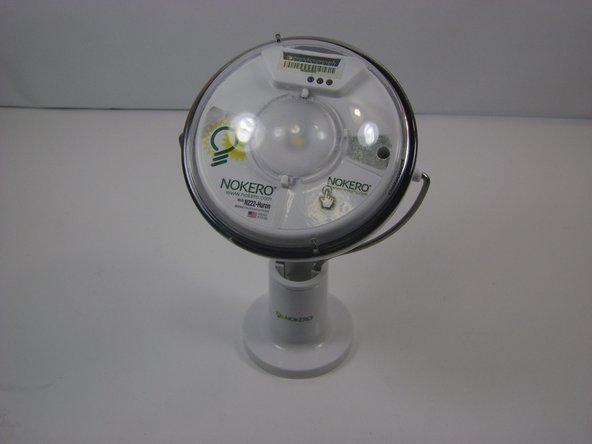
    • When the Nokero logo is facing forward, the light will pivot forward and backward.

  4. Nokero N222-Huron Mounting Technique: шаг 4, изображение 1 из 3 Nokero N222-Huron Mounting Technique: шаг 4, изображение 2 из 3 Nokero N222-Huron Mounting Technique: шаг 4, изображение 3 из 3
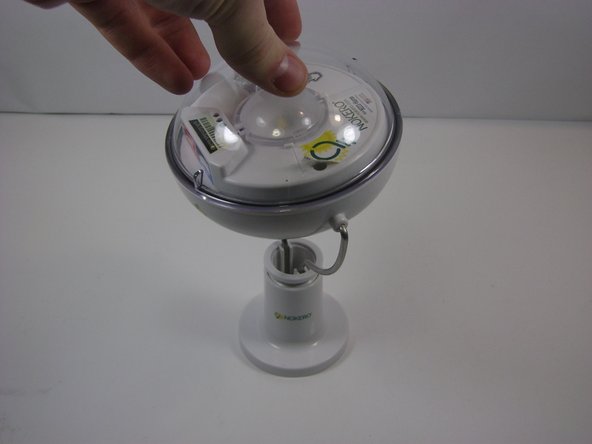
    • Place the light in the bracket as shown and turn clockwise until it is secure.

Заключение

To remove or change the fixed mount for your device, follow these instructions in reverse order.

Vinny Capone

Участник с: 10/18/13

549 Репутация

Автор 5 руководств

Команда

UMass Dartmouth, Team 2-4, Gulbrandsen Fall 2013 Участник UMass Dartmouth, Team 2-4, Gulbrandsen Fall 2013

UMASSD-GULBRANDSEN-F13S2G4

3 членов

Автор 5 руководств

0 Комментариев

Добавить комментарий

Просмотр статистики:

За последние 24часов: 0

За последние 7 дней: 0

За последние 30 дней: 0

За всё время: 190