Эта версия возможно содержит некорректные исправления. Переключить на последнюю проверенную версию.
Выберете то, что вам нужно
-
Этот шаг не переведен. Помогите перевести
-
Locate the small button on the top of the phone.
-
Depress the button.
-
With your other hand, pull the front cover away from the phone.
-
-
Этот шаг не переведен. Помогите перевести
-
Remove all six 5.3 mm long T6 screws.
-
Remove the circuit board/faceplate sub-assembly from the back of the phone.
-
-
Этот шаг не переведен. Помогите перевести
-
Using your fingers, pull the small plastic tab away from the circuit board/faceplate sub-assembly.
-
Rotate the faceplate away from the circuit board.
-
Gently remove the faceplate from the circuit board, taking care to not break the small plastic tab on the other side of the sub-assembly.
-
-
-
Этот шаг не переведен. Помогите перевести
-
Hold the faceplate with the adhesive film facing upwards.
-
Use the spudger to pry the adhesive film away. This can be done by working the tool back and forth underneath the film.
-
-
Этот шаг не переведен. Помогите перевести
-
Continue to loosen the film with the spudger.
-
Once the film has been mostly loosened, you can peel away the film.
-
-
Этот шаг не переведен. Помогите перевести
-
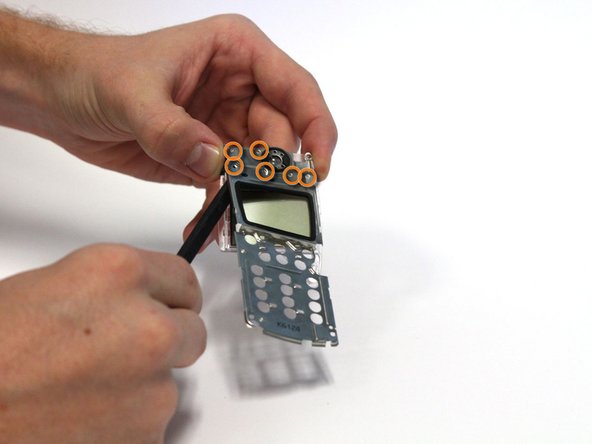
Using your fingers or a probe, loosen the four small tabs located on the side of the faceplate sub-assembly by gently bending up the metal cover. (Two are shown in the picture while the other two are on the other side of the screen.)
-
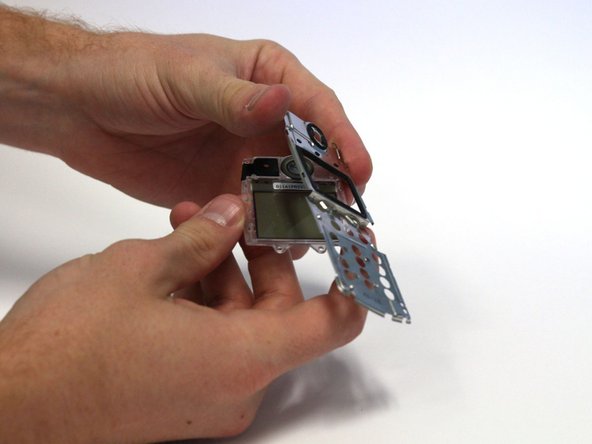
Using the spudger, loosen the metal cover by prying it away from the six small plastic tabs. This can be done by gently working the spudger underneath the cover and pressing up on the cover around the tabs.
-
Remove the metal cover.
-
-
Этот шаг не переведен. Помогите перевести
-
Hold the remaining component tray face up.
-
Firmly place your fingers over the speaker and rubber tray to insure they are secured.
-
Turn the component tray over, allowing the LCD screen to fall away.
-


Отменить: Я не выполнил это руководство.
Еще один человек закончил это руководство.
Команда

Clemson, Team 15-3, Benson Fall 2012 Участник Clemson, Team 15-3, Benson Fall 2012
CLEM-BENSON-F12S15G3
3 членов
Автор 21 руководств