Введение
In this guide you will be removing multiple components of the Nokia 520 in order to replace the audio jack. Make sure to have enough work space and the time required to complete this guide and use caution when taking off parts so you do not cause more damage to your device.
Выберете то, что вам нужно
-
-
Insert the spudger into the crevice located between the back cover of the phone and the body of the phone.
-
-
-
Insert the spudger into the space between the batter and the battery holder to remove the battery.
-
-
-
-
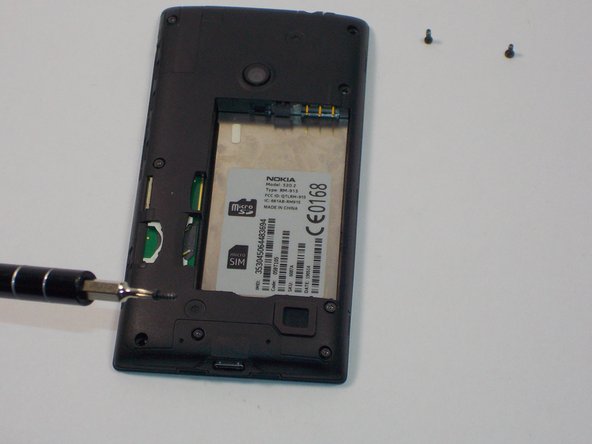
Unscrew the 8 screws with a Torx screw driver (T4) and make sure you know what screws went where because they are different.
-
-
-
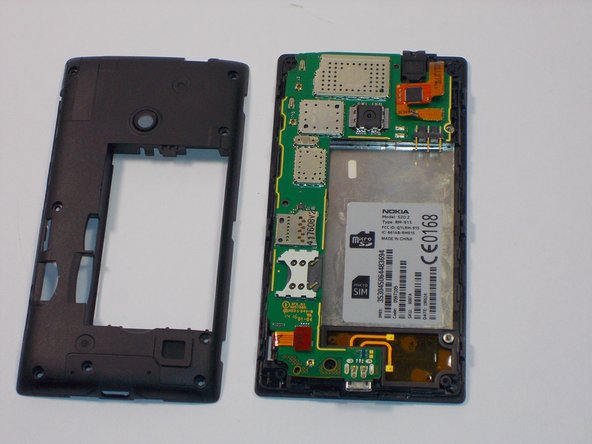
Use your plastic spudger to remove the clips on the plastic casing over the motherboard. Note there are 10 clips holding the casing on(3 on the sides, 2 on the top and bottom).
-
-
-
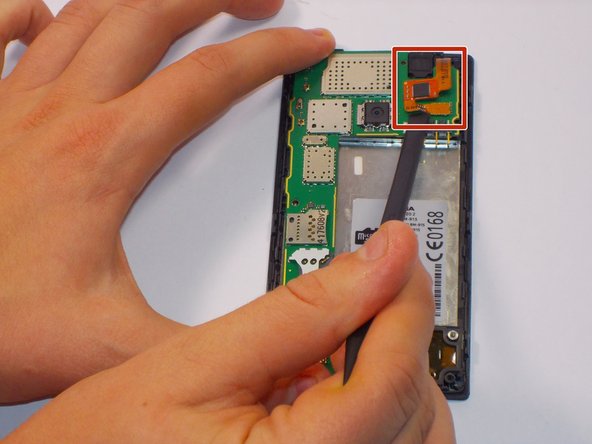
Carefully unclip the digitizer touch screen cable and the display screen cable using the spudger.
-
-
-
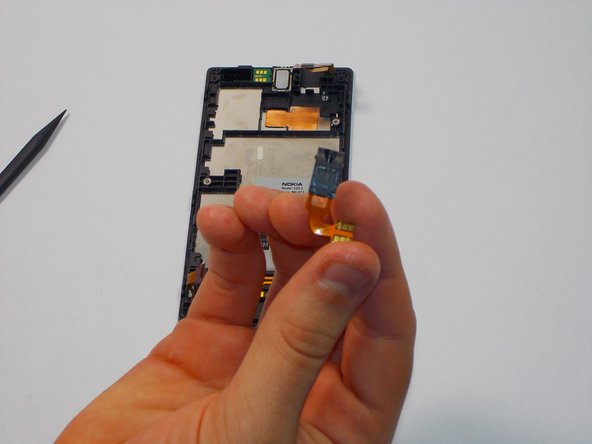
Use the plastic spudger and gently remove the audio jack and the flex connector to the audio jack away from the case.
-


To reassemble your device, follow these instructions in reverse order.
To reassemble your device, follow these instructions in reverse order.
Отменить: Я не выполнил это руководство.
5 участников успешно повторили данное руководство.
Команда

UMass Dartmouth, Team 1-5, Bhusal Fall 2015 Участник UMass Dartmouth, Team 1-5, Bhusal Fall 2015
UMASSD-BHUSAL-F15S1G5
3 членов
Автор 8 руководств