Перейти к основному содержанию

Nokia Lumia 625 Touch Screen Digitizer Glass Replacement

Выберете то, что вам нужно

Видео обзор

  1. Nokia Lumia 625 Touch Screen Digitizer Glass Replacement, Rear Bezel: шаг 1, изображение 1 из 3 Nokia Lumia 625 Touch Screen Digitizer Glass Replacement, Rear Bezel: шаг 1, изображение 2 из 3 Nokia Lumia 625 Touch Screen Digitizer Glass Replacement, Rear Bezel: шаг 1, изображение 3 из 3
    • Turn off the phone and remove the back cover.

    • Remove any installed SIM or memory card.

    • Use a screwdriver Torx T5 and remove the 8x black screws.

  2. Nokia Lumia 625 Touch Screen Digitizer Glass Replacement: шаг 2, изображение 1 из 3 Nokia Lumia 625 Touch Screen Digitizer Glass Replacement: шаг 2, изображение 2 из 3 Nokia Lumia 625 Touch Screen Digitizer Glass Replacement: шаг 2, изображение 3 из 3
    • At the top and bottom of the phone you'll see two grooves.

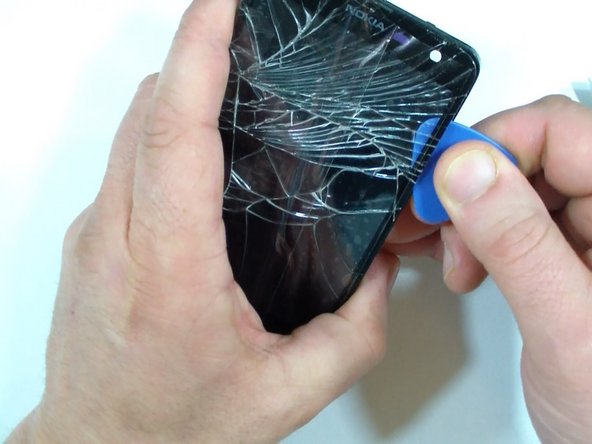
    • Use a plastic tool and start the separating the rear bezel from here.

  3. Nokia Lumia 625 Touch Screen Digitizer Glass Replacement, Touch Screen Digitizer Glass: шаг 3, изображение 1 из 3 Nokia Lumia 625 Touch Screen Digitizer Glass Replacement, Touch Screen Digitizer Glass: шаг 3, изображение 2 из 3 Nokia Lumia 625 Touch Screen Digitizer Glass Replacement, Touch Screen Digitizer Glass: шаг 3, изображение 3 из 3
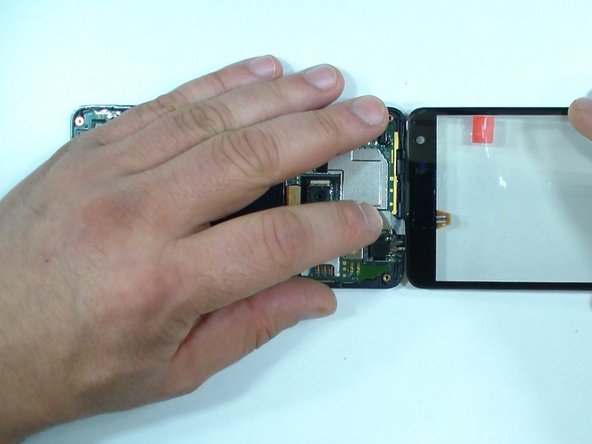
    • Disconnect the battery and the touch screen flex cables.

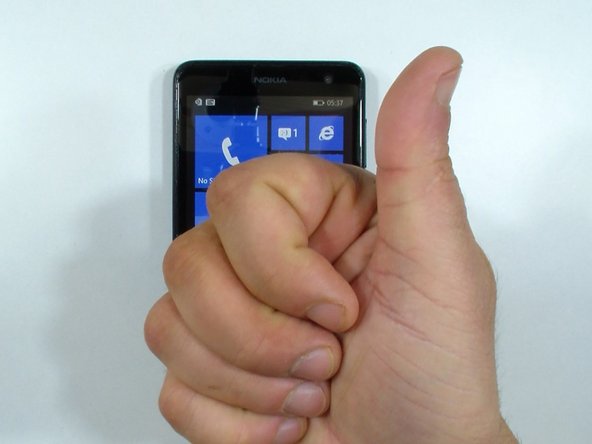
    • Now is the moment for test the new spare part.

    • Finally, disconnect the battery again and remove the new touch screen.

  4. Nokia Lumia 625 Touch Screen Digitizer Glass Replacement: шаг 4, изображение 1 из 2 Nokia Lumia 625 Touch Screen Digitizer Glass Replacement: шаг 4, изображение 2 из 2
    • Put some scotch tape to prevent the glass from shattering and yourself from injury.

    • Use a hair dryer and warm the glass to make adhesive soften.

  5. Nokia Lumia 625 Touch Screen Digitizer Glass Replacement: шаг 5, изображение 1 из 3 Nokia Lumia 625 Touch Screen Digitizer Glass Replacement: шаг 5, изображение 2 из 3 Nokia Lumia 625 Touch Screen Digitizer Glass Replacement: шаг 5, изображение 3 из 3
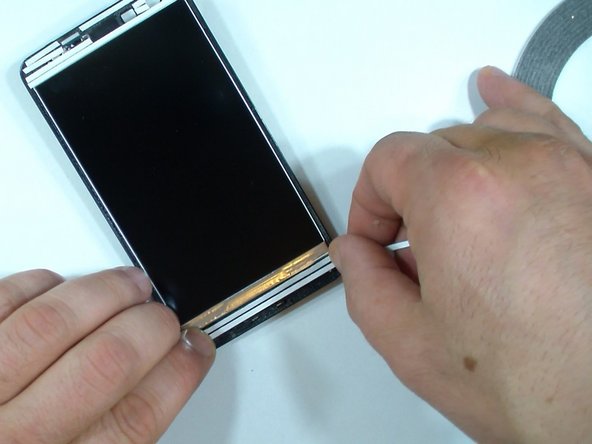
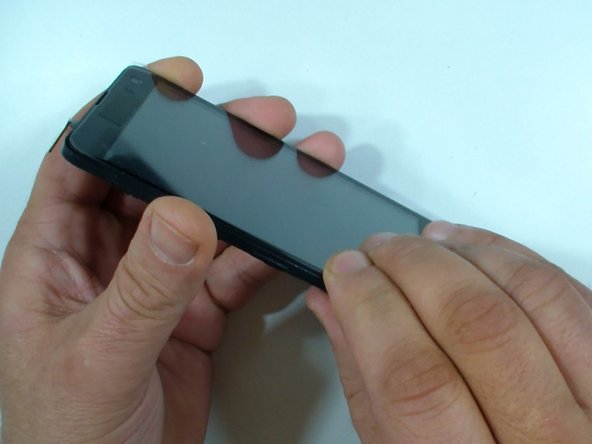
    • With a cutter separate the glass a little bit to make a room for the plastic pick or other plastic tool.

    • Be careful for the LCD. You can use a hair dryer again to rewarm the glass.

  6. Nokia Lumia 625 Touch Screen Digitizer Glass Replacement: шаг 6, изображение 1 из 3 Nokia Lumia 625 Touch Screen Digitizer Glass Replacement: шаг 6, изображение 2 из 3 Nokia Lumia 625 Touch Screen Digitizer Glass Replacement: шаг 6, изображение 3 из 3
    • Clean the frame of the old adhesive tape and install new.

  7. Nokia Lumia 625 Touch Screen Digitizer Glass Replacement: шаг 7, изображение 1 из 3 Nokia Lumia 625 Touch Screen Digitizer Glass Replacement: шаг 7, изображение 2 из 3 Nokia Lumia 625 Touch Screen Digitizer Glass Replacement: шаг 7, изображение 3 из 3
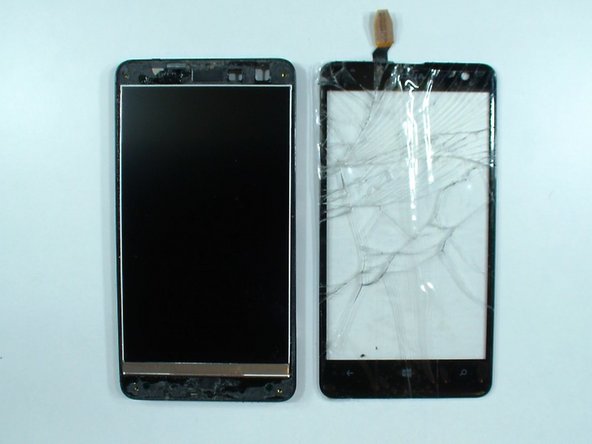
    • Check the LCD for dust and install the new touch screen glass.

    • Now reassemble the phone.

Заключение

To reassemble your device, follow these instructions in reverse order.

20 участников успешно повторили данное руководство.

ZFix

Участник с: 12/09/13

191 278 Репутация

Автор 330 руководств

Команда

Master Techs Участник Master Techs

Community

322 членов

Автор 2 528 руководств

4 Комментариев

Thanks for this guide!

However, the phone uses T5 screws. The T4 screwdriver would simply damage the screws. Just that advice.

Thanks again for such detailed guide.

carlitossuper1 - Ответить

Another comment: I was attempting to do this guide and the LCD is glued to the digitizer! It's very important to disclose this at the beginning of the guide. You could end up with a broken LCD!

Do not try this if the original glass broke, because it's glued to the LCD and removing the broken glass could damage it.

carlitossuper1 - Ответить

That is not true carlitossuper1, the LCD and the digitizer are not fised together. Glue is only around the frame.

Andrzej Grabowski - Ответить

I managed to replace the original digitizer as well. This was my first digitizer replacement and it took me 1 h 45 min the starting point being: this guide open, tools available, replacement part and the smart phone in hand. The operation itself took me some 35 min.

About the screws: I used T4 (I read the comments only afterwards), didn't slip a bit, but T5 fits better now that I tried it.

What a great feeling! I achieved something very concrete today - thanks to you!

Sampo Kouri - Ответить

Добавить комментарий

Просмотр статистики:

За последние 24часов: 0

За последние 7 дней: 1

За последние 30 дней: 7

За всё время: 7,338