Перейти к основному содержанию

Nook Color Motherboard Replacement

Выберете то, что вам нужно

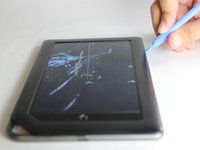
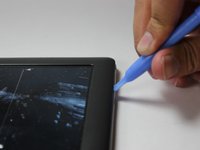
  1. Nook Color Motherboard Replacement, Back Cover: шаг 1, изображение 1 из 2 Nook Color Motherboard Replacement, Back Cover: шаг 1, изображение 2 из 2
    • Remove the two 3.8 mm screws located in the back right corner of the device using the T5 Torx screwdriver.

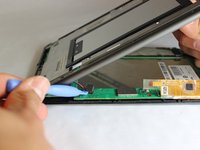
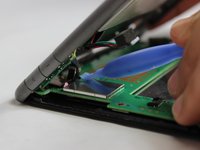
  2. Nook Color Motherboard Replacement: шаг 2, изображение 1 из 2 Nook Color Motherboard Replacement: шаг 2, изображение 2 из 2
    • Pry off the back cover with the plastic opening tool. Go around the device with the tool to ensure complete detachment.

  3. Nook Color Motherboard Replacement, Front Cover: шаг 3, изображение 1 из 1
    • Remove the ten 4.0 mm screws from the device's perimeter using the T5 Torx screwdriver.

  4. Nook Color Motherboard Replacement: шаг 4, изображение 1 из 2 Nook Color Motherboard Replacement: шаг 4, изображение 2 из 2
    • Pry off the front panel using the plastic opening tool.

  5. Nook Color Motherboard Replacement: шаг 5, изображение 1 из 2 Nook Color Motherboard Replacement: шаг 5, изображение 2 из 2
    • Lift up on the connectors to disconnect them using the plastic opening tool.

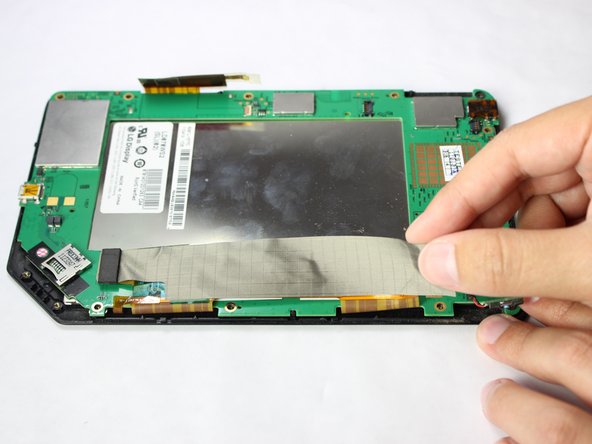
  6. Nook Color Motherboard Replacement, Motherboard: шаг 6, изображение 1 из 3 Nook Color Motherboard Replacement, Motherboard: шаг 6, изображение 2 из 3 Nook Color Motherboard Replacement, Motherboard: шаг 6, изображение 3 из 3
    • Gently lift and peel the orange and grey ribbon connectors to disconnect the screen and motherboard.

  7. Nook Color Motherboard Replacement: шаг 7, изображение 1 из 1
    • Remove the easy-to-miss T5 Torx 3.8 mm screw located in the tabbed corner of the device.

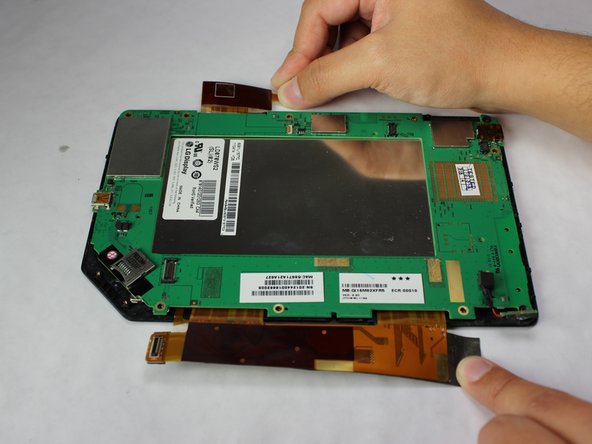
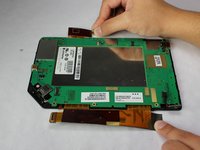
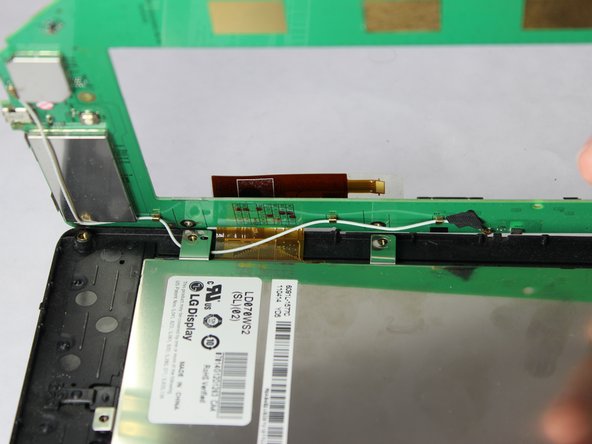
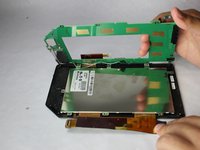
  8. Nook Color Motherboard Replacement: шаг 8, изображение 1 из 2 Nook Color Motherboard Replacement: шаг 8, изображение 2 из 2
    • Lift the motherboard gently from the side with the larger connector ribbon.

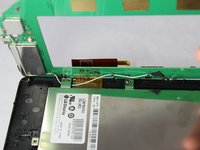
    • Slide the white cable gently from underneath its holding place to free the motherboard completely.

    • Remove the motherboard carefully from the device.

Заключение

To reassemble your device, follow these instructions in reverse order.

2 участников успешно повторили данное руководство.

Matthew Perdomo

Участник с: 01/20/15

497 Репутация

Автор 3 руководств

Команда

USF Tampa, Team 11-5, Blackwell Winter 2015 Участник USF Tampa, Team 11-5, Blackwell Winter 2015

USFT-BLACKWELL-W15S11G5

3 членов

Автор 14 руководств

0 Комментариев

Добавить комментарий

Просмотр статистики:

За последние 24часов: 0

За последние 7 дней: 4

За последние 30 дней: 6

За всё время: 1,072