Введение
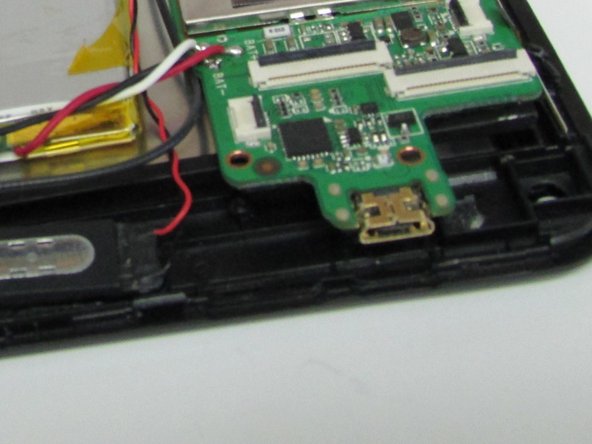
Your time will be split between removing the back from the device and de-soldering. The charging port itself is actually soldered onto the bottom of the motherboard. To access it, it is best to remove the motherboard from the device.
Выберете то, что вам нужно
-
-
Use a Heat Gun to loosen the adhesive on the underside of the back cover.
-
Use some prying tools to lift the back cover off of the device.
-
-
-
-
Desolder the Motherboard- this will make it easier to get to the charging port without breaking any cords.
-
Flip the Motherboard over and desolder the charging port from Motherboard.
-


To reassemble your device, follow these instructions in reverse order.
To reassemble your device, follow these instructions in reverse order.
Команда

University of Illinois Urbana-Champaign, Team 1-1, Scrogum Spring 2017 Участник University of Illinois Urbana-Champaign, Team 1-1, Scrogum Spring 2017
UICU-SCROGUM-S17S1G1
3 членов
Автор 19 руководств