Введение
Most of your time will be getting the back off of the device. The cameras are held down with a little adhesive but are relatively easy to remove.
Выберете то, что вам нужно
-
-
Use a Heat Gun to heat the sides of the device one at a time. The Heat Gun will loosen the adhesive.
-
Use thin tools to pry the back of the device off.
-
-
-
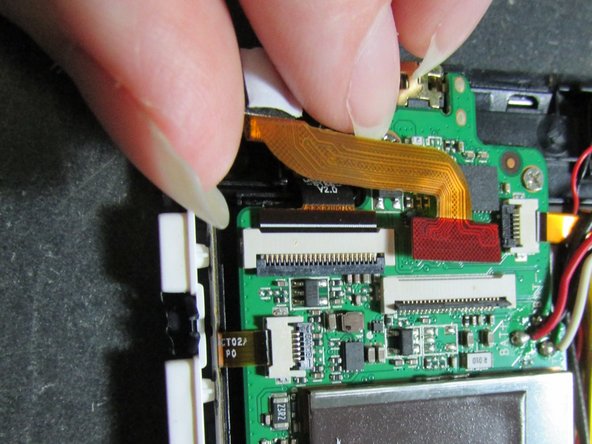
There are two different cameras and each have different ribbons.
-
Unlock both ribbons by flipping the black bar up.
-
-
-
-
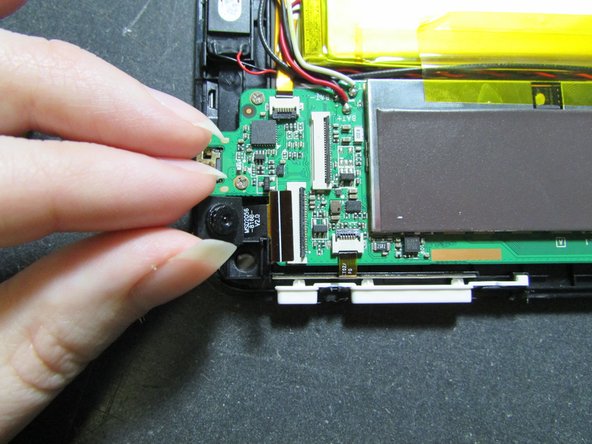
The camera facing towards the table lifts out easily, so go ahead and take that one out.
-


To reassemble your device, follow these instructions in reverse order.
Be advised that you will need to replace the adhesive.
To reassemble your device, follow these instructions in reverse order.
Be advised that you will need to replace the adhesive.
Отменить: Я не выполнил это руководство.
Еще один человек закончил это руководство.
Команда

University of Illinois Urbana-Champaign, Team 1-1, Scrogum Spring 2017 Участник University of Illinois Urbana-Champaign, Team 1-1, Scrogum Spring 2017
UICU-SCROGUM-S17S1G1
3 членов
Автор 19 руководств