Перейти к основному содержанию

Nutribullet Rx #NB-301 Drive Socket Replacement

Выберете то, что вам нужно

  1. Nutribullet Rx #NB-301 Drive Socket Replacement, Drive Socket: шаг 1, изображение 1 из 3 Nutribullet Rx #NB-301 Drive Socket Replacement, Drive Socket: шаг 1, изображение 2 из 3 Nutribullet Rx #NB-301 Drive Socket Replacement, Drive Socket: шаг 1, изображение 3 из 3
    • Make sure to unplug the device before you start the repair.

    • Flip the blender over so the bottom is facing up.

    • Use a Phillips #2 screwdriver to remove the four 10 mm screws from the base of the blender.

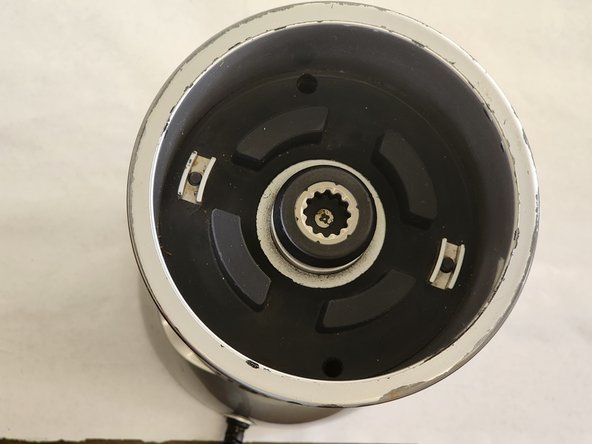
    • Remove the base cover from the blender.

  2. Nutribullet Rx #NB-301 Drive Socket Replacement: шаг 2, изображение 1 из 2 Nutribullet Rx #NB-301 Drive Socket Replacement: шаг 2, изображение 2 из 2
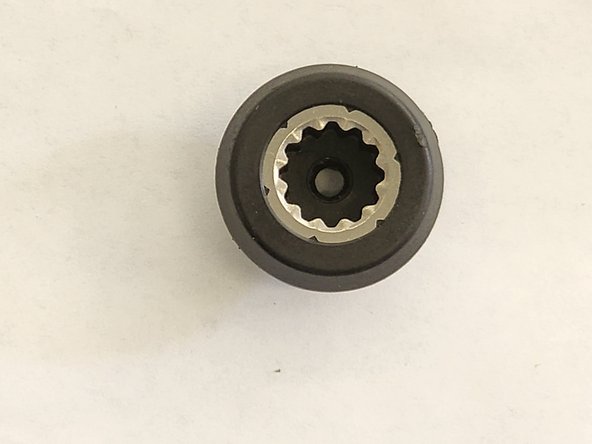
    • Clamp down on the nut above the socket with the needle nose pliers so it stays in place for the next step.

  3. Nutribullet Rx #NB-301 Drive Socket Replacement: шаг 3, изображение 1 из 3 Nutribullet Rx #NB-301 Drive Socket Replacement: шаг 3, изображение 2 из 3 Nutribullet Rx #NB-301 Drive Socket Replacement: шаг 3, изображение 3 из 3
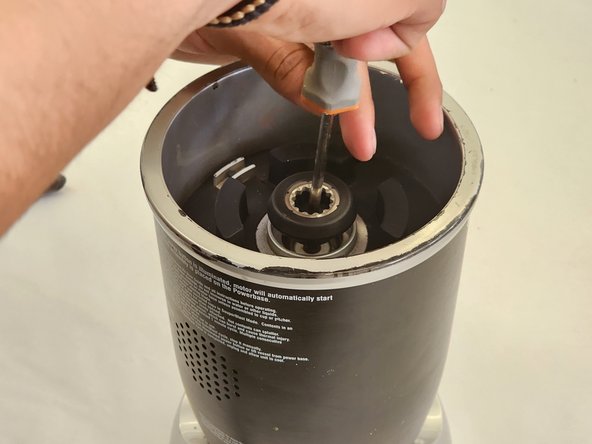
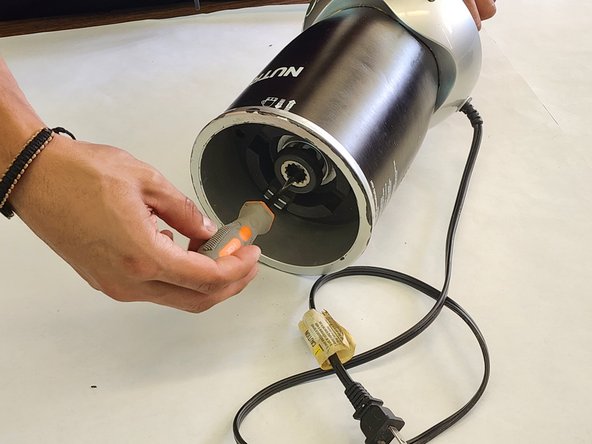
    • Lay the blender on its side and hold the drive socket with the needle nose pliers to keep in from turning so you can remove the screw.

    • Use a Phillips #2 screwdriver to remove the screw securing the drive socket.

  4. Nutribullet Rx #NB-301 Drive Socket Replacement: шаг 4, изображение 1 из 3 Nutribullet Rx #NB-301 Drive Socket Replacement: шаг 4, изображение 2 из 3 Nutribullet Rx #NB-301 Drive Socket Replacement: шаг 4, изображение 3 из 3
    • Remove the drive socket from the motor.

  5. Nutribullet Rx #NB-301 Drive Socket Replacement: шаг 5, изображение 1 из 3 Nutribullet Rx #NB-301 Drive Socket Replacement: шаг 5, изображение 2 из 3 Nutribullet Rx #NB-301 Drive Socket Replacement: шаг 5, изображение 3 из 3
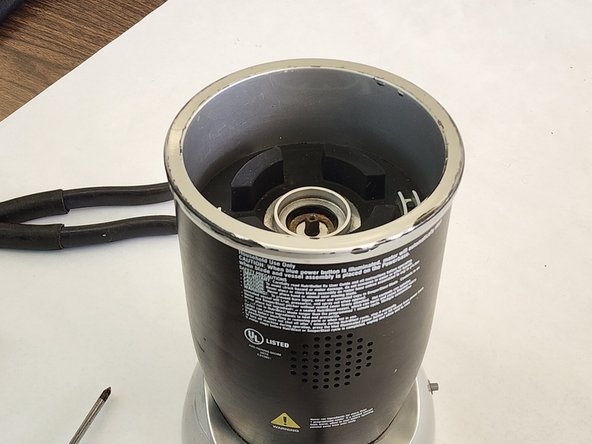
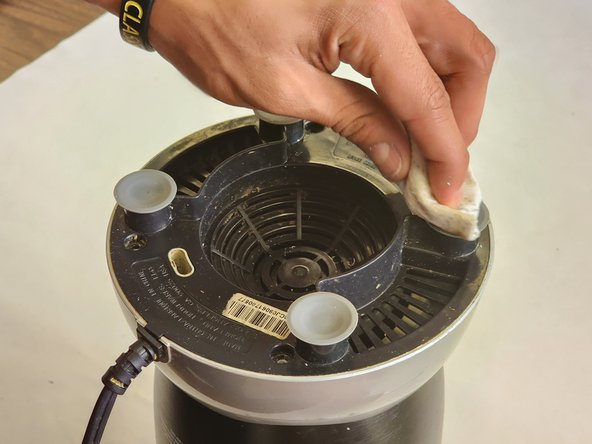
    • Remove all dust and residue from the area before you replace your new drive socket.

  6. Nutribullet Rx #NB-301 Drive Socket Replacement: шаг 6, изображение 1 из 3 Nutribullet Rx #NB-301 Drive Socket Replacement: шаг 6, изображение 2 из 3 Nutribullet Rx #NB-301 Drive Socket Replacement: шаг 6, изображение 3 из 3
    • Use a Phillips #2 screwdriver to secure the drive socket to the motor.

  7. Nutribullet Rx #NB-301 Drive Socket Replacement: шаг 7, изображение 1 из 2 Nutribullet Rx #NB-301 Drive Socket Replacement: шаг 7, изображение 2 из 2
    • Place the bottom cover back on the blender.

    • Use the Phillips #2 screwdriver to replace the four 10 mm screws on the back cover back.

Заключение

To reassemble your device, follow these instructions in reverse order.

Martin G

Участник с: 03/05/24

145 Репутация

1 руководство автора

Команду

CSU Los Angeles, Team 7-3, Grodsky Spring 2024 Участник CSU Los Angeles, Team 7-3, Grodsky Spring 2024

CSULA-GRODSKY-S24S7G3

2 членов

Автор 1 руководств

0 Комментариев

Добавить комментарий

Статистика просмотров:

За последние 24 час(ов): 0

За последние 7 дней: 15

За последние 30 дней: 31

За всё время: 47