Перейти к основному содержанию

Oculus Rift Development Kit 2 Camera Motherboard Replacement

Выберете то, что вам нужно

  1. Oculus Rift Development Kit 2 Camera Motherboard Replacement, Camera Motherboard: шаг 1, изображение 1 из 2 Oculus Rift Development Kit 2 Camera Motherboard Replacement, Camera Motherboard: шаг 1, изображение 2 из 2
    • Remove the filter from the camera as shown.

  2. Oculus Rift Development Kit 2 Camera Motherboard Replacement: шаг 2, изображение 1 из 2 Oculus Rift Development Kit 2 Camera Motherboard Replacement: шаг 2, изображение 2 из 2
    • Remove the cover plate from the front face of the camera using the iFixit Opening Pick.

  3. Oculus Rift Development Kit 2 Camera Motherboard Replacement: шаг 3, изображение 1 из 2 Oculus Rift Development Kit 2 Camera Motherboard Replacement: шаг 3, изображение 2 из 2
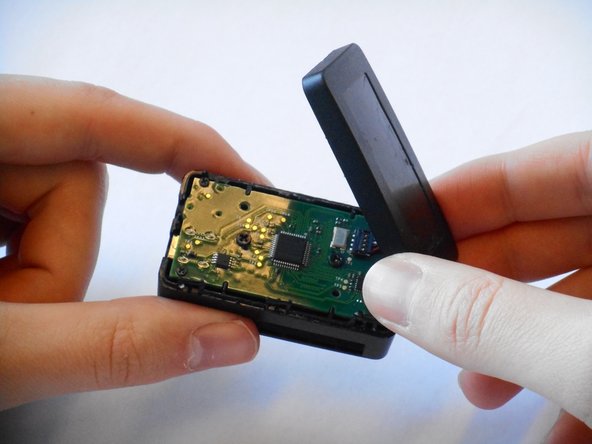
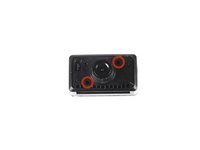
    • Remove the two 3/16" J #000 screws.

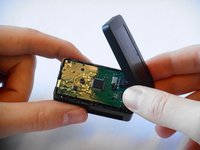
    • Lift the back plate off.

  4. Oculus Rift Development Kit 2 Camera Motherboard Replacement: шаг 4, изображение 1 из 1
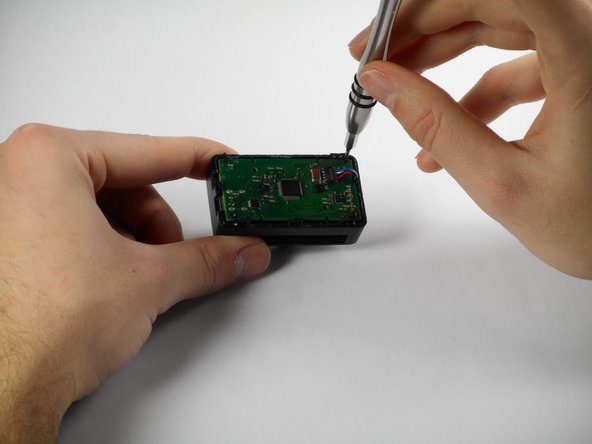
    • Gently tug on the wires to free them from the motherboard.

  5. Oculus Rift Development Kit 2 Camera Motherboard Replacement: шаг 5, изображение 1 из 3 Oculus Rift Development Kit 2 Camera Motherboard Replacement: шаг 5, изображение 2 из 3 Oculus Rift Development Kit 2 Camera Motherboard Replacement: шаг 5, изображение 3 из 3
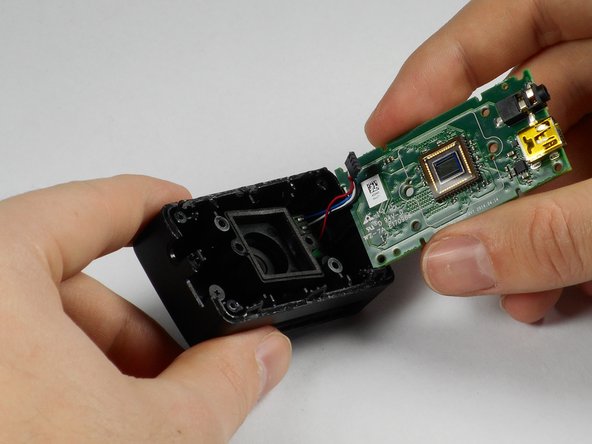
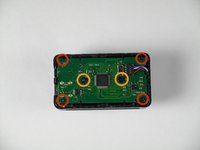
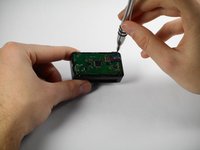
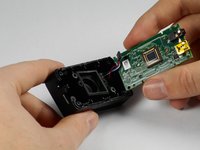
    • Remove the four 3/16" Phillips #000 from the four corners of the motherboard.

    • Remove the two 1/4" Phillips #0 screws shown to release the motherboard from the enclosure.

Заключение

To reassemble your device, follow these instructions in reverse order.

Еще один человек закончил это руководство.

Anthony Vasquez

Участник с: 01/22/15

177 Репутация

1 руководство автора

Команда

Cal Poly, Team 18-5, Maness Winter 2015 Участник Cal Poly, Team 18-5, Maness Winter 2015

CPSU-MANESS-W15S18G5

4 членов

Автор 6 руководств

0 Комментариев

Добавить комментарий

Просмотр статистики:

За последние 24часов: 0

За последние 7 дней: 0

За последние 30 дней: 1

За всё время: 656