Введение
In this guide you will learn to remove your camera's back case to expose the motherboard. While replacing the motherboard be very gentle. As you will see in the steps, there are internal ribbons that could easily be ripped or broken.
Выберете то, что вам нужно
-
-
Remove the 3 mm long screws using a Phillips head screwdriver that has a PH000 size bit.
-
-
-
Remove the 3 mm long screw using a Phillips head screwdriver that has a PH000 size bit.
-
-
-
-
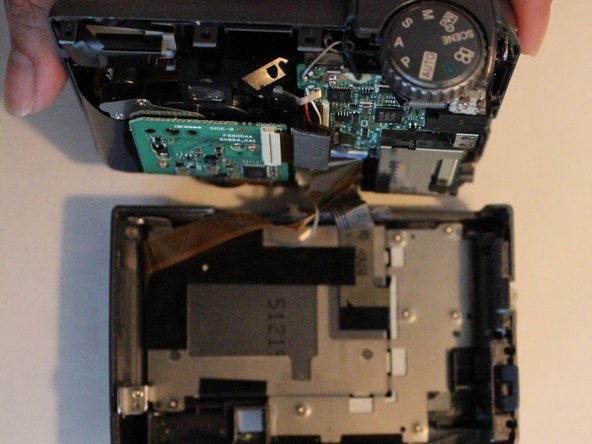
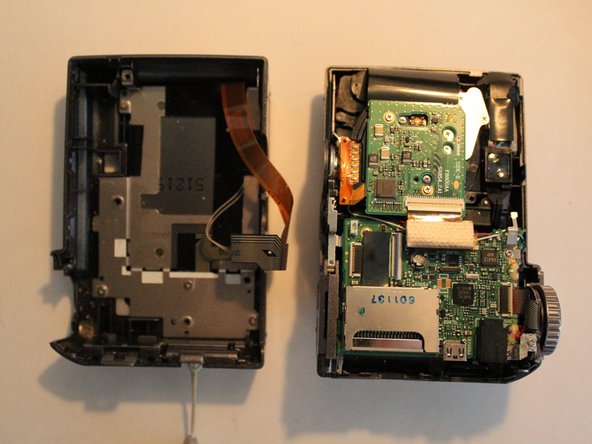
Detach camera body from back casing and LCD screen.
-
Pull gently on the white connecting cable to detach it from the main body of the camera.
-
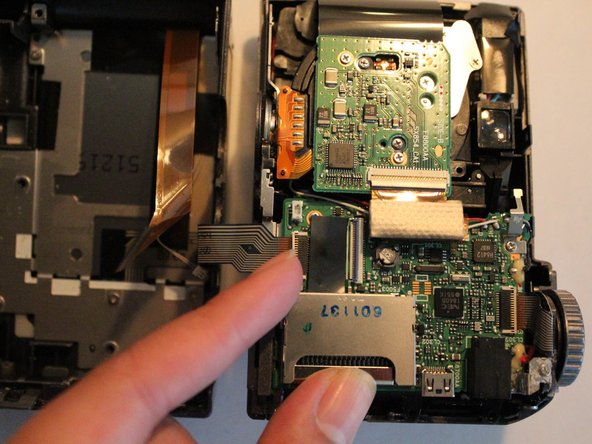
Lift the small, white, plastic clip detaching the ribbon from the main body of the camera.
-
-
-
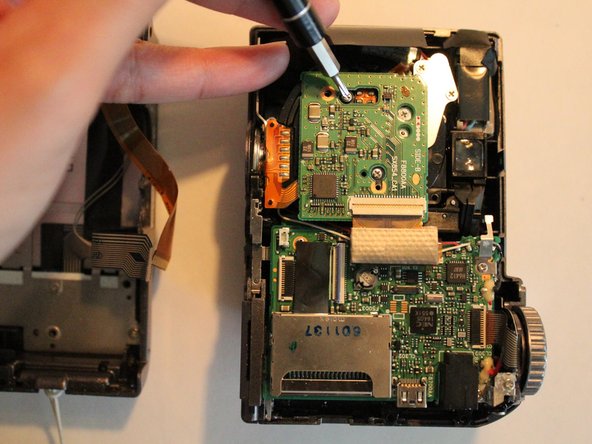
Remove 2 mm long screws with the Phillips head screwdriver that has a PH000 size bit.
-
Remove 3 mm long screws with the Phillips head screwdriver that has a PH000 size bit.
-


To reassemble your device, follow these instructions in reverse order.
To reassemble your device, follow these instructions in reverse order.
Отменить: Я не выполнил это руководство.
2 участников успешно повторили данное руководство.

Команда

University of North Texas, Team 1-5, Campbell Fall 2016 Участник University of North Texas, Team 1-5, Campbell Fall 2016
UNT-CAMPBELL-F16S1G5
2 членов
Автор 6 руководств
2 Комментариев
Nice description to follow!
Would you know which component is responsible in SP-320 for keeping the date/time while battery is out ?
Every time I remove the battery for replacement, the date/time settings is gone (instantly). Thanks!