Перейти к основному содержанию

Olympus Stylus Tough-8010 Side Panel Replacement

Выберете то, что вам нужно

  1. Olympus Stylus Tough-8010 Side Panel Replacement, Side Panel: шаг 1, изображение 1 из 3 Olympus Stylus Tough-8010 Side Panel Replacement, Side Panel: шаг 1, изображение 2 из 3 Olympus Stylus Tough-8010 Side Panel Replacement, Side Panel: шаг 1, изображение 3 из 3
    • Remove the three screws (3.2mm) from the front panel using a T-6 screwdriver.

    • Take off the smaller front panel cover.

    • Carefully remove the larger front cover.

  2. Olympus Stylus Tough-8010 Side Panel Replacement: шаг 2, изображение 1 из 3 Olympus Stylus Tough-8010 Side Panel Replacement: шаг 2, изображение 2 из 3 Olympus Stylus Tough-8010 Side Panel Replacement: шаг 2, изображение 3 из 3
    • Remove the top two screws (4.1mm) using a #000 Phillips head screwdriver.

    • Remove the two screws (7.9mm) near the control pad. Set metal connector aside.

    • Remove the side panel casing.

  3. Olympus Stylus Tough-8010 Side Panel Replacement: шаг 3, изображение 1 из 3 Olympus Stylus Tough-8010 Side Panel Replacement: шаг 3, изображение 2 из 3 Olympus Stylus Tough-8010 Side Panel Replacement: шаг 3, изображение 3 из 3
    • Using a #000 Philips head screwdriver, remove the two screws (4.1mm) on the right side of the camera.

    • Remove the two screws (4.1mm) from the bottom of the camera.

    • Remove the single screw (3.2mm) from the front of the camera.

  4. Olympus Stylus Tough-8010 Side Panel Replacement: шаг 4, изображение 1 из 2 Olympus Stylus Tough-8010 Side Panel Replacement: шаг 4, изображение 2 из 2
    • Carefully remove the front panel piece.

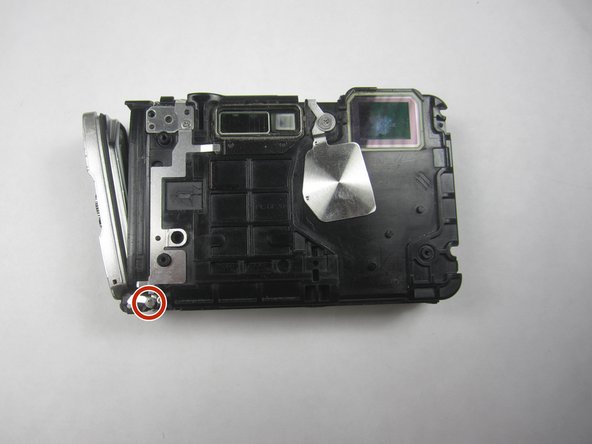
    • Remove the screw (7.9mm) from the bottom left hand corner using a #000 Phillips head screwdriver.

  5. Olympus Stylus Tough-8010 Side Panel Replacement: шаг 5, изображение 1 из 3 Olympus Stylus Tough-8010 Side Panel Replacement: шаг 5, изображение 2 из 3 Olympus Stylus Tough-8010 Side Panel Replacement: шаг 5, изображение 3 из 3
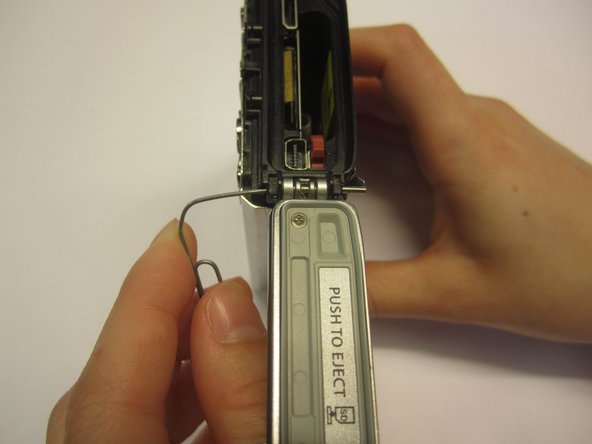
    • Slightly bend the metal that is covering the side panel axle.

    • Using a paperclip, completely push out the metal bar that holds the side panel to the camera.

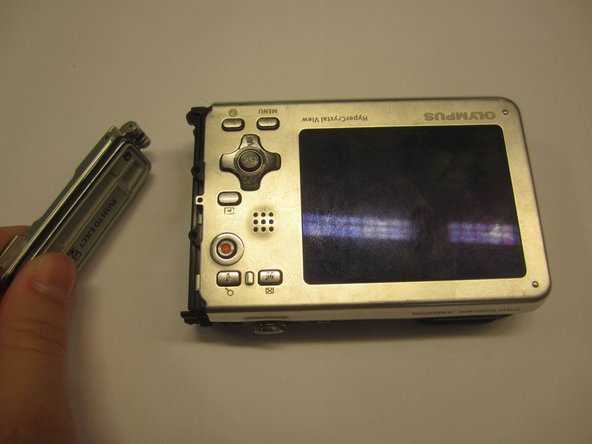
    • Remove the side panel door.

Заключение

To reassemble your device, follow these instructions in reverse order.

James G Payne

Участник с: 03/23/15

225 Репутация

Автор 2 руководств

Команда

Baylor, Team 7-15, Williams Spring 2015 Участник Baylor, Team 7-15, Williams Spring 2015

BU-WILLIAMS-S15S7G15

3 членов

Автор 12 руководств

0 Комментариев

Добавить комментарий

Просмотр статистики:

За последние 24часов: 0

За последние 7 дней: 1

За последние 30 дней: 3

За всё время: 338