Перейти к основному содержанию

Olympus VR-350 Back Plate Replacement

Выберете то, что вам нужно

  1. Olympus VR-350 Back Plate Replacement, Front Plate: шаг 1, изображение 1 из 2 Olympus VR-350 Back Plate Replacement, Front Plate: шаг 1, изображение 2 из 2
    • Remove the two 4mm screws from each side of the camera with a Phillips PH000 screwdriver.

  2. Olympus VR-350 Back Plate Replacement: шаг 2, изображение 1 из 1
    • Remove the four 4mm screws from the bottom of the camera with a Phillips PH000 screwdriver.

  3. Olympus VR-350 Back Plate Replacement: шаг 3, изображение 1 из 3 Olympus VR-350 Back Plate Replacement: шаг 3, изображение 2 из 3 Olympus VR-350 Back Plate Replacement: шаг 3, изображение 3 из 3
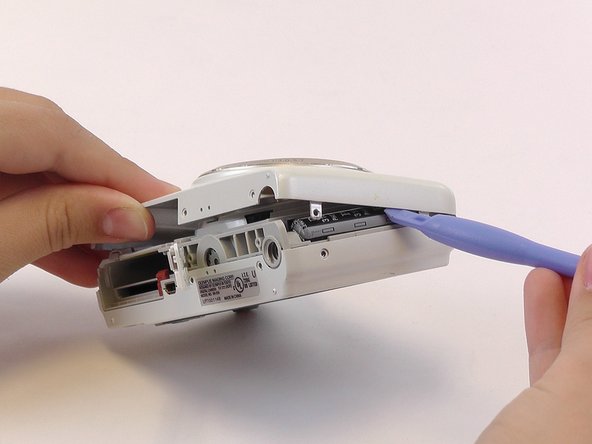
    • Use the plastic opening tools and your fingers to pry the front plate from the camera.

    • You might need to open the battery cover to remove the front plate.

  4. Olympus VR-350 Back Plate Replacement, Back Plate: шаг 4, изображение 1 из 2 Olympus VR-350 Back Plate Replacement, Back Plate: шаг 4, изображение 2 из 2
    • Use your fingers to pry open the back cover.

    • When you remove the back of the camera, the button membrane might fall out. Don’t lose this sheet.

    • The LCD screen is connected to the body of the camera by an orange ribbon cable. Don’t pull this ribbon cable out.

Заключение

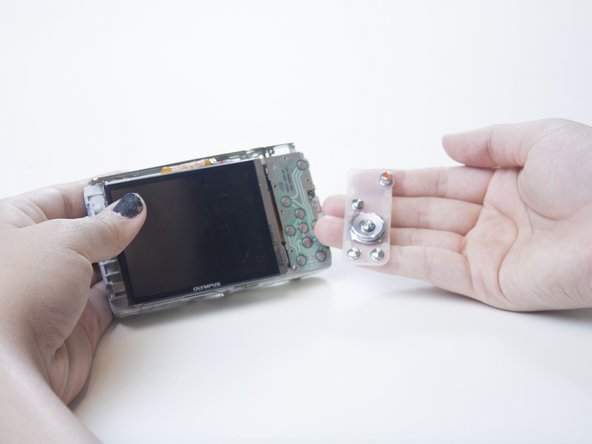
To reassemble your device, follow these instructions in reverse order.

Adri

Участник с: 02/23/15

456 Репутация

Автор 3 руководств

Команда

USF Tampa, Team 1-3, Leahy Winter 2015 Участник USF Tampa, Team 1-3, Leahy Winter 2015

USFT-LEAHY-W15S1G3

3 членов

Автор 10 руководств

0 Комментариев

Добавить комментарий

Просмотр статистики:

За последние 24часов: 0

За последние 7 дней: 1

За последние 30 дней: 10

За всё время: 672