Этот документ имеет более свежие изменения. Перейти к последней непроверенной версии.
Введение
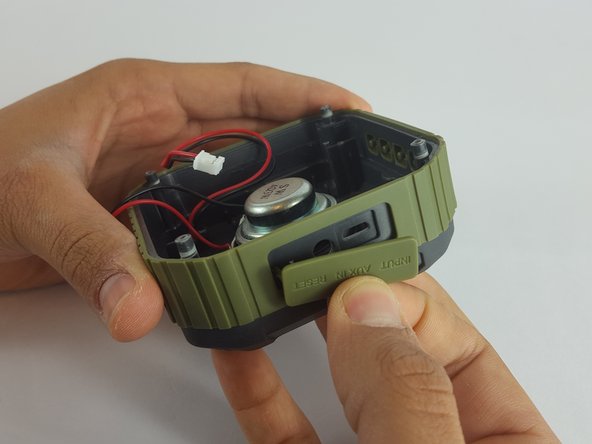
The Port Cover helps preventing water splashing inside the charging and AUX port. It is important to keep the cover in good shape to prevent damaging the internal components.
Выберете то, что вам нужно
-
-
Flip the device over so the front of the speaker is facing down. Make sure to place the speaker on a flat surface
-
-
-
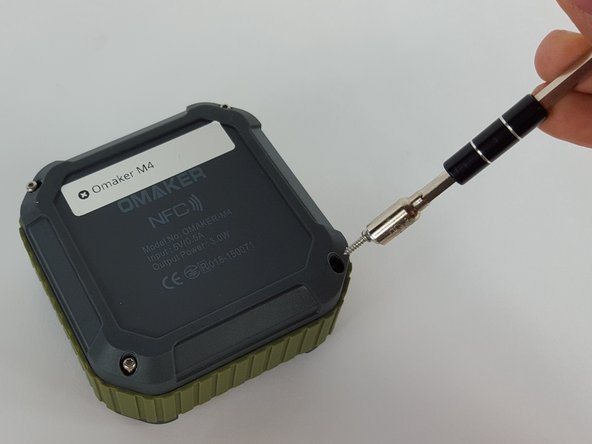
Use a T6 Torx screwdriver to remove the four 9mm screws from the back of the device.
-
-
-
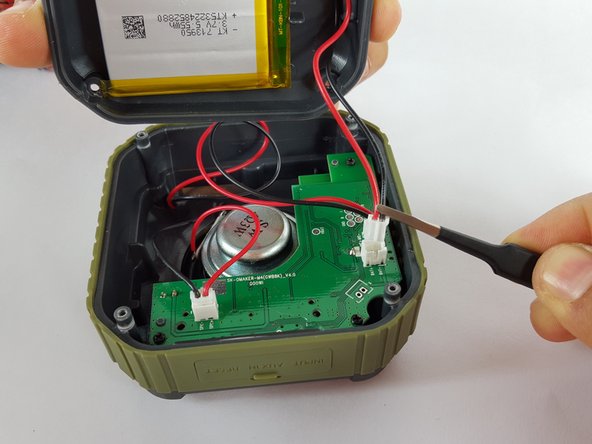
Remove the end of the battery connection from the motherboard by holding the end of the wire and carefully pulling it out of the socket using tweezers.
-
-
-
-
Remove the mic wire by carefully pulling the plug out of the socket.
-
-
-
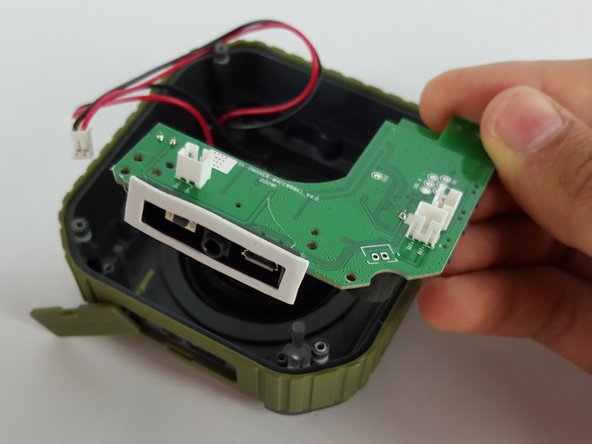
Remove the speaker wire by carefully pulling the plug out of the socket on the motherboard.
-
-
-
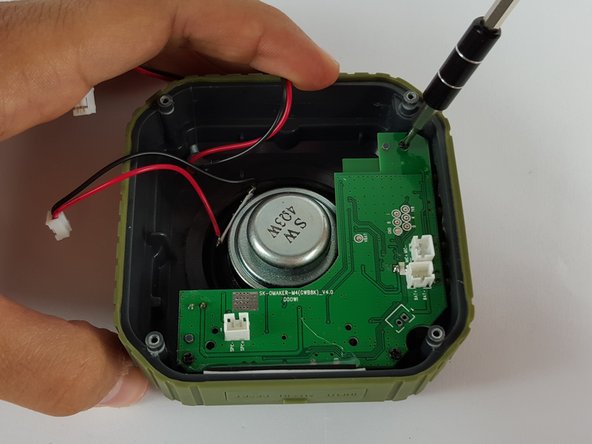
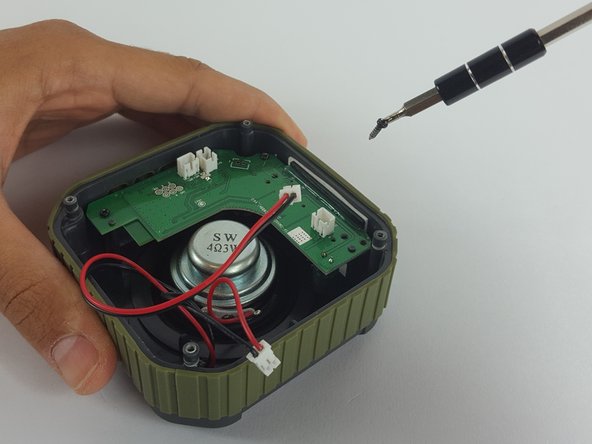
Use Phillips PH00 screwdriver to remove the three screws holding the motherboard in place.
-
-
-
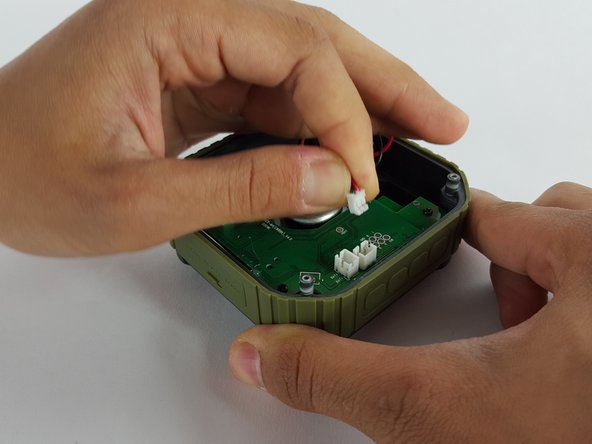
Use your left hand to pull while at the same time use the tweezers to compress the stem, carefully remove the port cover from the device.
-


To reassemble your device, follow these instructions in reverse order.
To reassemble your device, follow these instructions in reverse order.
Отменить: Я не выполнил это руководство.
2 участников успешно повторили данное руководство.
Команда

USF Tampa, Team 2-2, Sullivan Spring 2016 Участник USF Tampa, Team 2-2, Sullivan Spring 2016
USFT-SULLIVAN-S16S2G2
3 членов
Автор 2 руководств