Перейти к основному содержанию

Onda V701 Screen Replacement

Выберете то, что вам нужно

  1. Onda V701 Screen Replacement, Back Panel: шаг 1, изображение 1 из 3 Onda V701 Screen Replacement, Back Panel: шаг 1, изображение 2 из 3 Onda V701 Screen Replacement, Back Panel: шаг 1, изображение 3 из 3
    • Ensure device is powered off before disassembly.

    • Remove the 4 rubber screw plugs using a spudger.

  2. Onda V701 Screen Replacement: шаг 2, изображение 1 из 3 Onda V701 Screen Replacement: шаг 2, изображение 2 из 3 Onda V701 Screen Replacement: шаг 2, изображение 3 из 3
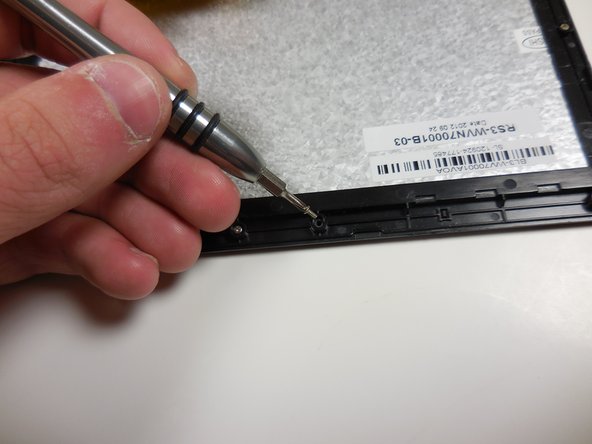
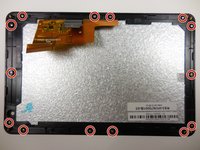
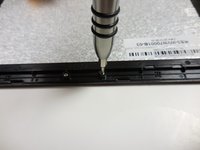
    • Remove the four 4.8mm mounting screws using a PH00 screwdriver.

  3. Onda V701 Screen Replacement: шаг 3, изображение 1 из 2 Onda V701 Screen Replacement: шаг 3, изображение 2 из 2
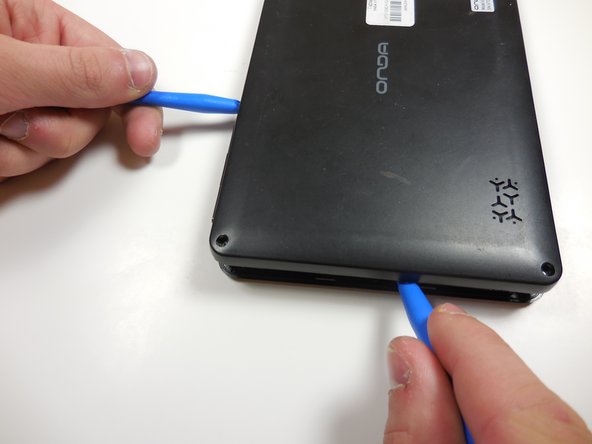
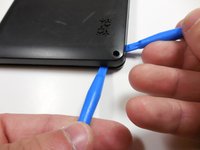
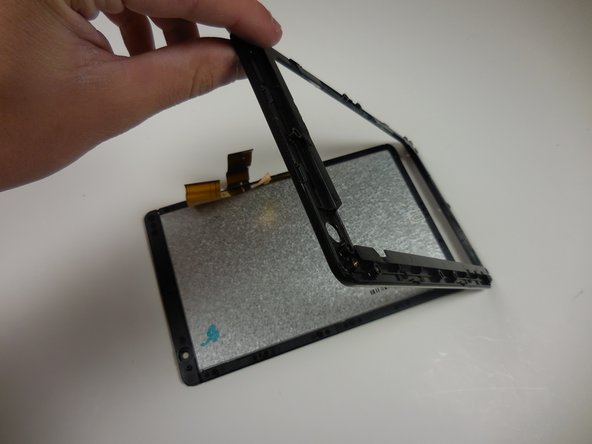
    • Starting at one corner, gently pry the back panel assembly from the screen assembly using two plastic opening tools.

    • Slide the opening tools around the perimeter of the device to separate the back panel assembly from the screen assembly.

  4. Onda V701 Screen Replacement: шаг 4, изображение 1 из 2 Onda V701 Screen Replacement: шаг 4, изображение 2 из 2
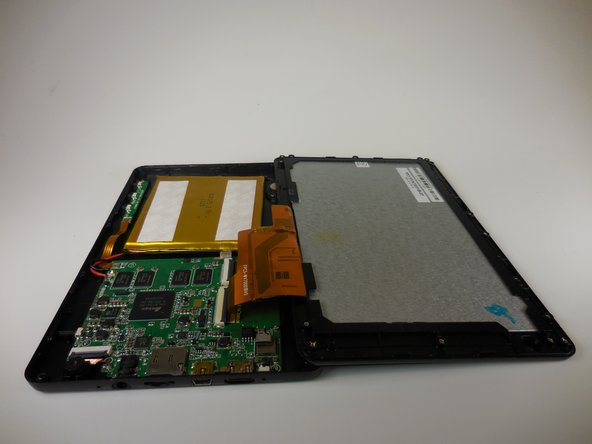
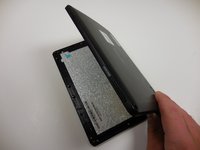
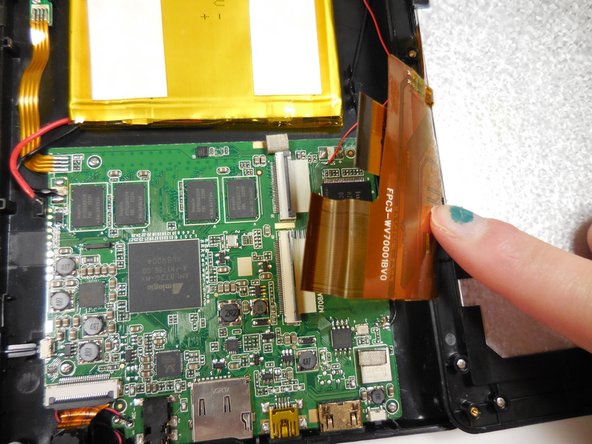
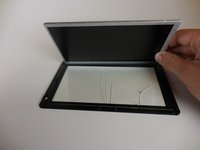
    • Gently lift the screen assembly away from the back cover assembly.

    • Be careful when separating the two pieces as the screen assembly is still connected to the mother board by two ribbon cables.

  5. Onda V701 Screen Replacement: шаг 5, изображение 1 из 3 Onda V701 Screen Replacement: шаг 5, изображение 2 из 3 Onda V701 Screen Replacement: шаг 5, изображение 3 из 3
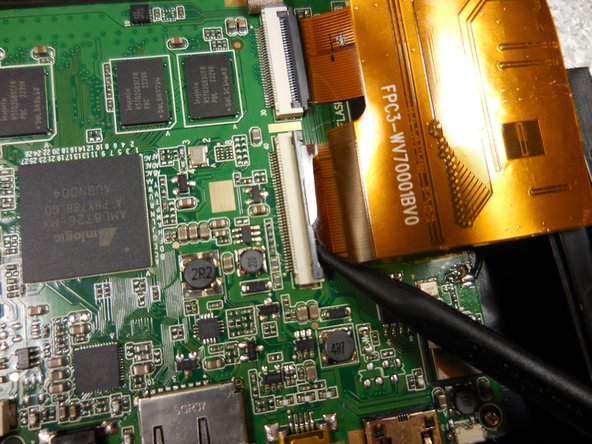
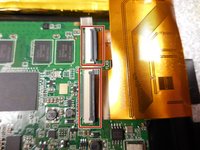
    • Disconnect the two ribbon connectors by flipping the gray tabs up with a fingernail or a spudger.

    • Remove the ribbon cables.

  6. Onda V701 Screen Replacement, Screen: шаг 6, изображение 1 из 3 Onda V701 Screen Replacement, Screen: шаг 6, изображение 2 из 3 Onda V701 Screen Replacement, Screen: шаг 6, изображение 3 из 3
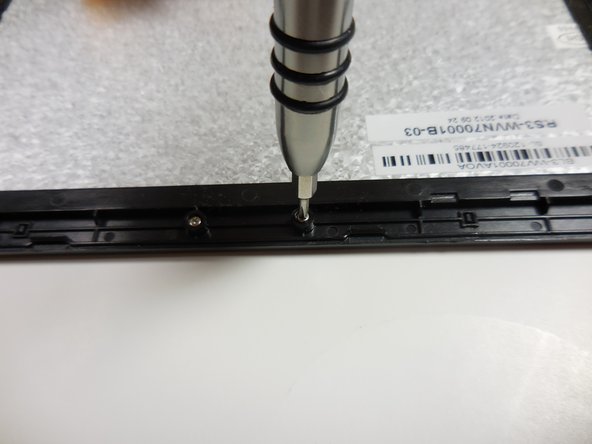
    • Remove all 14 of the 3.6mm screws using a PH00 screwdriver.

  7. Onda V701 Screen Replacement: шаг 7, изображение 1 из 3 Onda V701 Screen Replacement: шаг 7, изображение 2 из 3 Onda V701 Screen Replacement: шаг 7, изображение 3 из 3
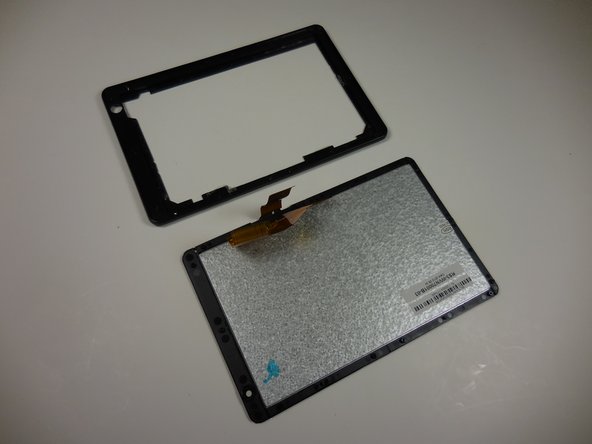
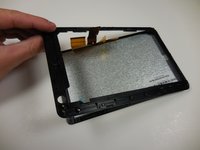
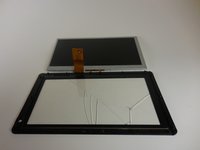
    • Gently separate the screen from the plastic border/screen holder by pulling it off with your hands.

  8. Onda V701 Screen Replacement: шаг 8, изображение 1 из 3 Onda V701 Screen Replacement: шаг 8, изображение 2 из 3 Onda V701 Screen Replacement: шаг 8, изображение 3 из 3
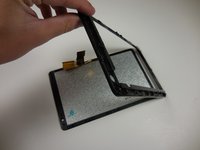
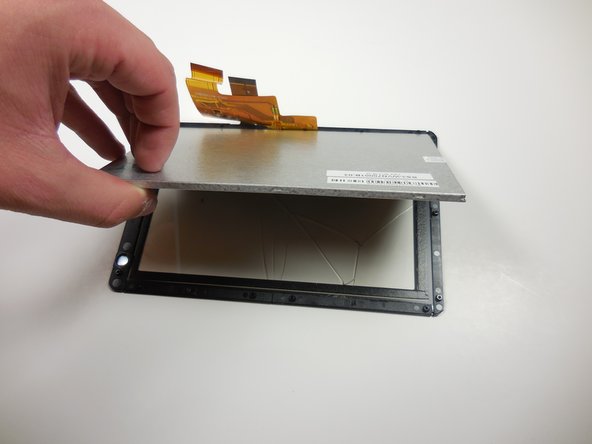
    • Remove the grey monitor from the glass screen cover by gently lifting it up.

Заключение

To reassemble your device, follow these instructions in reverse order.

Еще один человек закончил это руководство.

William Sioholm

Участник с: 03/11/15

104 Репутация

1 руководство автора

Команда

Colorado Springs, Team 4-6, Panko Spring 2015 Участник Colorado Springs, Team 4-6, Panko Spring 2015

UCCS-PANKO-S15S4G6

3 членов

Автор 10 руководств

Один комментарий

بدي من هي الشاشة وين بلاقي

abdurrhman khrrat - Ответить

Добавить комментарий

Просмотр статистики:

За последние 24часов: 0

За последние 7 дней: 6

За последние 30 дней: 10

За всё время: 457