Эта версия возможно содержит некорректные исправления. Переключить на последнюю проверенную версию.
Выберете то, что вам нужно
-
Этот шаг не переведен. Помогите перевести
-
Disconnect all peripherals.
-
Disconnect the power cord.
-
Lay the computer upside-down.
-
-
Этот шаг не переведен. Помогите перевести
-
Push both locking tabs inward. One is spring loaded and will need to be held while removing the battery.
-
Remove the battery by pulling up on the tab.
-
-
Этот шаг не переведен. Помогите перевести
-
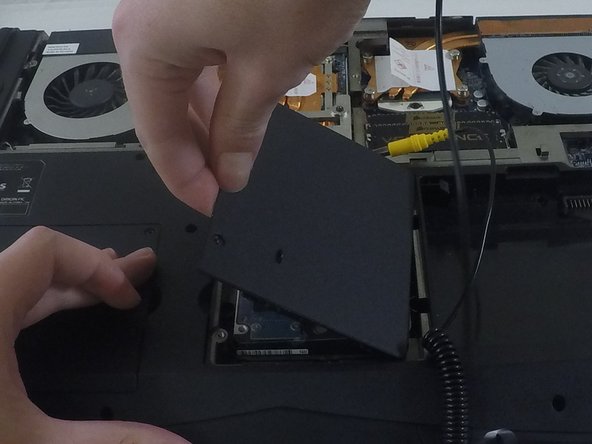
Remove the component cover by removing the six screws with a 3/32" screwdriver.
-
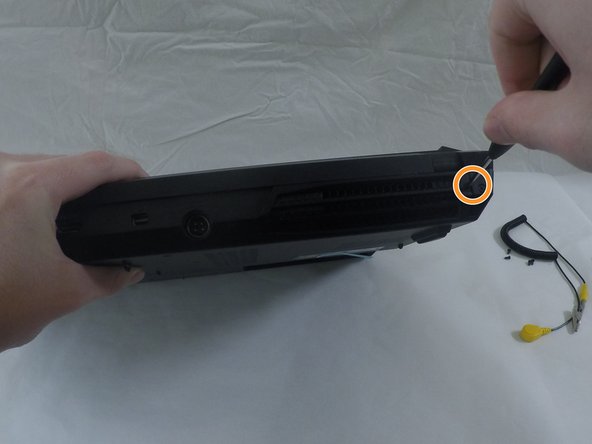
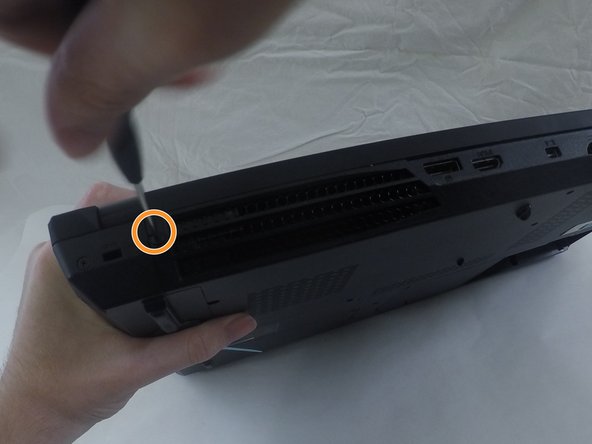
Remove the screws from the bottom of the computer.
-
Remove the screws from the back of the computer.
-
-
-
Этот шаг не переведен. Помогите перевести
-
Put on the electrostatic wrist strap and attach the alligator clip to a sturdy piece of metal inside the case.
-
-
Этот шаг не переведен. Помогите перевести
-
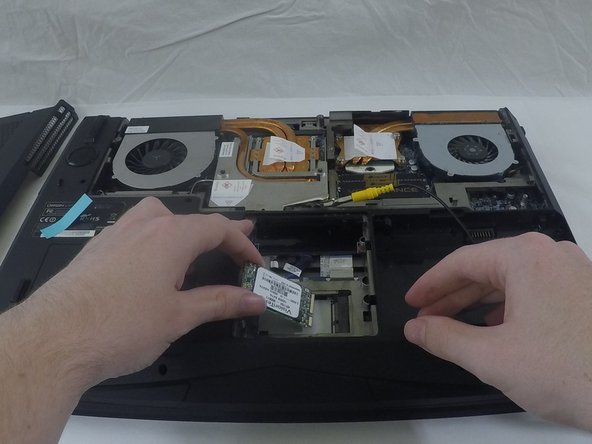
You will see the mSATA drive in the lower right hand corner of the component area.
-
Remove the screw on the far right side of the drive.
-
The drive will rise up to an angle.
-
Remove the drive by pulling in the direction the drive is positioned.
-
-
Этот шаг не переведен. Помогите перевести
-
Unscrew the two screws holding the hard drive cover to reveal the second mSATA bay.
-
-
Этот шаг не переведен. Помогите перевести
-
Remove the hard drive by sliding it towards you.
-
Once it is free of the port, use a screwdriver to gently pry it from the bay.
-
-
Этот шаг не переведен. Помогите перевести
-
Remove the small, silver, rectangular plate below the hard drive bay.
-
Remove the small screw at the front of the plate.
-
Pull the plate up and out.
-
-
Этот шаг не переведен. Помогите перевести
-
Remove the small screw on the upper left of the hard drive.
-
The drive will rise up at an angle.
-
Remove the drive by pulling in the direction the drive is currently positioned.
-
Отменить: Я не выполнил это руководство.
Еще один человек закончил это руководство.


