Введение
The circuit board is the main control center of the blender.
Выберете то, что вам нужно
-
-
Use the prying tools to open the four plastic screw holes on the bottom of the blender.
-
-
-
Use the Phillips #1 Screwdriver to unscrew the four 16 mm screws and remove the plastic bottom.
-
-
-
-
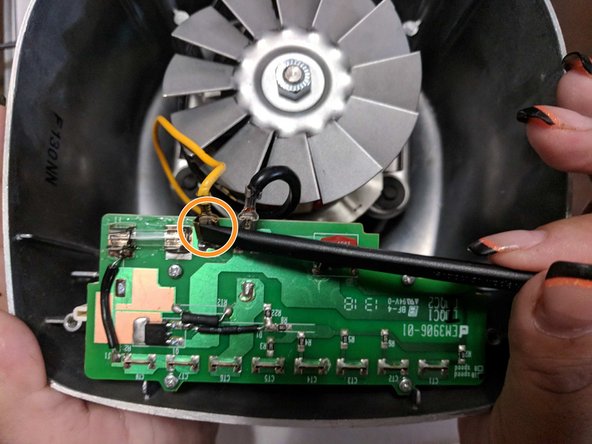
Use the spudger to detach the black wire from the circuit board.
-
Repeat for yellow wire.
-
-
-
Use the Phillips #1 to remove the four 8mm screws.
-
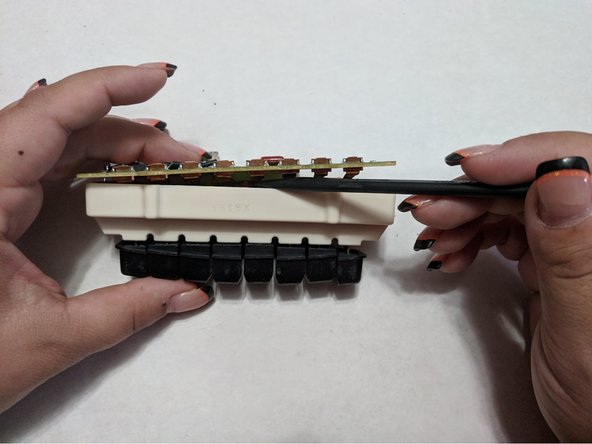
Use the medal spudger to detach the circuit board from the buttons.
-
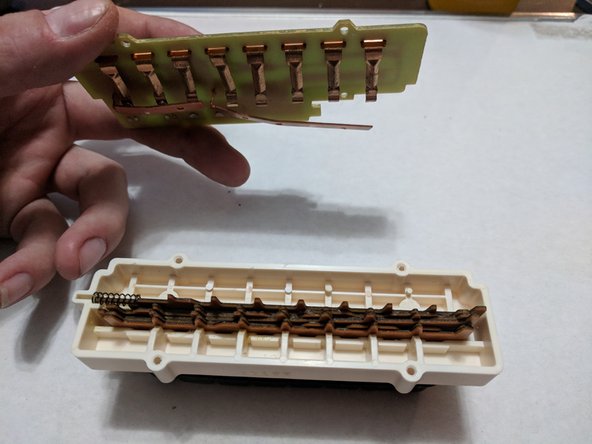
Gently pull and release circuit board from buttons.
-


To reassemble your device, follow these instructions in reverse order.
To reassemble your device, follow these instructions in reverse order.
Отменить: Я не выполнил это руководство.
Еще один человек закончил это руководство.
Команда

University of North Texas, Team S7-G8, Thomas Fall 2017 Участник University of North Texas, Team S7-G8, Thomas Fall 2017
UNT-THOMAS-F17S7G8
3 членов
Автор 4 руководств