Введение
Did you break your joysticks on a PDP Afterglow Xbox 360 controller? Do your joysticks have chipped edges, worn down grip, or did the rubber covering come off? Follow this guide to replace them and get back to the game!
The joystick on a controller is an important part as it is most often used for movement within games and a faulty joystick can cause inaccuracies and discomfort for the player using the controller.
As this is a replacement guide, the only precautions you need to take are to ensure that the controller is not powered on or plugged in before disassembly.
Due to a step requiring the removal of the controller circuit board, make sure you are in a clean dust free area before doing the replacement.
Before beginning, ensure that the power to the controller is completely off.
Выберете то, что вам нужно
-
-
Remove the two 11 mm screws from the back of the controller using a Phillips #0 screwdriver.
-
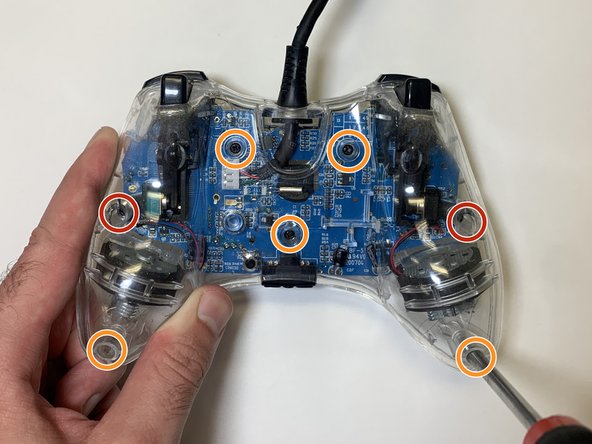
Remove the five 8 mm screws from the back of the controller using a Phillips #0 screwdriver.
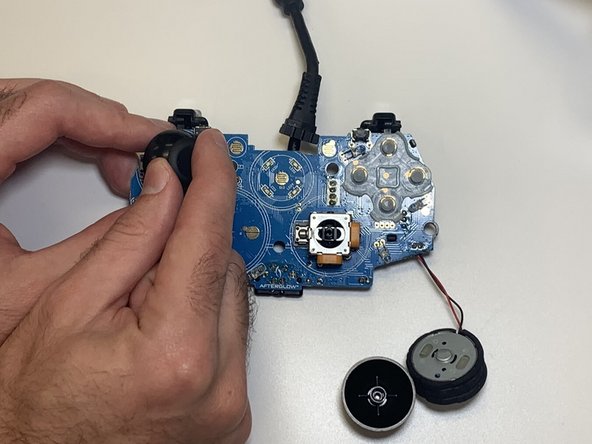
-
-
-
-
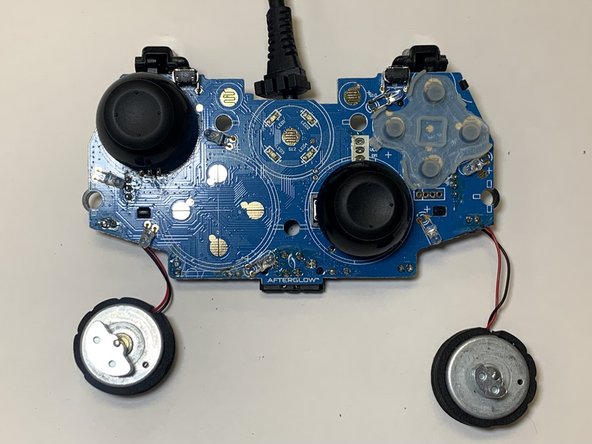
Place the new joystick into position and press until the joystick makes a click.
-
-
-
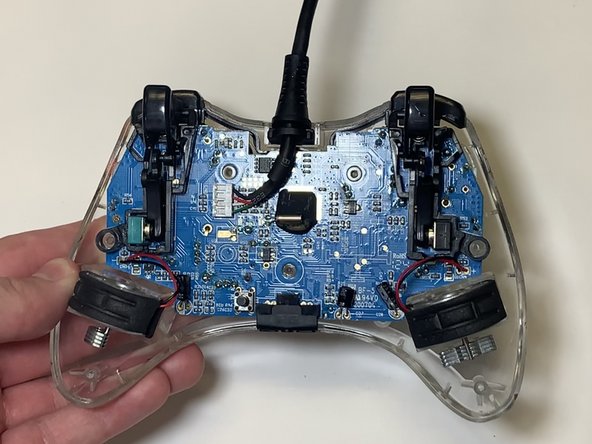
Place the back cover into position.
-
Reinsert the two 11 mm screws into the back of the controller using a Phillips #0 screwdriver.
-
Reinsert the five 8 mm screws into the back of the controller using a Phillips #0 screwdriver.
-


Отменить: Я не выполнил это руководство.
Еще один человек закончил это руководство.
Команда

University of North Texas, Team 2-5, Raign Fall 2021 Участник University of North Texas, Team 2-5, Raign Fall 2021
UNT-RAIGN-F21S2G5
2 членов
Автор 1 руководств