Введение
Cracked/broken LCD? No problem! Replace it with ease.
Выберете то, что вам нужно
-
-
Place PSP face down, so that the UMD Drive is facing upwards.
-
Locate the battery door and open.
-
Remove the battery from inside.
-
-
-
Locate the sticker in the battery compartment labeled: "En: Warranty Void if Seal Damaged."
-
Remove the sticker using the PSP Opening Tools.
-
-
-
-
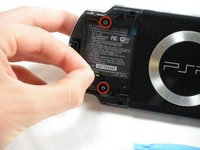
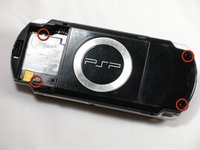
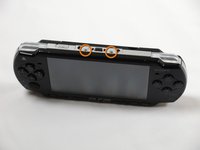
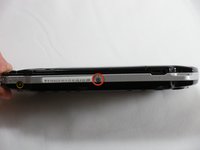
Remove the following screws from around the bezel:
-
Two 4 mm Phillips
-
One 5 mm Phillips
-
-
-
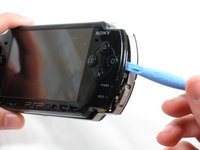
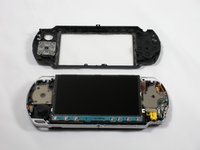
Gently pry the front bezel away from the casing using a PSP opening tool.
-
Start on the right hand side of the PSP bezel, and carefully work the tool around the side.
-
-
-
Remove the home bar by gently prying on the left and right sides of it with the opening tools. Lift the bar out of the device.
-
-
-
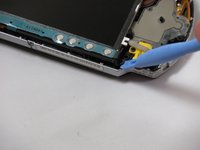
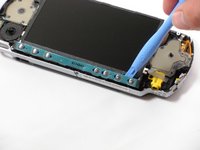
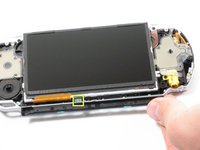
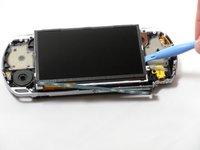
With the home bar out of the way, gently pry up the display using the opening tools.
-
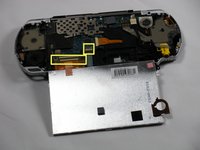
Lift the black tabs of the ribbon cable connectors using a opening tool. Pull the ribbons out towards the bottom of the PSP to disconnect.
-
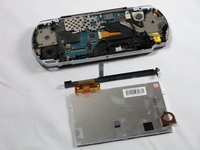
Gently lift out the display.
-
To reassemble your device, follow these instructions in reverse order.
Отменить: Я не выполнил это руководство.
66 человек успешно провели ремонт по этому руководству.
6 Комментарии к руководству
That does’t seem that hard. Is this tutorial working with the PSP2004?
Yes it is, just did it :)
Billy -
I was wondering why after replacing the screen that the new one only shows a blank black screen. The backlight turns on and it plays the boot up sequence and you can play around on the Home Screen, but you just cant see what you’re doing on the screen. Everything seems connected right. Any suggestions??


