Перейти к основному содержанию

Palm Treo 600 Camera Replacement

Выберете то, что вам нужно

  1. Palm Treo 600 Camera Replacement, Back Case: шаг 1, изображение 1 из 1
    • On the back of the device, locate the 3 rubber plugs, and use a plastic spudger to remove them.

  2. Palm Treo 600 Camera Replacement: шаг 2, изображение 1 из 2 Palm Treo 600 Camera Replacement: шаг 2, изображение 2 из 2
    • Use the T6 Torx Screwdriver to remove all 4 screws.

    • You have to first remove the Stylus to access the 4th screw.

  3. Palm Treo 600 Camera Replacement: шаг 3, изображение 1 из 2 Palm Treo 600 Camera Replacement: шаг 3, изображение 2 из 2
    • Using a plastic opening tool, carefully separate the front and back cases.

    • Note: The antenna will detach from the phone.

  4. Palm Treo 600 Camera Replacement, Motherboard: шаг 4, изображение 1 из 1
    • Using the Phillips #00 screwdriver, unscrew the 4 screws holding the silver casing down.

  5. Palm Treo 600 Camera Replacement: шаг 5, изображение 1 из 1
    • Lift up the silver casing.

    • Careful! The casing is connected to the body. Pull the casing up.

  6. Palm Treo 600 Camera Replacement: шаг 6, изображение 1 из 1
    • With the silver casing removed, unscrew two black screws with a #00 Phillips Screwdriver.

  7. Palm Treo 600 Camera Replacement: шаг 7, изображение 1 из 2 Palm Treo 600 Camera Replacement: шаг 7, изображение 2 из 2
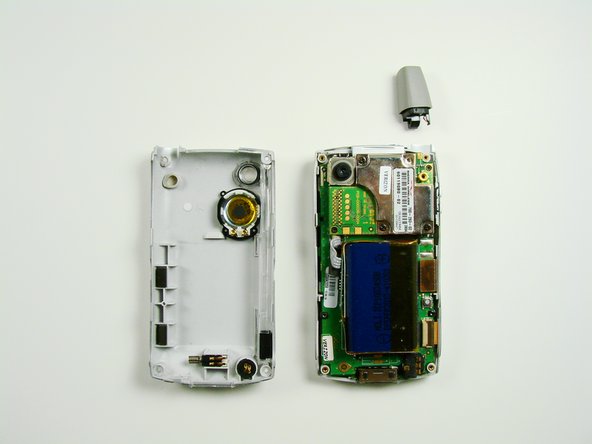
    • Use the spudger to lift the logic board from its socket. Remove it from the rest of the phone.

  8. Palm Treo 600 Camera Replacement, Camera: шаг 8, изображение 1 из 2 Palm Treo 600 Camera Replacement, Camera: шаг 8, изображение 2 из 2
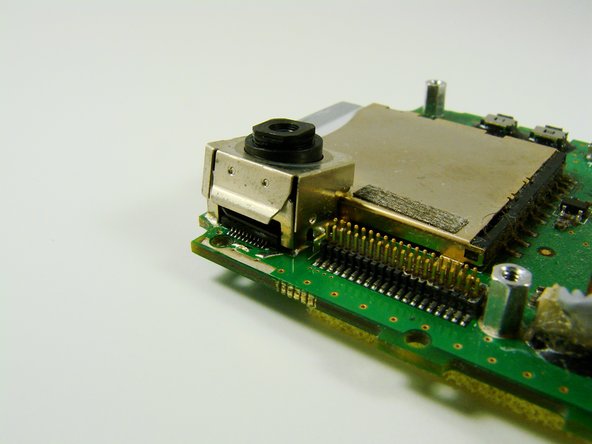
    • Using the flat end of the spudger, lift the metal case off of the camera.

  9. Palm Treo 600 Camera Replacement: шаг 9, изображение 1 из 3 Palm Treo 600 Camera Replacement: шаг 9, изображение 2 из 3 Palm Treo 600 Camera Replacement: шаг 9, изображение 3 из 3
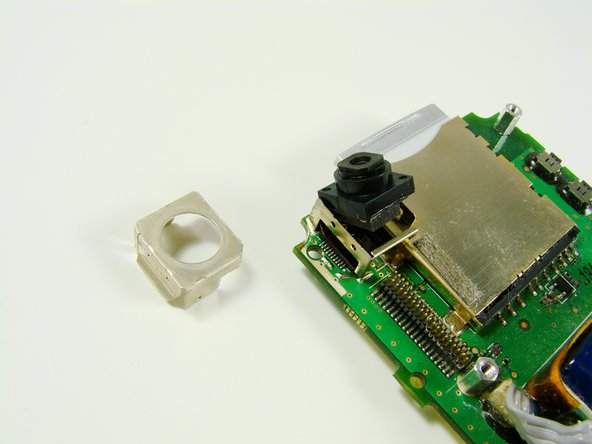
    • Slide the flat end of the spudger between the printed circuit board and metal holder.

    • Pop the camera up

Заключение

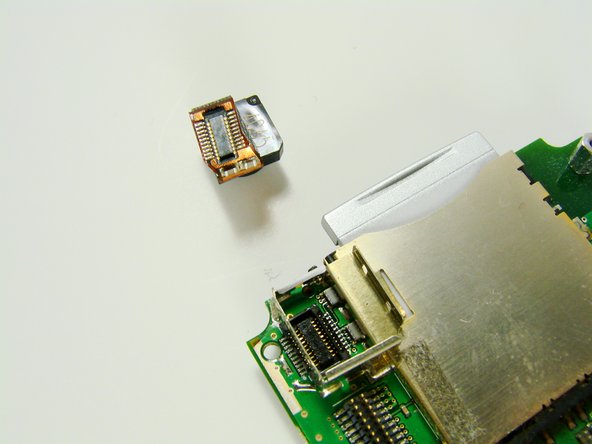
To reassemble your device, follow these instructions in reverse order.

Clement Poisson

Участник с: 01/26/10

24 Репутация

Автор 7 руководств

Команда

Cal Poly, Team 13-23, Maness Winter 2010 Участник Cal Poly, Team 13-23, Maness Winter 2010

CPSU-MANESS-W10S13G23

4 членов

Автор 16 руководств

0 Комментариев

Добавить комментарий

Просмотр статистики:

За последние 24часов: 0

За последние 7 дней: 0

За последние 30 дней: 1

За всё время: 1,534