Введение
This guide will show you how to remove and repair a malfunctioning LCD Screen/Touch Screen on a Palm Treo 680 with 4 steps.
Выберете то, что вам нужно
-
-
-
Remove the battery cover by pressing on the small rectangular button located on the back of the phone.
 Спросите у FixBot
-
-
-
-
-
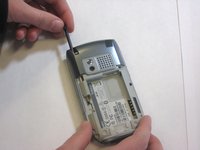
Remove the stylus in order to access the screw.
-
Remove the 27mm top-left screw using a T6 Torx screwdriver.
-
-
-
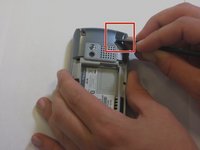
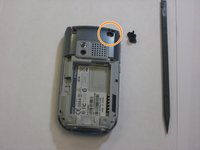
Using the spudger, remove the rubber rectangular cover located in the upper rear, right-hand corner.
-
Remove the 27mm screw using the T6 Torx screwdriver.
-
-
-
-
Remove the remaining two 27mm screws from the bottom using the T6 screwdriver.
-
-
-
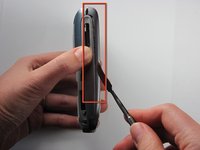
Turn the phone so the screen is facing the right side.
-
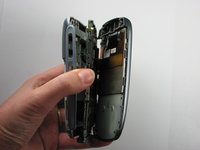
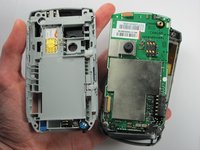
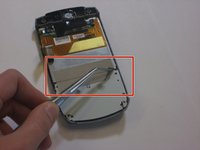
Use a spudger to carefully separate the back panel from the front panel to access components inside the phone.
-
Separate the covers from the left side of the device as indicated in the picture.
-
-
-
-
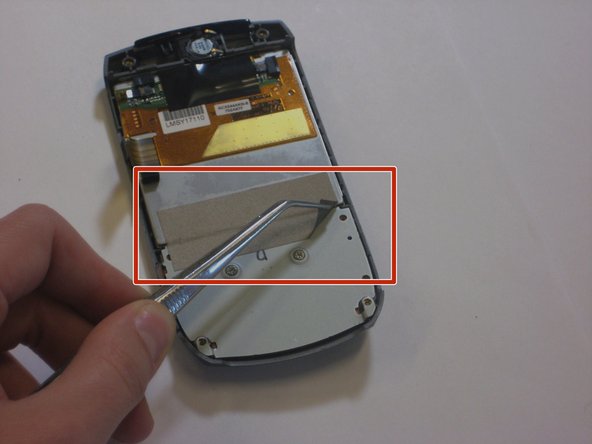
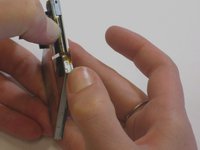
Инструмент, используемый на этом этапе:Tweezers$4.99
-
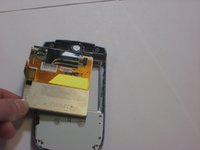
Use a pair of tweezers, to carefully peel off the silver tape from the screen.
-
Push the screen out of the back of the front panel to remove it.
-
-
-
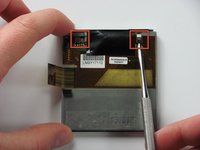
Use a small spudger to flip up both of the locking flaps that hold the orange ribbon cables in place.
-
-
-
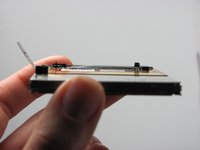
Flip the screen over 180 degrees and remove the metal piece that cushions the screen.
-
Flip the screen over again.
-
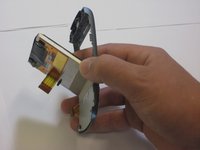
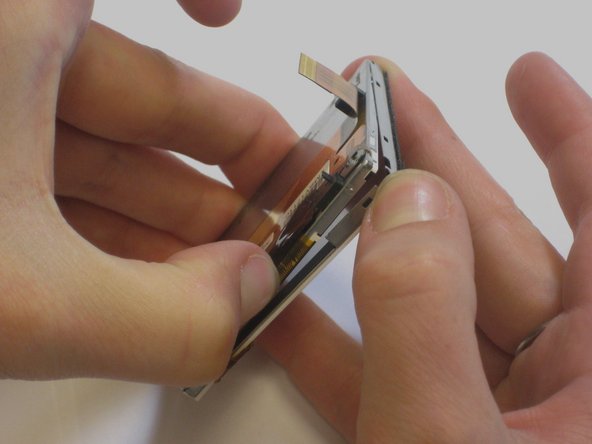
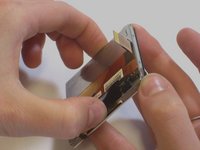
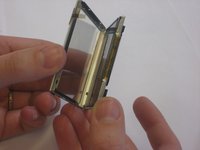
Carefully begin to pull apart the touch screen and LCD screen.
-
-
-
Move your thumbs diagonally to the opposite corner of the screen and slightly pull apart the touch screen from the LCD screen.
-
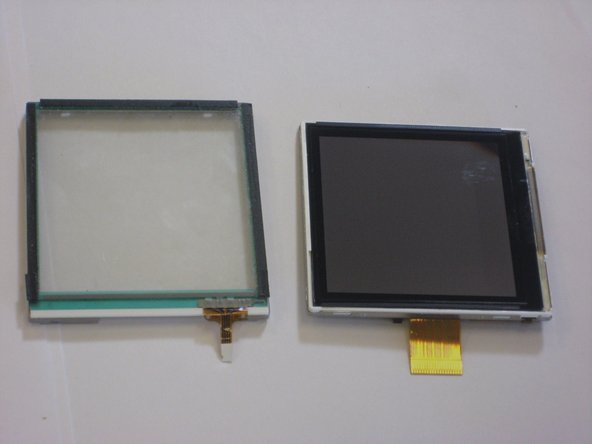
Carefully peel the touch screen away from the LCD screen.
-
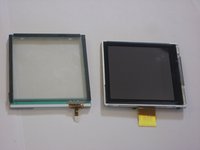
The touch screen and LCD screen should now be completely separated.
-
-


To reassemble your device, follow these instructions in reverse order, but ensure you use the new screen. Take your e-waste to an R2 or e-Stewards certified recycler.
Отменить: Я не выполнил это руководство.
2 человек успешно провели ремонт по этому руководству.
Команда

Cal Poly, Team 6-4, Maness Fall 2009 Участник Cal Poly, Team 6-4, Maness Fall 2009
CPSU-MANESS-F09S6G4
4 членов
Автор 27 руководств
2 Комментарии к руководству
where can i get the new touch scree, actually my mobile has fallen down and broken the touch scree. i am a resident in India, Andhra Pradesh, Hyderabad........at Ramkote.... please give me message at chinthala.prasad@yahoo.com please
These are very nice instructions. They are clear and detailed for anyone to follow. Thanks for putting together the steps and sharing it.
I have not tried all steps completely yet. But will do so. I will left with probably a question what to do with touch screen. My phone has
never fallen down nor damaged. It worked perfectly well and one fine day, touch screen stopped working. In any case, I will try.
RJ