Введение
This guide is to show you how to replace the battery on Palm Zire 71.
Выберете то, что вам нужно
-
-
Flip the phone so it's facing screen-side down.
-
Slide the back cover upward to open.
-
-
-
Use a Torx T5 screwdriver to remove the top two screws.
Informative tutorial, and the tools were required. However, there is an error in sliding the back off the lower unit. The bracket will not detach. Its wiring is glued and soldered to the back and can’t be pulled off along with the speaker without damaging the wire. Pulling the halves apart destroyed the wiring and trashed the unit.
-
-
-
Remove the back sticker.
-
Remove the three bottom Phillips #00 screws.
-
-
-
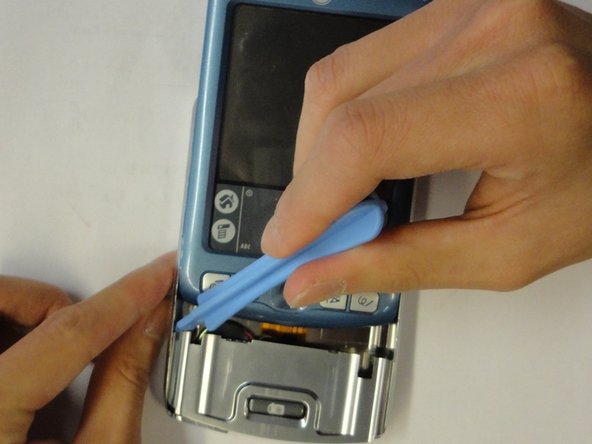
Flip the phone over so it's facing screen-side up.
-
Slide the screen upward by a few millimeters without detaching the screen.
-
Use the plastic opening tool to pry off the front panel.
I found it easier to go between the front panel and the back cover with a jimmy knife instead of the relatively thick plastic opening tool. It is very tight gap. Once you get inside that gap, the panel gets off immediately.
-
-
-
-
Remove the bottom two Phillips #00 screws.
-
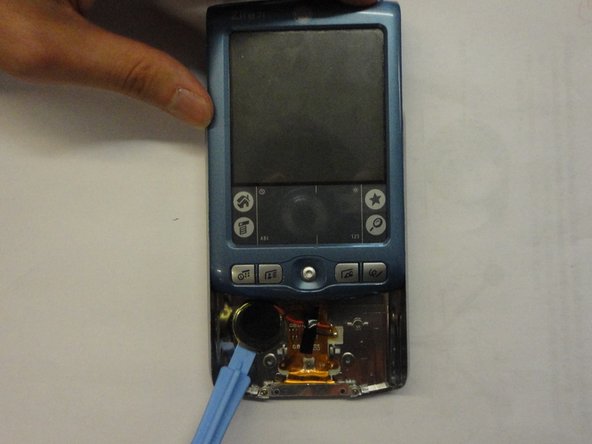
Remove the bracket.
-
Use the plastic opening tool to pry off the speaker.
removing this bracket also requires un-gluing the wiring harness from the back shell. This will likely destroy the speaker connection since it is soldered onto the wiring tape.
When prying off the speaker, be careful to not damage the diaphragm which is glued to the speaker grill beneath. You can remove the ribbon cable by carefully pulling up the bottom connector.
-
-
-
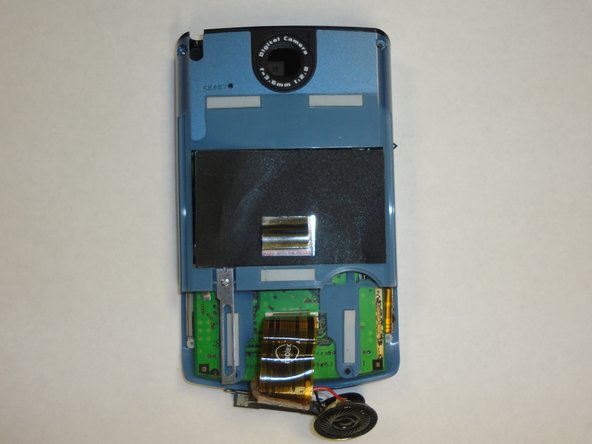
Remove the Philips screws #00
-
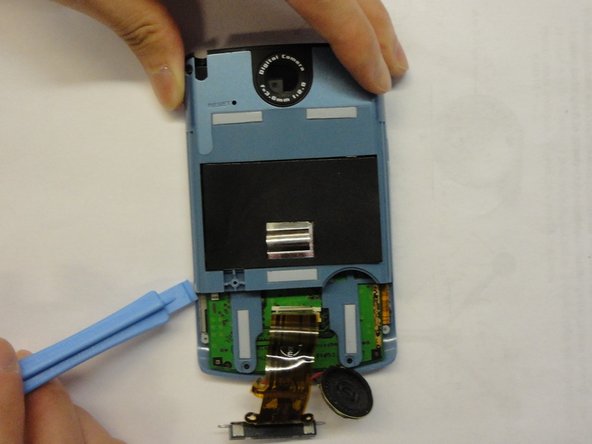
Remove the rear blue panel by prying both sides using the plastic opening tool
-
-
-
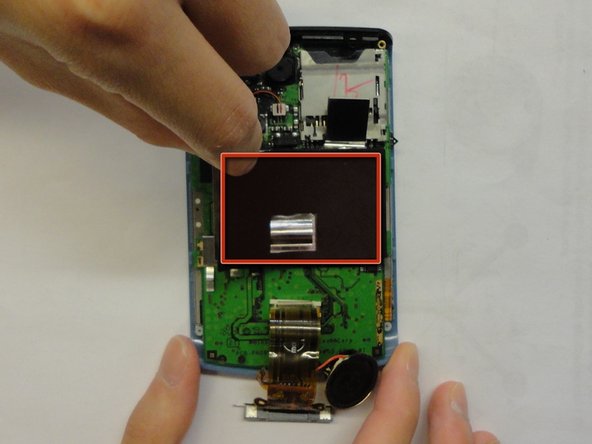
Remove the black plastic sticker
-
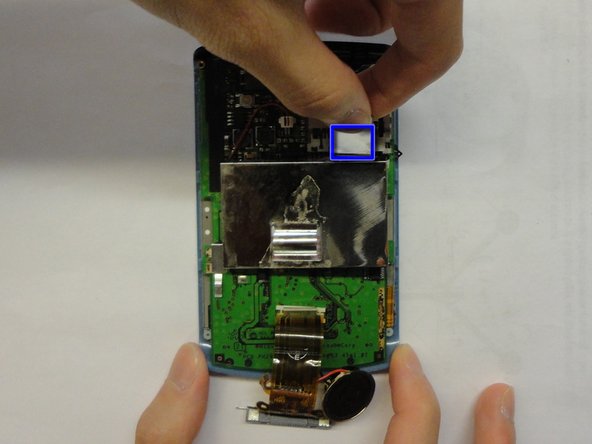
Pull the tap up to remove the metal cap
You don't have to remove the black plastic sticker - you just need to separate the metal cap from the battery. The battery is glued to that metal cap..
-
-
-
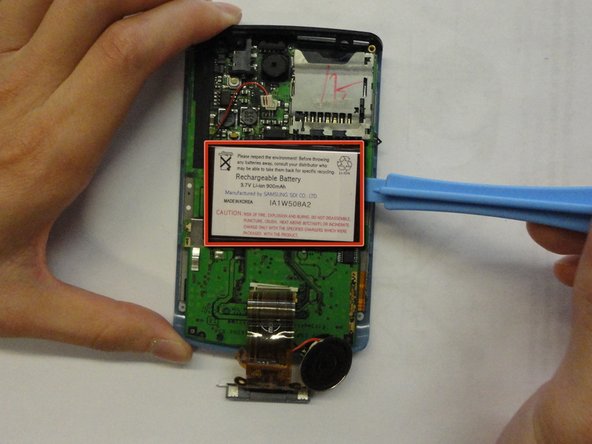
Remove the cable by pinching the sides and pulling
-
Pry off the battery with the plastic opening tool
-
Insert the new battery
-


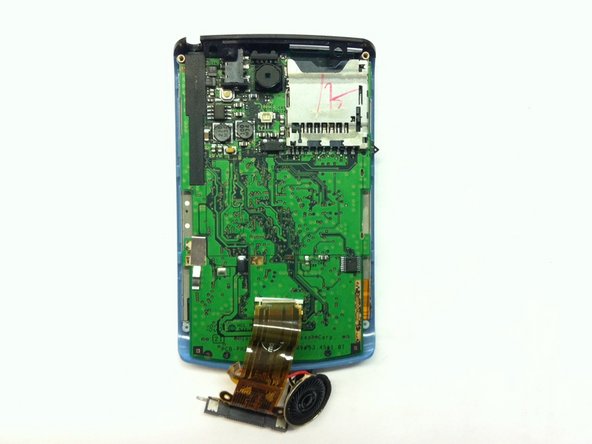
To reassemble your device, follow these instructions in reverse order.
To reassemble your device, follow these instructions in reverse order.
Отменить: Я не выполнил это руководство.
7 участников успешно повторили данное руководство.
Команда

CSU Los Angeles, Team 1-5, Nelson Spring 2011 Участник CSU Los Angeles, Team 1-5, Nelson Spring 2011
CSULA-NELSON-S11S1G5
3 членов
Автор 6 руководств