Введение
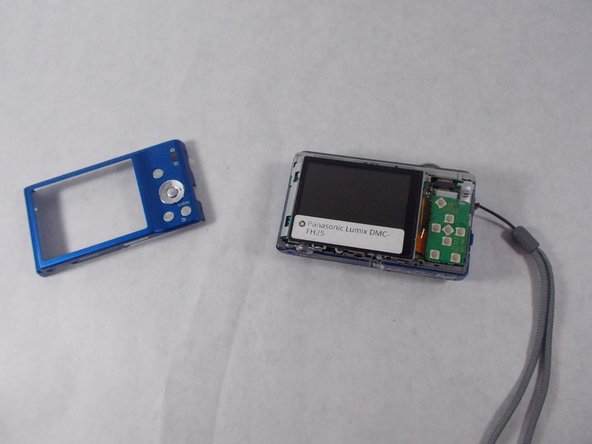
Replacing the zoom is necessary if the assembly is damaged. It can also be useful to clean the assembly if grit gets through the initial lens rings. After the screen is removed there are two more parts that come out to access the assembly. It is easy to remove the ribbon cables attached to the assembly and remove it from there.
Выберете то, что вам нужно
-
-
Remove 5 screws attached to the back case using a 00 Phillips head screwdriver.
-
-
-
Remove four screws on the front case using a 00 Phillips head screwdriver. Two will be on the side with the camera strap, one on the bottom, and one on the side opposing the camera strap. They will be in pairs, one screw holding the front case and one screw holding the back case.
-
-
-
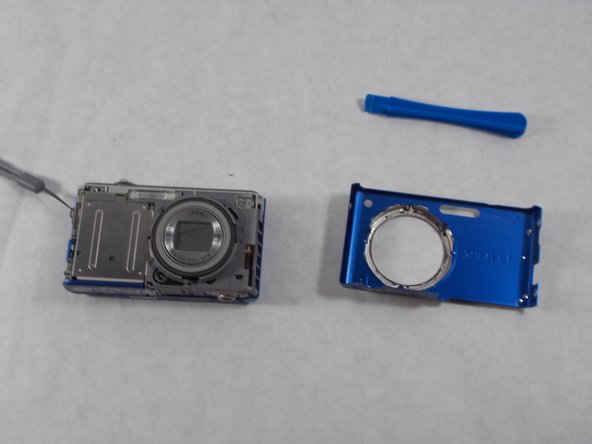
Using a plastic opening tool and your hands, pull the front case loose from the camera.
-
-
-
-
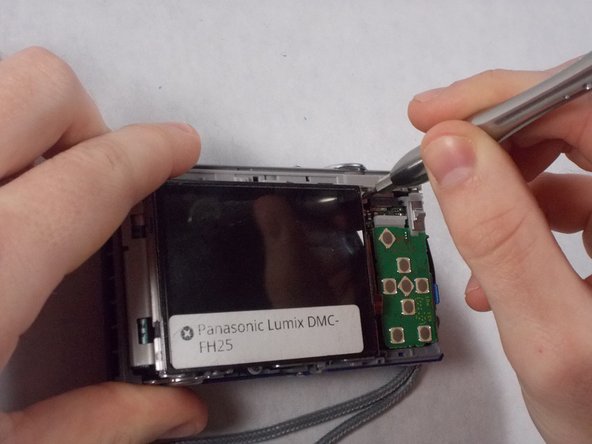
Using a 00 Phillips head screwdriver, remove a screw from the top right corner of the screen.
-
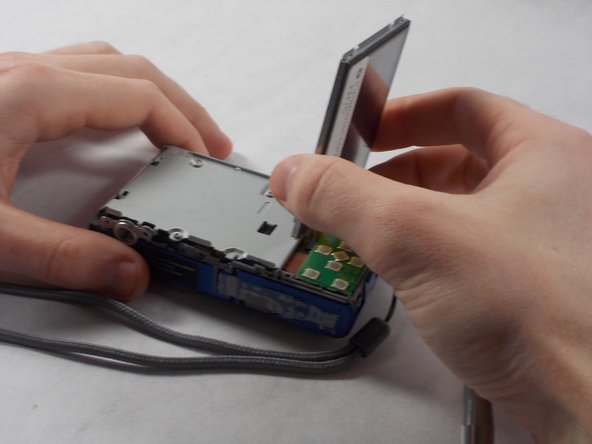
Lift the screen, being careful not to tear the ribbon cables on the right side.
-
-
-
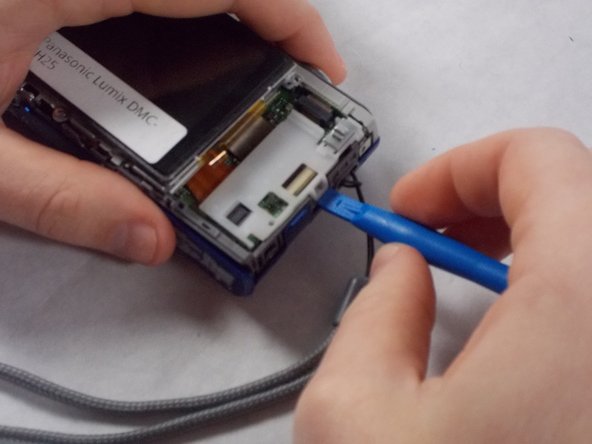
Access the ribbon cables by removing the green button receiver panel using a plastic opening tool. There is a white panel beneath. Carefully remove this using a plastic opening tool. The white panel may require some elbow grease to get it off, and the panel may make a snapping sound as it comes off.
-
-
-
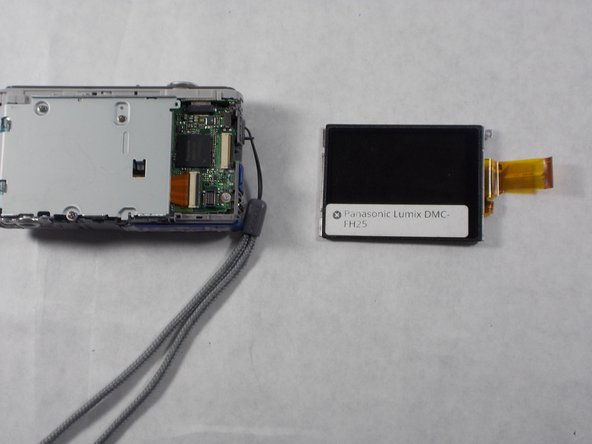
One of the ribbon cables will be housed behind the screen and the other will be under the panels. Gently pull each free from the housing and remove the screen.
-
-
-
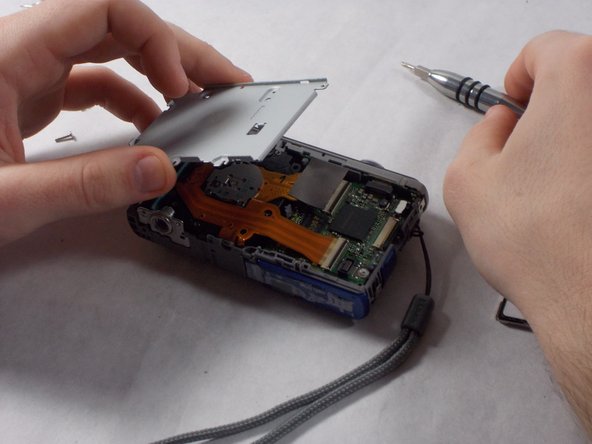
Under the screen is a silver panel. Remove three screws using a 00 philips screwdriver and take the plate off.
-
-
-
Remove the silver panel with the buttons and flash battery from the top of the camera. The silver tripod socket may fall out. Do not be alarmed and don't put it back in.
-
-
-
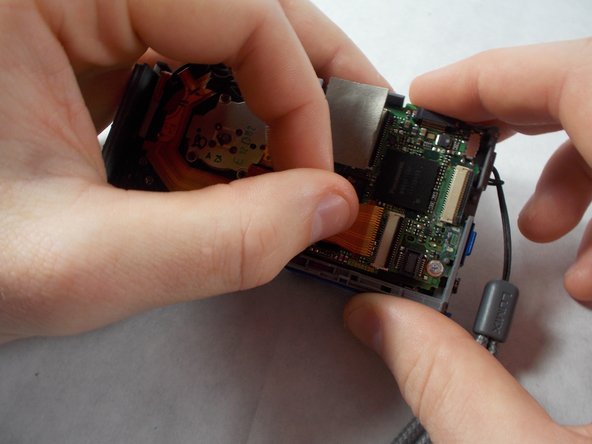
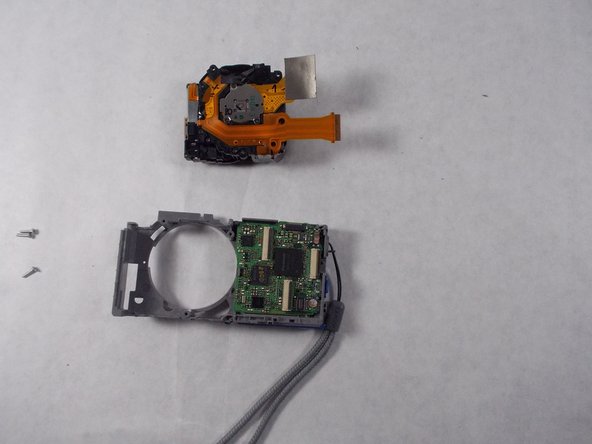
Use the pry tool to lift the latches holding the ribbon cables in place. Gently tug on them, careful not to break them. The top ribbon cable will take more effort.
-


To reassemble your device, follow these instructions in reverse order.
To reassemble your device, follow these instructions in reverse order.
Отменить: Я не выполнил это руководство.
2 участников успешно повторили данное руководство.
Команда

UMass Dartmouth, Team S6-G6, Isaacson Spring 2017 Участник UMass Dartmouth, Team S6-G6, Isaacson Spring 2017
UMASSD-ISAACSON-S17S6G6
3 членов
Автор 10 руководств
Один комментарий
Hi I disassemble my câmera lens but I don't know How to reassamble It again,can you Help me? can I send you Fotos?