Перейти к основному содержанию

Panasonic Lumix DMC-GX85 Display Screen Replacement

Выберете то, что вам нужно

  1. Panasonic Lumix DMC-GX85 Display Screen Replacement, Display Screen: шаг 1, изображение 1 из 1
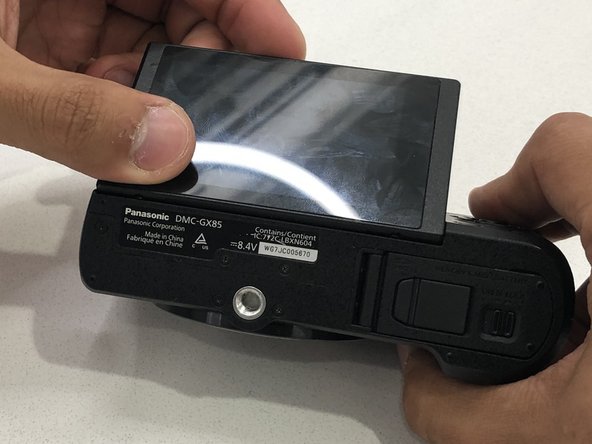
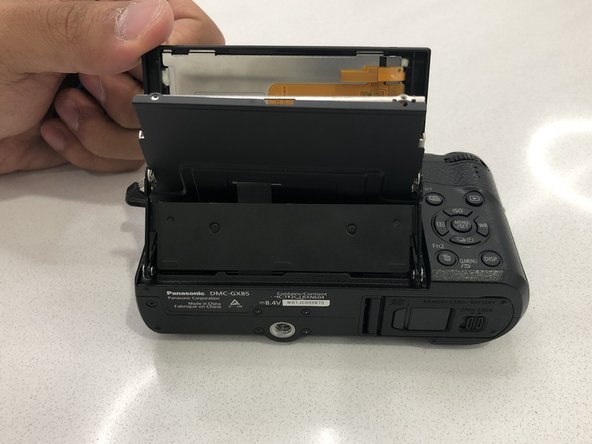
    • Turn the camera so that the shutter side faces the ground and the lens faces you.

  2. Panasonic Lumix DMC-GX85 Display Screen Replacement: шаг 2, изображение 1 из 3 Panasonic Lumix DMC-GX85 Display Screen Replacement: шаг 2, изображение 2 из 3 Panasonic Lumix DMC-GX85 Display Screen Replacement: шаг 2, изображение 3 из 3
    • Remove the two 2mm Phillips #0 screws on the bottom of the screen.

  3. Panasonic Lumix DMC-GX85 Display Screen Replacement: шаг 3, изображение 1 из 2 Panasonic Lumix DMC-GX85 Display Screen Replacement: шаг 3, изображение 2 из 2
    • Swivel the screen away from the camera body so it is facing the ground.

  4. Panasonic Lumix DMC-GX85 Display Screen Replacement: шаг 4, изображение 1 из 3 Panasonic Lumix DMC-GX85 Display Screen Replacement: шаг 4, изображение 2 из 3 Panasonic Lumix DMC-GX85 Display Screen Replacement: шаг 4, изображение 3 из 3
    • Remove the two 6.0mm Phillips #0 screws on the back of the screen.

  5. Panasonic Lumix DMC-GX85 Display Screen Replacement: шаг 5, изображение 1 из 3 Panasonic Lumix DMC-GX85 Display Screen Replacement: шаг 5, изображение 2 из 3 Panasonic Lumix DMC-GX85 Display Screen Replacement: шаг 5, изображение 3 из 3
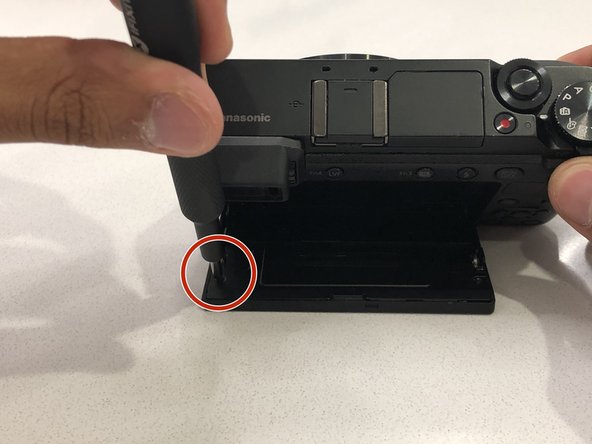
    • Orient the camera so the lens is facing the ground.

    • Using the gap created behind the screen at the bottom, stick the iFixit opening tool inside the gap and gently open the gap.

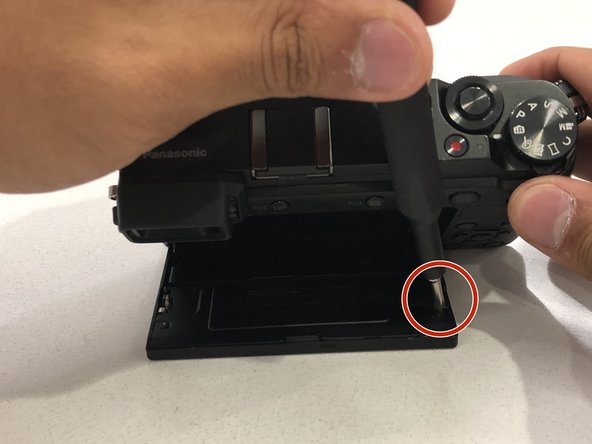
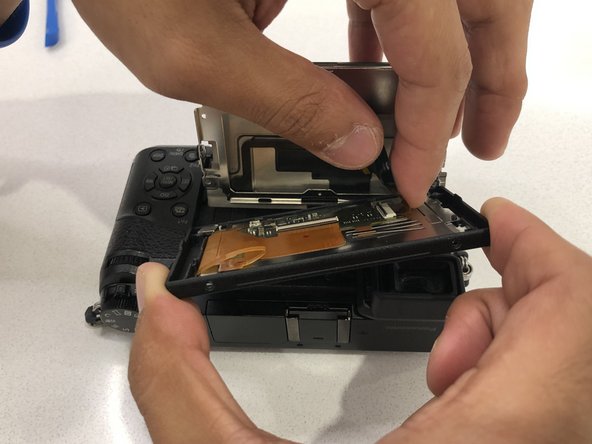
    • Work the tool evenly around the back of the display to evenly separate the two pieces. Once the back cover is separated enough, remove it by hand.

  6. Panasonic Lumix DMC-GX85 Display Screen Replacement: шаг 6, изображение 1 из 3 Panasonic Lumix DMC-GX85 Display Screen Replacement: шаг 6, изображение 2 из 3 Panasonic Lumix DMC-GX85 Display Screen Replacement: шаг 6, изображение 3 из 3
    • Be sure to use extreme caution when handling the ribbon cable to ensure the wiring within it stays intact.

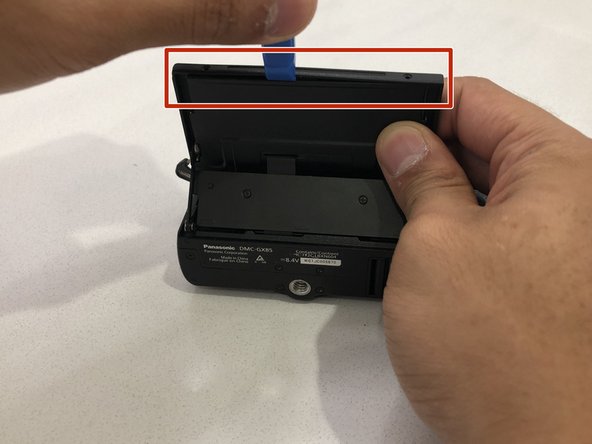
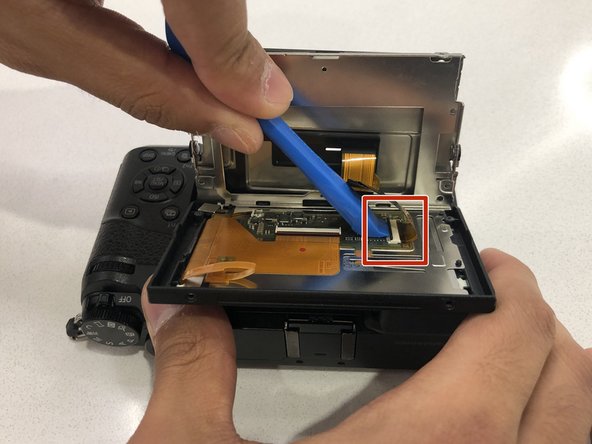
    • Place the camera so that the lens is facing the ground.

    • Using the iFixit opening tool, pry the black connector open and remove the ribbon.

  7. Panasonic Lumix DMC-GX85 Display Screen Replacement: шаг 7, изображение 1 из 1
    • Gently remove the screen from the camera body.

Заключение

To reassemble your device, follow these instructions in reverse order.


3 участников успешно повторили данное руководство.

Hae Bom

Участник с: 09/17/19

560 Репутация

Автор 3 руководств

Команда

3 Комментариев

Hi ! Thanks for the tutorial, any idea if this would be the same repair with a DC-GX9 ? The screen size seems to match

Clem - Ответить

Thanks for the guide. From step 7, how do I further dismantle the screen. I bought a replacement screen, but its in a simpler form

Kamil Zidane - Ответить

Добавить комментарий

Просмотр статистики:

За последние 24часов: 4

За последние 7 дней: 24

За последние 30 дней: 85

За всё время: 3,643