Выберете то, что вам нужно
-
-
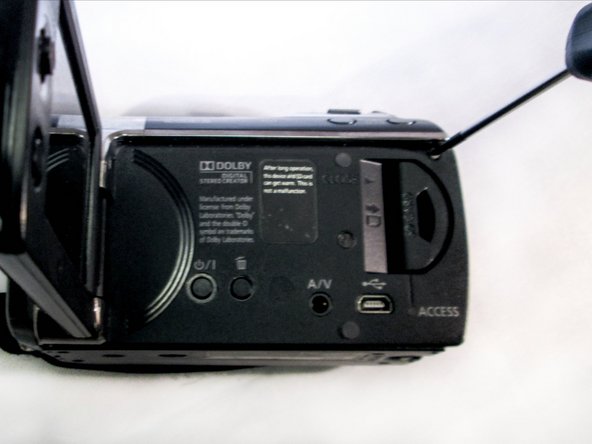
Remove the four 4-mm screws on the bottom of the camcorder.
-
-
-
Remove the three 6-mm screws on the hand-strap side of the camera.
-
-
-
Pull out the charging port (DC input terminal) cover and remove the 4-mm screw located next to the input terminal.
-
-
-
Flip out the LCD screen to expose the inner screws. Remove the two black 4-mm screws.
-
-
-
Using a firm hold on both sides of the camcorder, gently pull apart the casing under the hand strap.
-
-
-
Use tweezers to grab the ribbon cable at the connection point and slowly lift it away from the connector.
-
-
-
-
Unscrew the two black 4 mm screws from metal casing around the motherboard.
-
-
-
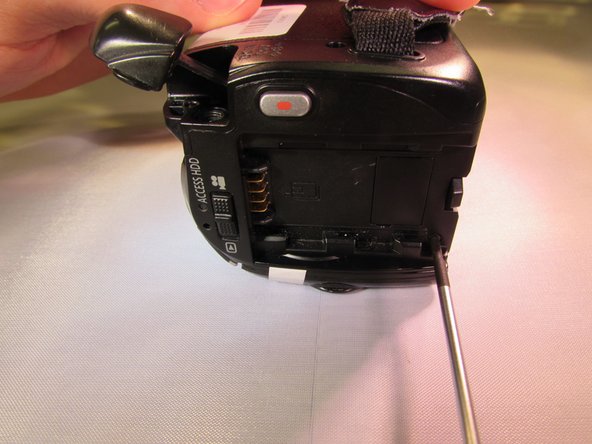
Remove the black 4 mm screw from the back of the camcorder underneath where the battery would have been.
-
-
-
Pull the plastic cover on the back out and up slightly until the back feels like it’s free, then pull back on the plastic (The top cover piece and back will be detached).
-
-
-
Remove the black 4 mm screw located on the back of the camcorder under the SD card slot.
-
-
-
There is a small copper ribbon on the right side of the device. Pull gently with the tweezers upward from the right side to get the copper ribbon free.
-
-
-
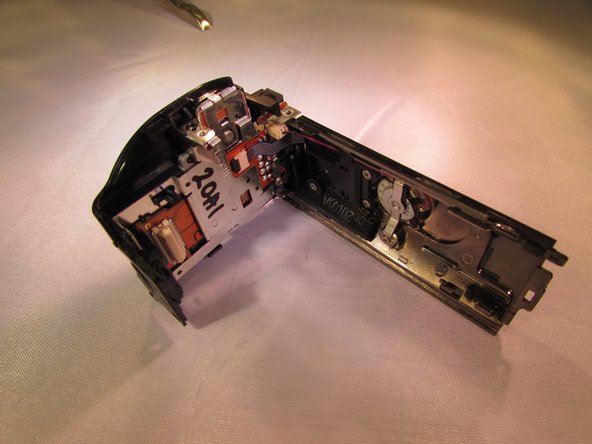
Pry upwards on the front cover from the top of the device and with your other hand pull straight out on the front of the device (The front cover will be detached and free).
-
-
-
Remove the 6 mm screw on the top of the metal casing which was under the front cover.
-
-
-
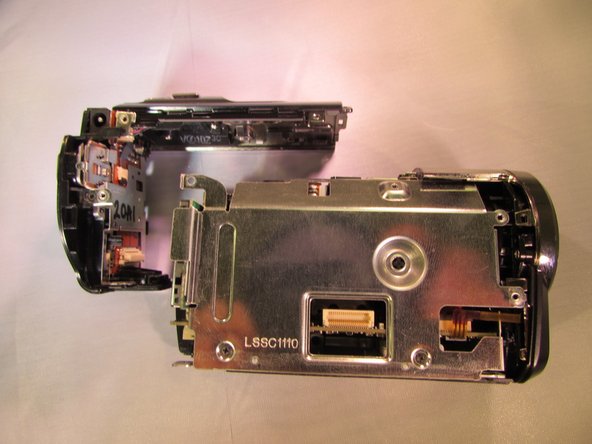
Pull the metal casing straight off (The metal casing will be detached from the rest of the device).
-
-
-
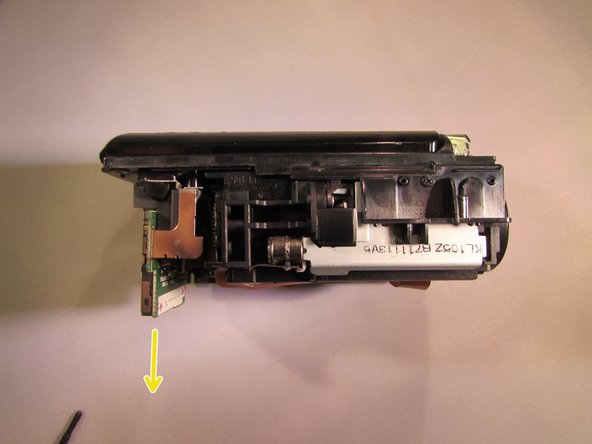
Locate the two black 4 mm screws located on the inside of the device and unscrew them.
-
-
-
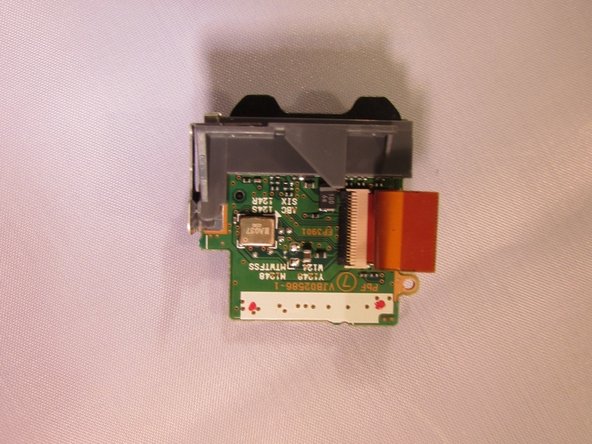
Pull the SD card slot slightly to the side and detach the SD card slot (the SD card slot is ready to be replaced).
-


To reassemble your device, follow these instructions in reverse order.
To reassemble your device, follow these instructions in reverse order.

Команда

Eastern Washington University, Team 2-2, Matresse Spring 2015 Участник Eastern Washington University, Team 2-2, Matresse Spring 2015
EWU-MATRESSE-S15S2G2
3 членов
Автор 16 руководств