Введение
If the keyboard on your Panasonic Toughbook CF-53 has ceased working, none of the keys work or respond, and no other troubleshooting tactics have resolved the issue, or the keyboard has been broken, try to replace the keyboard itself. Follow this replacement guide to quickly and effectively install a new keyboard for your laptop.
Be careful not to break the ribbon connections when installing the new keyboard and not to break the plastic hinge cover when snapping it back into place.
Выберете то, что вам нужно
-
-
Open the laptop and face it towards you.
-
Remove the three 3 mm Phillips #00 screws at the top of the base.
-
-
-
Use an opening tool to pry up and remove the plastic cover above the keyboard.
-
Push the screen all the way back, then squeeze and push up on the two black hinge covers to remove the whole piece.
-
-
-
-
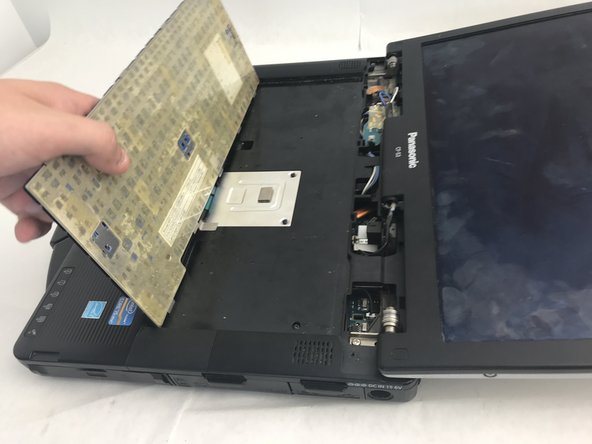
Gently pull up on the keyboard from the top.
-
There is an adhesive securing the keyboard in place. You will need to break that in order to remove the keyboard.
-
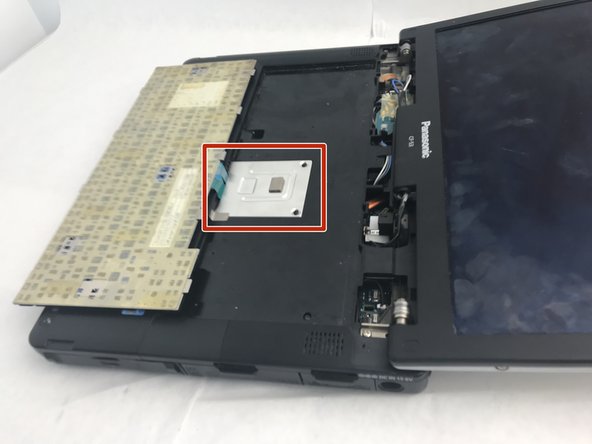
Fold the keyboard over and lay it flat on the keys so that you can access the panel under it.
-
-
-
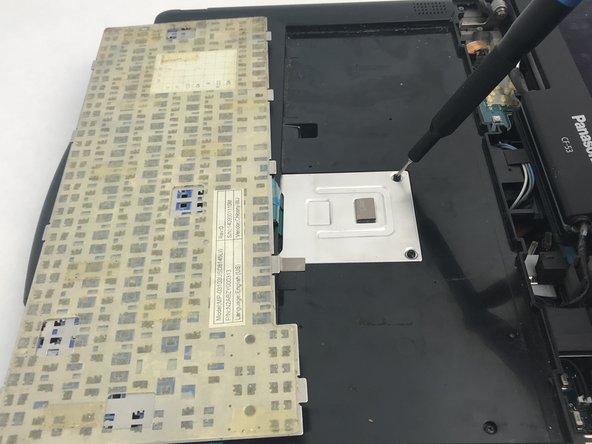
Remove the two 3 mm Phillips #00 screws securing the aluminum plate to the laptop.
-
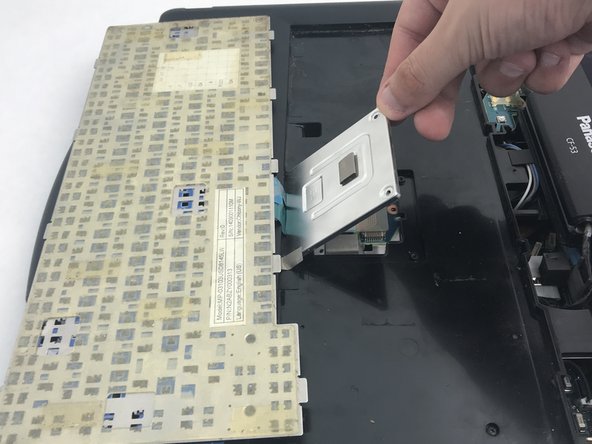
Use an opening tool or your hands to lift up and remove the cover plate.
-
-
-
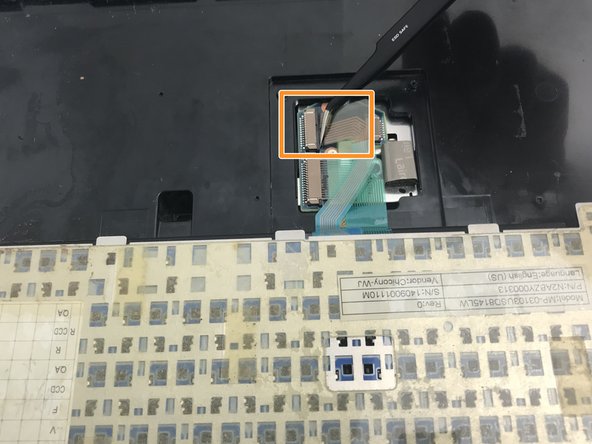
With the top ribbon connection folded back, use the tweezers to carefully remove the bottom ribbon connection.
-
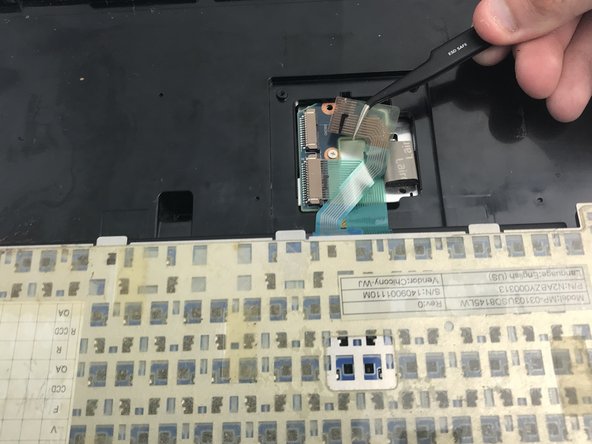
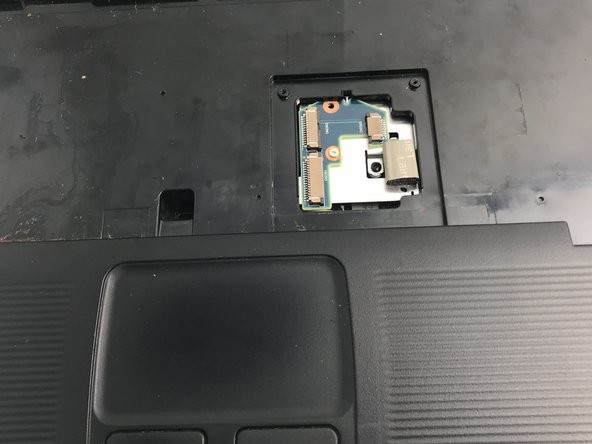
Break any adhesives holding the ribbon connections to the laptop and pull them away so that the keyboard can be removed.
-


To reassemble your device, follow these instructions in reverse order.
To reassemble your device, follow these instructions in reverse order.
Отменить: Я не выполнил это руководство.
Еще один человек закончил это руководство.

Команда

Embry-Riddle Aeronautical University, Team S6-G4, Salas Fall 2019 Участник Embry-Riddle Aeronautical University, Team S6-G4, Salas Fall 2019
ERAU-SALAS-F19S6G4
3 членов
Автор 7 руководств