Перейти к основному содержанию

Panasonic VDR-D220 DVD AV and Micro USB Data Ports Replacement

Выберете то, что вам нужно

  1. Panasonic VDR-D220 DVD AV and Micro USB Data Ports Replacement, AV and Micro USB Data Ports: шаг 1, изображение 1 из 3 Panasonic VDR-D220 DVD AV and Micro USB Data Ports Replacement, AV and Micro USB Data Ports: шаг 1, изображение 2 из 3 Panasonic VDR-D220 DVD AV and Micro USB Data Ports Replacement, AV and Micro USB Data Ports: шаг 1, изображение 3 из 3
    • Use your Phillips #0 screwdriver to remove the three 5mm screws on top of the camera.

    • Remove the metal bracket.

  2. Panasonic VDR-D220 DVD AV and Micro USB Data Ports Replacement: шаг 2, изображение 1 из 2 Panasonic VDR-D220 DVD AV and Micro USB Data Ports Replacement: шаг 2, изображение 2 из 2
    • Rotate the camera to show the bottom of the camera.

    • Remove the four 5mm screws on the bottom side of the camera with a Phillips #0 driver.

  3. Panasonic VDR-D220 DVD AV and Micro USB Data Ports Replacement: шаг 3, изображение 1 из 2 Panasonic VDR-D220 DVD AV and Micro USB Data Ports Replacement: шаг 3, изображение 2 из 2
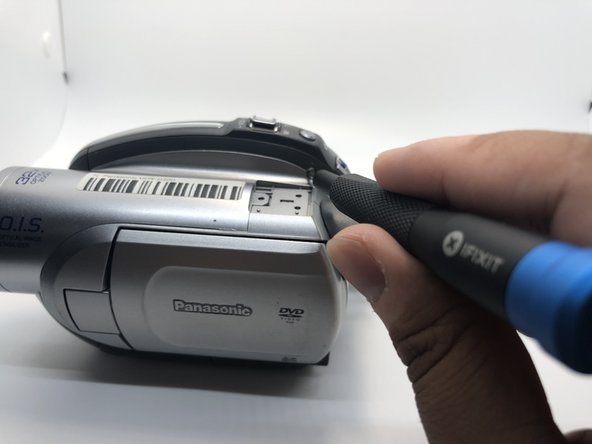
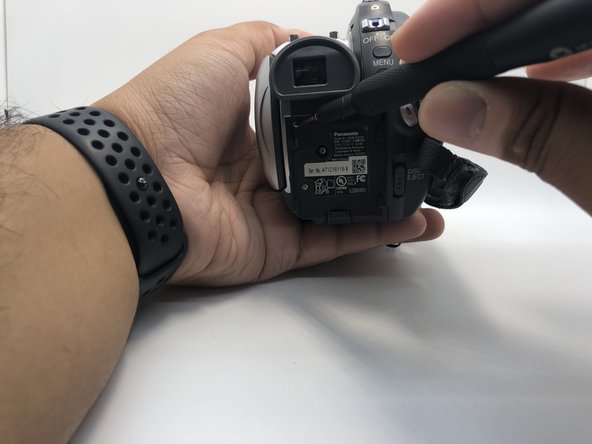
    • Rotate the camera to the left side. There is one screw on the top right of metal bracket you have removed in step 1.

    • Remove one 5mm screw by using Phillips #0 screwdriver.

  4. Panasonic VDR-D220 DVD AV and Micro USB Data Ports Replacement: шаг 4, изображение 1 из 2 Panasonic VDR-D220 DVD AV and Micro USB Data Ports Replacement: шаг 4, изображение 2 из 2
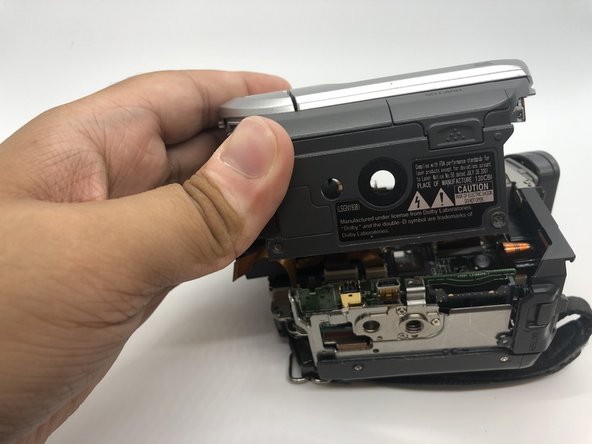
    • Use a plastic spudger to lighty pry the top-front panel of the camera from the main body.

    • Slide the top portion of the camera forward revealing more screws.

    • Do not completely separate the top portion yet, as there are cable connections that remain.

  5. Panasonic VDR-D220 DVD AV and Micro USB Data Ports Replacement: шаг 5, изображение 1 из 3 Panasonic VDR-D220 DVD AV and Micro USB Data Ports Replacement: шаг 5, изображение 2 из 3 Panasonic VDR-D220 DVD AV and Micro USB Data Ports Replacement: шаг 5, изображение 3 из 3
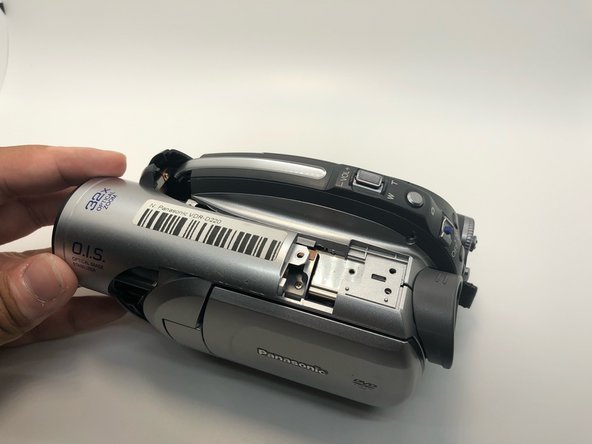
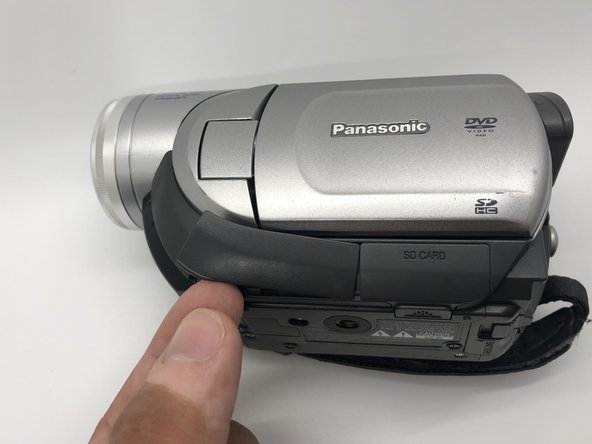
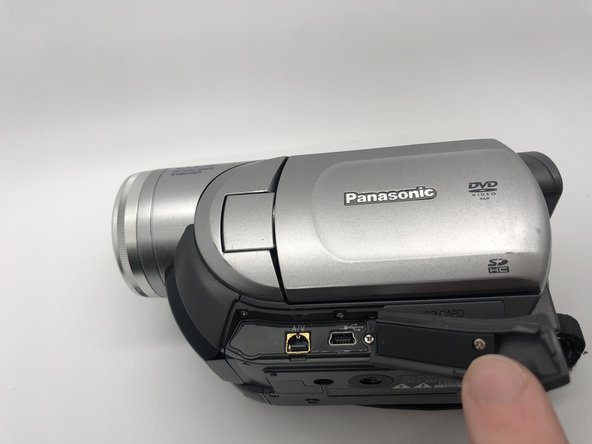
    • Flip the camera on the right side.

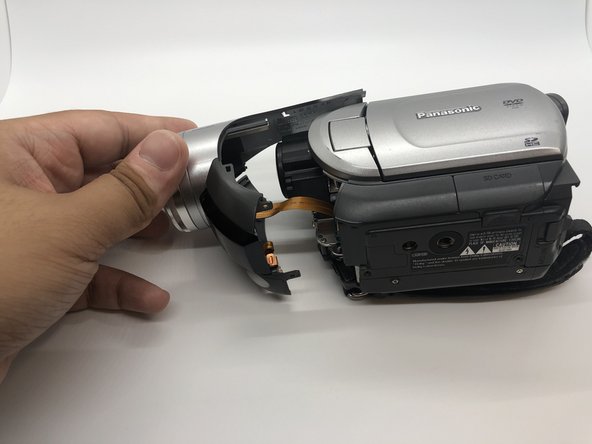
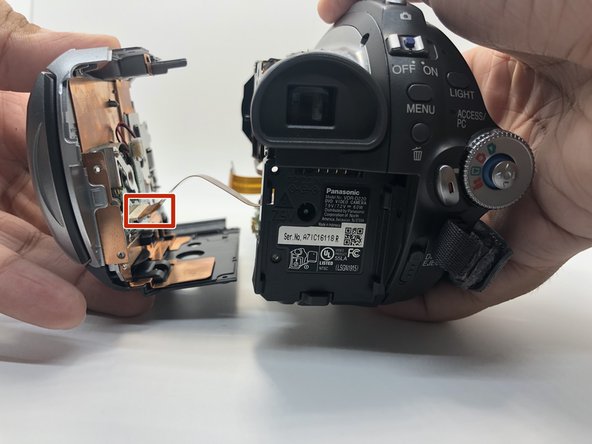
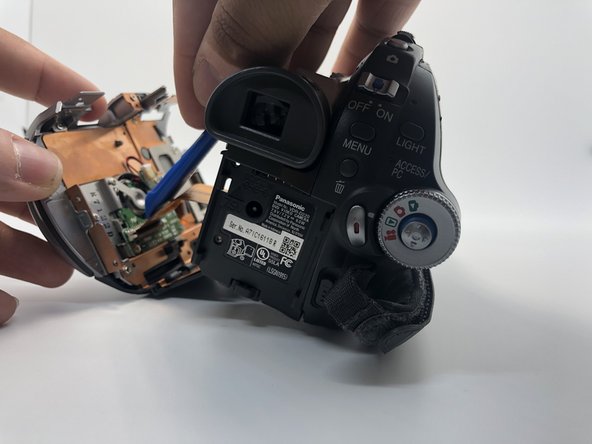
    • Gently pull the front part from the main body to expose the cable connections.

    • Pulling too hard or fast has the potential to damage the ZIF connector cable.

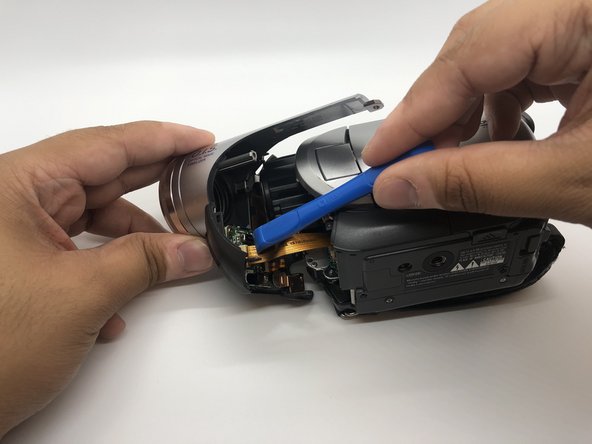
    • Use your plastic opening tool to disconnect the connection point safely.

    • Press the tab with plastic opening tool and then pull the ZIF connector to detach.

  6. Panasonic VDR-D220 DVD AV and Micro USB Data Ports Replacement: шаг 6, изображение 1 из 1
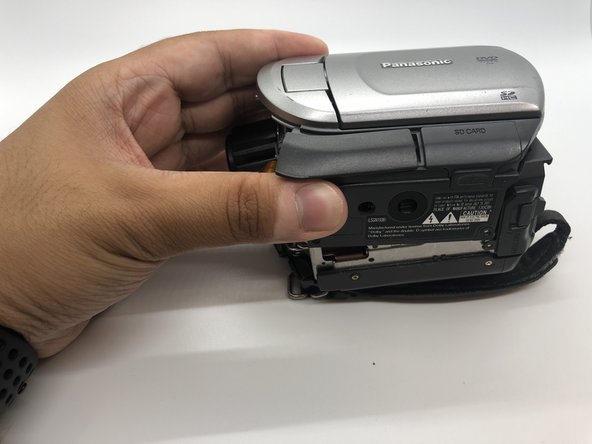
    • Flip the camera to see the top side of it.

    • Remove one more 5mm screw with your Phillips #0 screwdriver that was previously covered by the front-top section.

  7. Panasonic VDR-D220 DVD AV and Micro USB Data Ports Replacement: шаг 7, изображение 1 из 2 Panasonic VDR-D220 DVD AV and Micro USB Data Ports Replacement: шаг 7, изображение 2 из 2
    • Go to the battery's basement side.

    • Use your Phillips #0 screwdriver remove the two 5mm screws on the battery base of the camera.

  8. Panasonic VDR-D220 DVD AV and Micro USB Data Ports Replacement: шаг 8, изображение 1 из 3 Panasonic VDR-D220 DVD AV and Micro USB Data Ports Replacement: шаг 8, изображение 2 из 3 Panasonic VDR-D220 DVD AV and Micro USB Data Ports Replacement: шаг 8, изображение 3 из 3
    • Rotate the camera to the left side, where the side port is located.

    • Open the side port door.

  9. Panasonic VDR-D220 DVD AV and Micro USB Data Ports Replacement: шаг 9, изображение 1 из 3 Panasonic VDR-D220 DVD AV and Micro USB Data Ports Replacement: шаг 9, изображение 2 из 3 Panasonic VDR-D220 DVD AV and Micro USB Data Ports Replacement: шаг 9, изображение 3 из 3
    • Remove three 5mm screws inside the side ports by using Phillips #0 screwdriver.

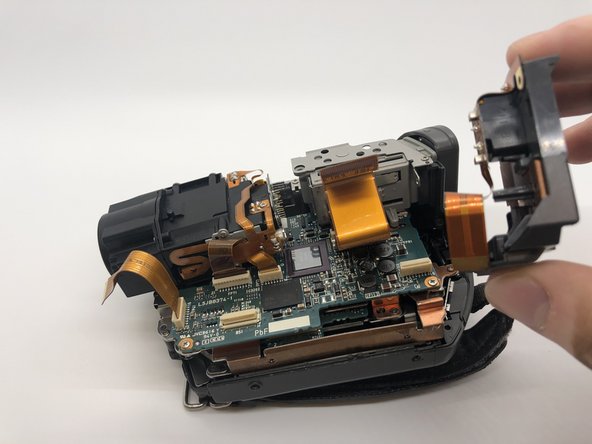
    • Start to lift the lefthand section of the camera from the main body.

    • Don't fully remove the section just yet as there are cable connections that remain.

  10. Panasonic VDR-D220 DVD AV and Micro USB Data Ports Replacement: шаг 10, изображение 1 из 3 Panasonic VDR-D220 DVD AV and Micro USB Data Ports Replacement: шаг 10, изображение 2 из 3 Panasonic VDR-D220 DVD AV and Micro USB Data Ports Replacement: шаг 10, изображение 3 из 3
    • Rotate the camera to the battery side.

    • Gently, pull the side of the camera apart with only your hands.

    • Do not pull too hard because of the ZIF connector cable.

    • Disconnect the ribbon cable with your plastic opening tool, so that the left side of the camera can be removed.

  11. Panasonic VDR-D220 DVD AV and Micro USB Data Ports Replacement: шаг 11, изображение 1 из 2 Panasonic VDR-D220 DVD AV and Micro USB Data Ports Replacement: шаг 11, изображение 2 из 2
    • Remove one 5mm screw from the side of the battery base with the Phillips #0 screwdriver.

    • Take off the battery's base from the camera.

  12. Panasonic VDR-D220 DVD AV and Micro USB Data Ports Replacement: шаг 12, изображение 1 из 2 Panasonic VDR-D220 DVD AV and Micro USB Data Ports Replacement: шаг 12, изображение 2 из 2
    • Rotate the camera to the bottom side.

    • Remove six 5mm screws with your Phillips #0 driver and the circuit board holder should come free.

  13. Panasonic VDR-D220 DVD AV and Micro USB Data Ports Replacement: шаг 13, изображение 1 из 2 Panasonic VDR-D220 DVD AV and Micro USB Data Ports Replacement: шаг 13, изображение 2 из 2
    • Insert a Jimmy tool to relieve the pressure between the metal mount and the plastic cover.

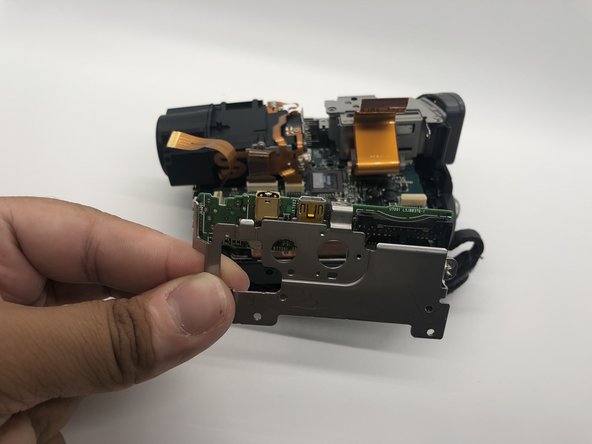
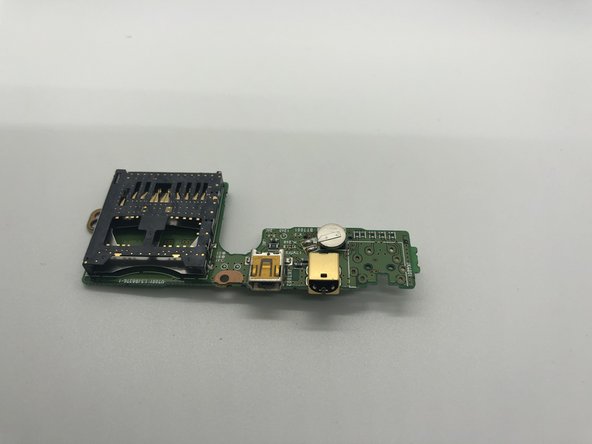
    • Take off the port board from the bottom of the camera.

  14. Panasonic VDR-D220 DVD AV and Micro USB Data Ports Replacement: шаг 14, изображение 1 из 3 Panasonic VDR-D220 DVD AV and Micro USB Data Ports Replacement: шаг 14, изображение 2 из 3 Panasonic VDR-D220 DVD AV and Micro USB Data Ports Replacement: шаг 14, изображение 3 из 3
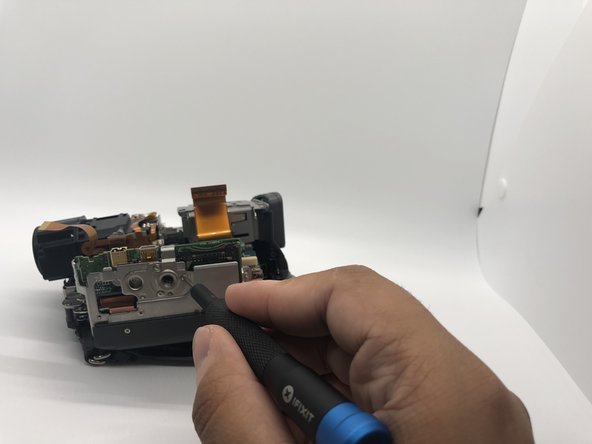
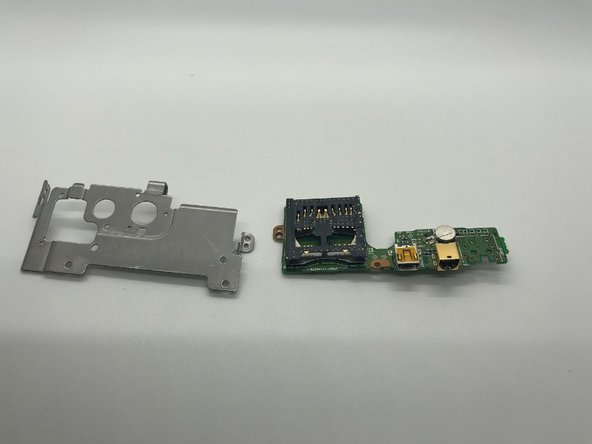
    • Use your Phillips #0 screwdriver remove one 5mm screw from one side of the port.

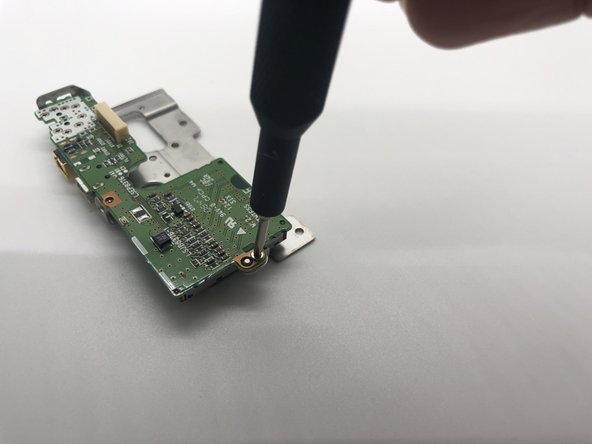
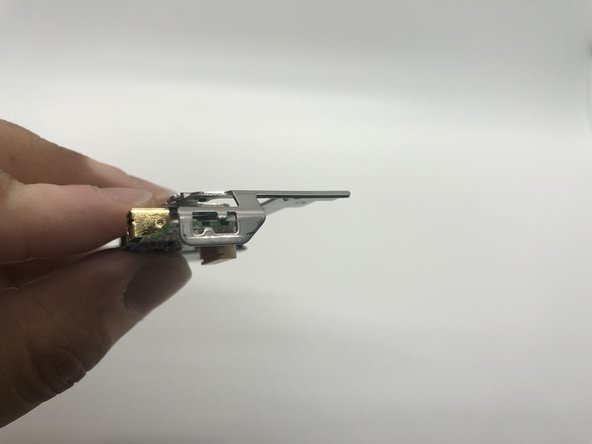
    • On the other side, disconnect the metal from the port circuit board smoothly.

  15. Panasonic VDR-D220 DVD AV and Micro USB Data Ports Replacement: шаг 15, изображение 1 из 2 Panasonic VDR-D220 DVD AV and Micro USB Data Ports Replacement: шаг 15, изображение 2 из 2
    • Remove the metal cover from the side port.

Заключение

To reassemble your device, follow these instructions in reverse order.

Brandon Gregoire

Участник с: 09/18/19

1 325 Репутация

Автор 6 руководств

Команда

0 Комментариев

Добавить комментарий

Просмотр статистики:

За последние 24часов: 0

За последние 7 дней: 1

За последние 30 дней: 5

За всё время: 251