Введение
The telescoping handle on your Patagonia Transport Roller Luggage is designed to withstand years of hard use. But sometimes the handle becomes jammed or stuck and needs to be replaced to operate properly. Fortunately, installing a replacement handle is quick and easy.
For replacement parts or further assistance, contact Patagonia Customer Service.
This guide is specifically for the Patagonia Transport Roller, Style Number 49405. If you aren't sure which bag you have, here's a guide that can help you identify the style number of Patagonia products.
Выберете то, что вам нужно
-
-
Lay your Transport Roller on its back on a table.
-
Unzip the main compartment.
-
-
-
Unzip the the zipper in the gray inner lining of the bag, opening the lining as you go.
-
-
-
-
Remove the two Phillips #1 screws from the retaining bracket at the bottom of the bag.
-
-
-
Remove the five Phillips #1 screws from the retaining bracket at the top of the bag.
-
-
-
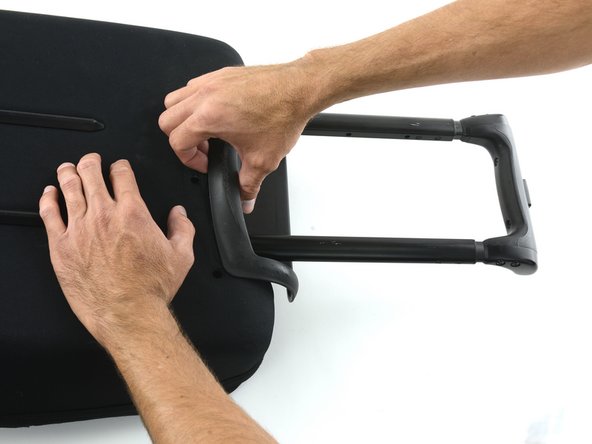
Using your thumb, depress the button on the telescoping handle.
-
With the button depressed, extend the handle by pulling away from the bag.
-
-
-
Turn the bag over so that the back is facing up.
-
Remove the telescoping handle assembly by pulling it out of the top of the bag.
-
-
-
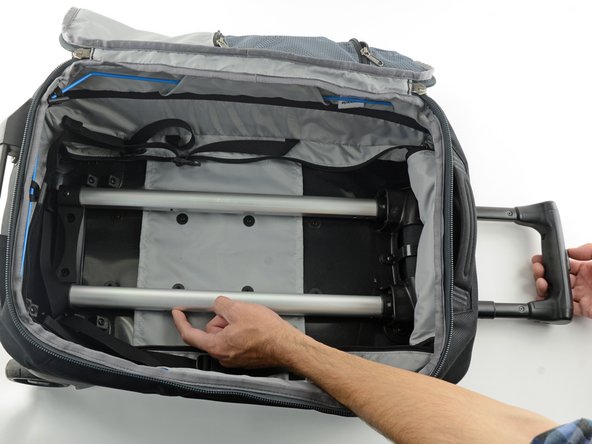
If you are having trouble with your handle, check the pins inside the bag.
-
If either pin is not retracting when the button on the handle is depressed, push the pin into the hole using your finger or another thin object such as a pencil or screwdriver.
-


To reassemble your luggage, follow these instructions starting with Step 9. You’ll be working backwards now from that point in the guide, following the steps in reverse order.
To reassemble your luggage, follow these instructions starting with Step 9. You’ll be working backwards now from that point in the guide, following the steps in reverse order.

