Введение
Rear wheel removal is required to change the tire or access the rear brakes.
Выберете то, что вам нужно
-
-
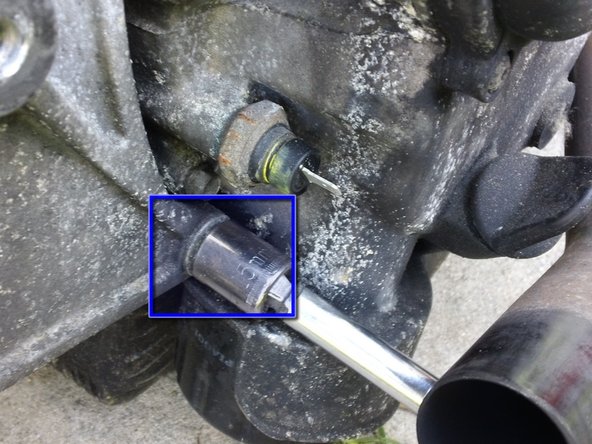
Loosen the exhaust strap:
-
Use an 12mm wrench to loosen the exhaust band lock nut.
-
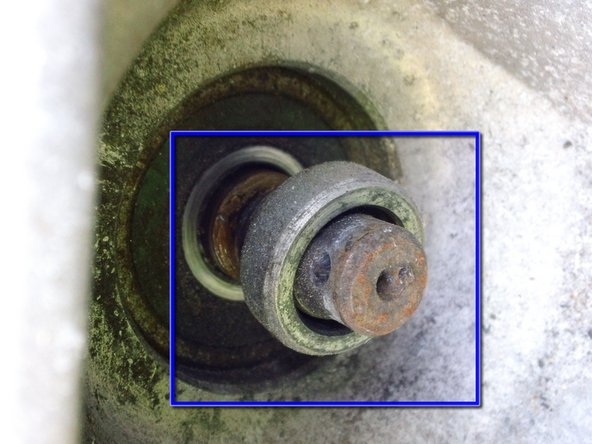
A 6mm Allen key is required to unscrew the bolt at the bottom of the band.
-
Once the bottom of the strap is loose, you can push it upward and slide the retaining pin that secures the top of the strap out to release it.
-
-
-
A Torx T40 driver is required to remove the final bolt securing the exhaust.
-
The Exhaust assembly is now free. Pull and wiggle the muffler back (taking care not to damage your exhaust joint gasket) until the muffler comes free from the header pipe.
-
-
-
-
Remove the 15mm nut securing the upper front corner of the swingarm.
-
Remove the 15mm nut securing the lower front corner of the swing arm.
-
-
-
Straighten and remove the cotter pin securing the rear hub nut cover.
-
Remove the cover from the rear hub nut.
-
-
-
Remove the 24mm rear hub nut. Having a friend hold the rear brake handle will help break it loose. You can also use an impact wrench to remove it if you cannot get enough torque with a hand ratchet.
-
There is a spacer behind the rear hub nut. It will slide off with little or no force.
-
There is a spacer behind the rear hub nut. It will slide off with little or no force.
-
-
-
Grip the swingarm and pull it free of the 2 15mm studs and rear axle. You will now have access to the rear wheel.
-
and dont forget to remove 2 allen screws from shocks absorber and tilt it to remove swingers and tyre
-
-
-
Remove the five 10mm bolts securing the rear wheel.
-
Pull the wheel towards you, sliding it free of the rear axle.
The rear wheel hub nut is 24 mm. The tools needed listed the required socket as 22mm, but isn’t the right size. But it was my error not reading all the instructions. Just need to take another run to Princess Auto for the correct Socket in the morning. Fantastic post and very helpful.
-


To reassemble your device, follow these instructions in reverse order.
To reassemble your device, follow these instructions in reverse order.
Отменить: Я не выполнил это руководство.
5 участников успешно повторили данное руководство.


Один комментарий
This is perhaps the best written diy that i have come across. As someone who has penned procedures for many items I take my hat off to you. Keep up the quality work. I would add to soak everything down with a “nutbuster spray and let soak before beginning. Sometimes things are a little too easily broken, especially cast items.
jhrichaiii@aol.com