Введение
If you are encountering the motherboard of this speaker, these will be the steps of taking it apart.
Выберете то, что вам нужно
-
-
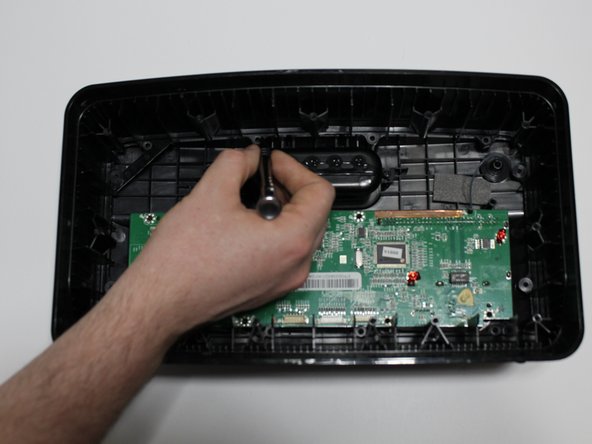
Use a Phillips #1 screwdriver to remove the thirteen 12 mm screws in the speaker frame.
-
Remove the speaker frame by pulling vertically upwards revealing the motherboard.
-
-
-
-
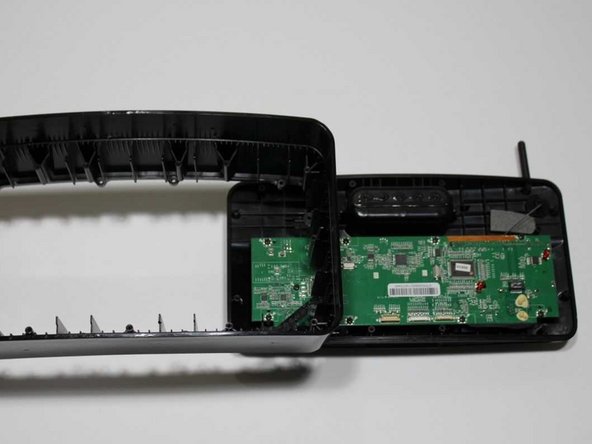
Use a Phillips #1 screwdriver to remove the twelve 12 mm screws from the middle frame.
-
Remove the middle frame by pulling upward and vertically.
-
-
-
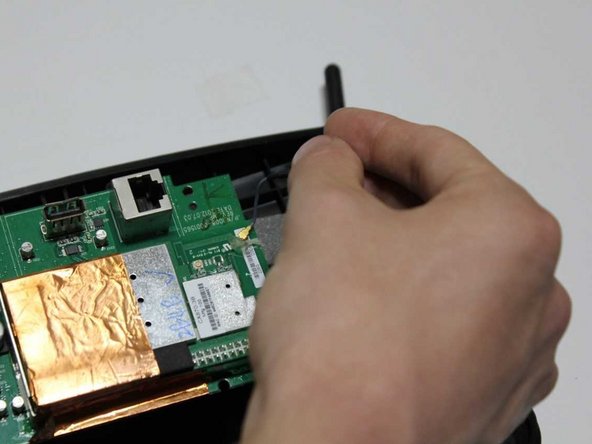
Use the Phillips #1 screwdriver to remove the nine 12 mm screws from the motherboard.
-
Flip the motherboard over.
-
Remove the motherboard by detaching the antenna.
-


To reassemble your device, follow these instructions in reverse order.
To reassemble your device, follow these instructions in reverse order.
Отменить: Я не выполнил это руководство.
2 участников успешно повторили данное руководство.
Команда

Carson-Newman University, Team S1-G2, Sobiech Spring 2019 Участник Carson-Newman University, Team S1-G2, Sobiech Spring 2019
CNU-SOBIECH-S19S1G2
5 членов
Автор 5 руководств