Введение
This guide will walk you through the process of accessing and replacing your R1's LCD display.
Выберете то, что вам нужно
-
-
Insert your plastic spudger in the opening near the HDMI port.
-
Gently pry the back cover of the R1 from the the front by using the spudger along the edges.
-
-
-
Remove the tape that is holding the motherboard to the display and covering the cable attachments.
-
Peel back just the end of this tape to free the front facing camera.
-
-
-
-
Remove the three 4 mm screws along the base of the motherboard with a Phillips #00 Screwdriver.
-
-
-
Disengage the two cable locks using your spudger or your finger nail.
-
Slide the cable free from the disengaged lock.
-
-
-
Insert your spudger between the LCD display and the touch screen.
-
Gently pry the LCD display from the the touchscreen by using the spudger along the edges.
-
Once disengaged, remove the LCD display from the touchscreen.
-
-
-
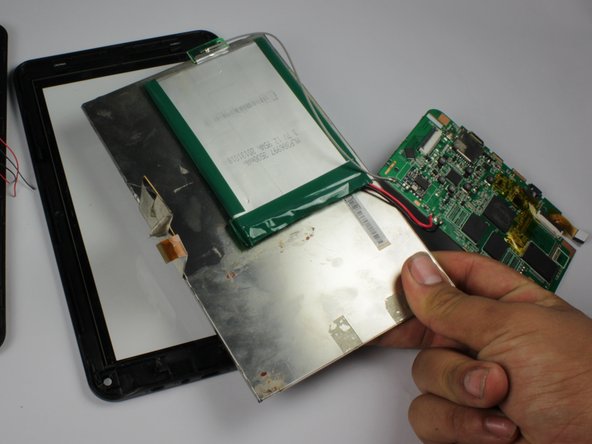
Slide a strong thin object, like a thin spudger, between the battery and the display.
-
Slide the object along the length of the battery to remove it from the display.
-
-
-
Carefully pry off the component that is taped to the LCD display at the top of the R1.
-


To reassemble your device, follow these instructions in reverse order.
To reassemble your device, follow these instructions in reverse order.
Отменить: Я не выполнил это руководство.
Еще один человек закончил это руководство.
Команда

San Diego State, Team 1-1, Sheppard Winter 2015 Участник San Diego State, Team 1-1, Sheppard Winter 2015
SDSU-SHEPPARD-W15S1G1
3 членов
Автор 7 руководств