Введение
Hi!
This guide will explain how to replace the laser for the PS2 Slim.
Note: There are 2 different lasers available for the PS2 Slim, this guide is only for replacing the PVR-802W
Выберете то, что вам нужно
-
-
Disconnect all cables from the console and flip the unit over to reveal its base.
-
-
-
Locate the 6 feet on the base of the unit. Pry them off using a spudger to reveal the screws.
-
-
-
Remove all six 4.0 mm screws from the base of the unit using a #1 Phillips screwdriver.
-
-
-
Starting at the corner at which the power and Ethernet ports are located, pry open the outer shell using a spudger and continue around the entire unit.
-
-
-
-
Remove the 2 philips screws
-
Remove the brackets on both sides with your tweezers.
-
-
-
If you got the same results as in the 1st photo, then proceed.
-
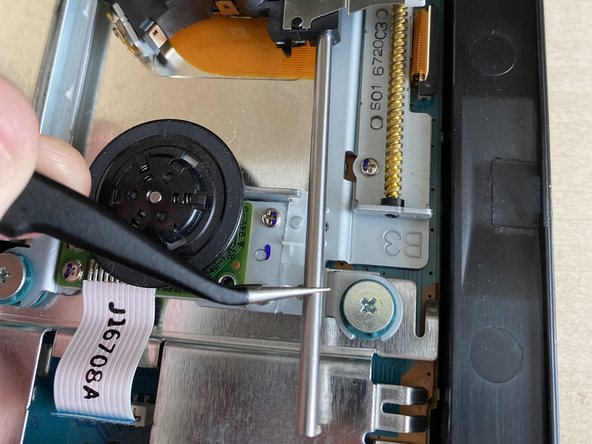
Take the silver rail and push it out *carefully* from the track.
-
Take the silver rail with your tweezers and pull it towards yourself to take it out. Be carefull, as it still attached to the laser, just guide it slowly towards yourself.
-
-
-
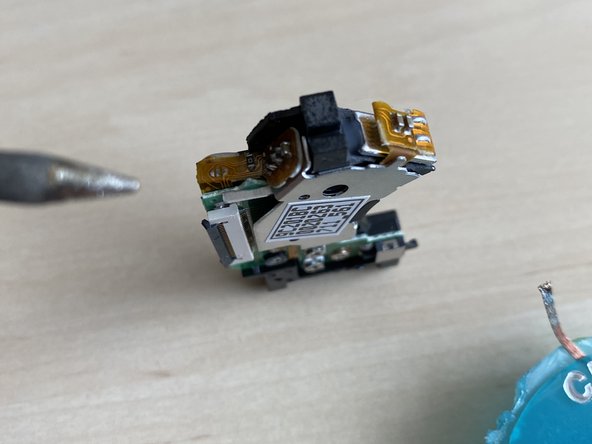
Take the laser with your hand, and till it like in the photo (to the back).
-
Open the ZIF connector. Be carefull not to break it, it can break easily. If you replace the laser, it won't matter, you can even practice how to open it and close it.
-
Take out the ribbon cable and remove the laser.
-
-
-
Remove the anti-static security. Use some copper wick to remove the solder.
-
When it looks like in the 3rd photo, you are good to.
Ignorance probably on full display here: You need a soldering iron for this step, don’t you…? -_-
And, what, I just rub the copper wick against it (after heating) until it looks like the second and third pictures?
Sry if I didn’t make it clear enough :(. I’ll adjust this straight away. You need to desolder the anti-static security solder.
IMPORTANT: use a soldering iron, tried it without, it broke
Got it, thanks. Done and dusted, and…
It doesn’t light up when mounted in the console and power is turned on… Could I have done something wrong, or did I just get a dud laser? There are strange sounds, as well.
Thanks! I adjusted it straight away.
@Arve, if it doesn’t light up and not doing anything, please check the disk lid sensors. There are 2 of them. 1 on the motherboard and the second one is located at the top of the power switch. Please check if they are both okay.
-
-
-
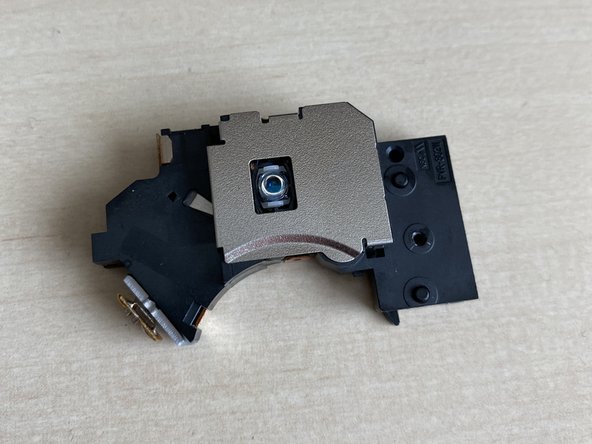
Remove the single philips screw.
-
Transfer the holder to the new laser and fasten it again with the philips screw.
-
-
-
Take the new laser and open up the ZIF connector.
-
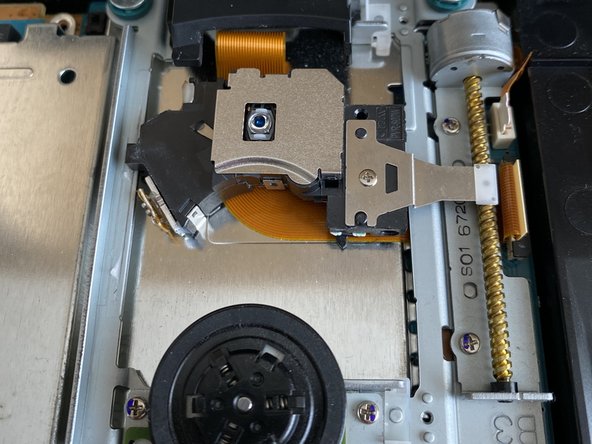
Place it back as shown in the 2nd photo.
-
Put everything back together. The 3rd picture show how it needs to be done!
-


To reassemble your device, follow these instructions in reverse order.
Do not forget to transfer the slider from the old laser to the new one!
To reassemble your device, follow these instructions in reverse order.
Do not forget to transfer the slider from the old laser to the new one!
Отменить: Я не выполнил это руководство.
15 участников успешно повторили данное руководство.

Команда

Protectors Of The Game Systems Участник Protectors Of The Game Systems
Community
4 членов
Автор 24 руководств
5 Комментариев
Thank you for caring enough to show us how to do this and for your time. You are appreciated.
Hi Mark! No problem at all, happy to hear that I'm able to help you :)!!
Where do you recommend getting the actual part? Looking for a reliable seller
I am also looking for the best quality part. If I am going through the trouble of disassembling everything then I want to make sure I have a durable replacement. Excellent guide!
Jeremy B -
Thanks! Well, I'm afraid that the only option is to buy this from a Chinese webshop (AliExpress as example). You can't buy it on Amazon (as far as I looked it up). And getting one from another console which is not opened yet (original) is probably at the end of it's life time. I have some experience with a Chinese one, and they do work great so far!