Введение
Have you noticed your video game disc having a hard time entering or ejecting out of your PlayStation 4 slim system, then this guide may be the solution for you!
Here I explain how to get to your system's disc rollers so you can either clean or replace them to improve your gaming experience. I also address on how to deal with the plastic welds if your system has them instead of normal screws.
Выберете то, что вам нужно
-
-
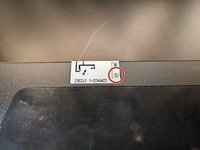
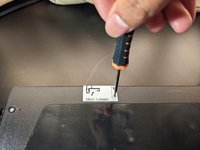
Flip your system upside down and remove the warranty sticker located by the three ports.
-
Unscrew the 5.0mm screw using a T8 security Torx screwdriver.
-
-
-
In the same position, pry up both of the corners of the bottom cover until you hear a loud click from both sides.
-
Continue by sliding the cover towards the back and then lift up.
-
-
-
Located towards the right side, unscrew the 4.0mm screw using a Phillips #00 screwdriver.
-
-
-
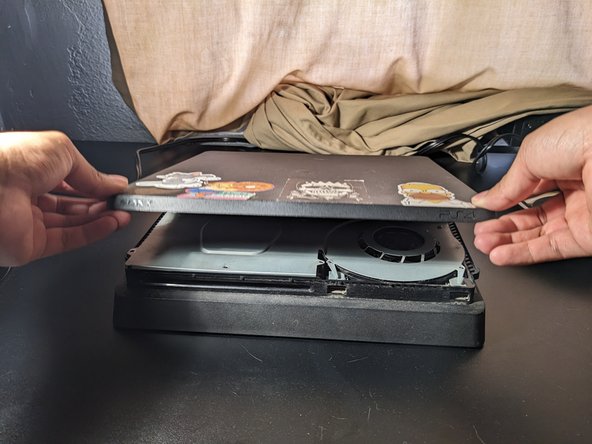
Flip your system right side up, facing you.
-
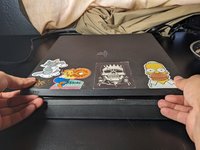
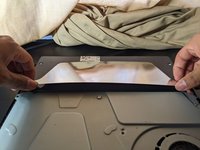
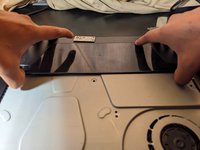
Pry up the front two corners of the top cover
-
Continue by sliding the top cover towards the backside and lift up.
-
-
-
-
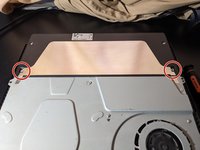
Unscrew the two screws holding the metal plate using a T8 screwdriver.
-
Remove the metal plate.
-
-
-
Unscrew the 3.0mm screw holding the antenna using a Phillip #00 screwdriver.
-
Lift the antenna up.
-
-
-
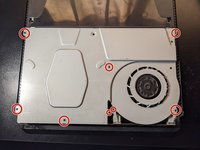
Using a Phillips 00# screwdriver, unscrew all Phillips screws.
-
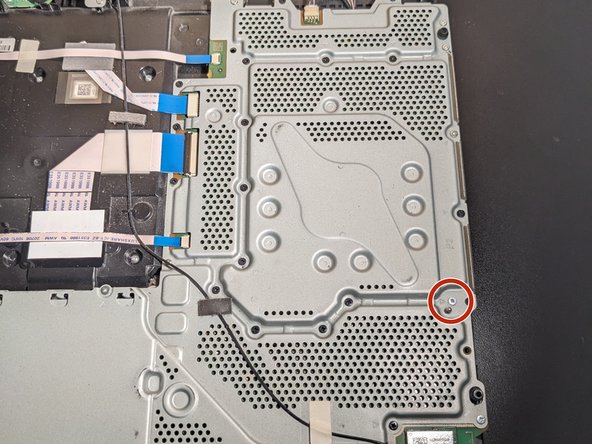
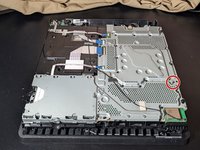
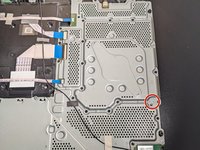
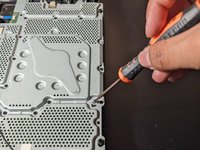
Unscrew the 31.0mm screw using a T8 screwdriver.
-
-
-
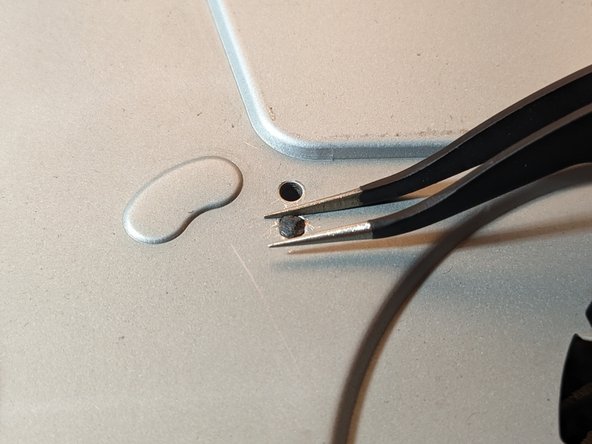
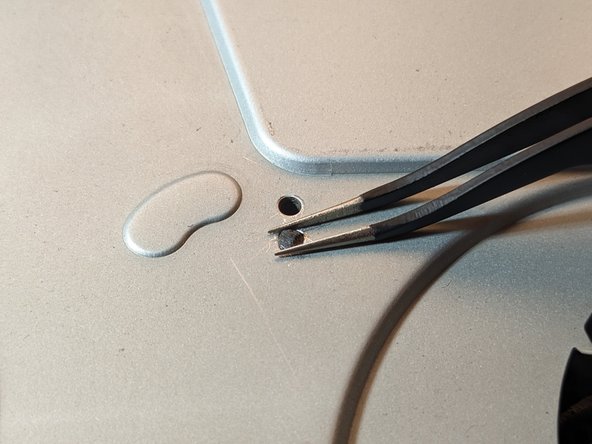
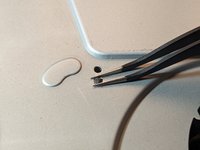
With the welded plastics, use either a tweezer, a nose plier, or a metal spudger to round off the tops until the metal cover can be lifted out.
-
-
-
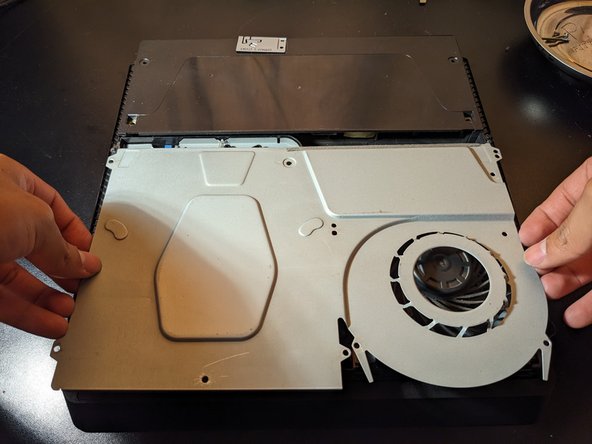
Slightly lift up the power supply from where it is holding the metal cover.
-
Lift up the metal cover then pull out from the power supply.
-
-
-
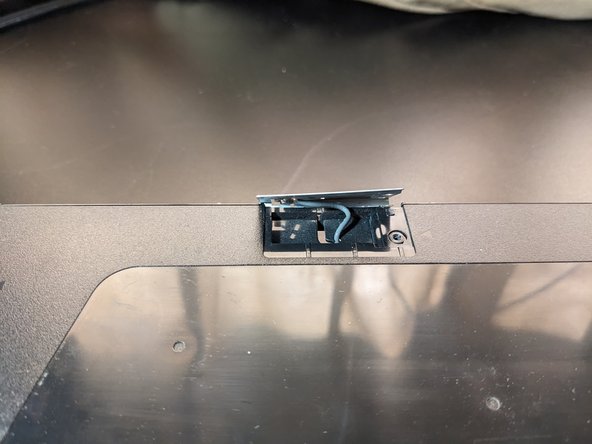
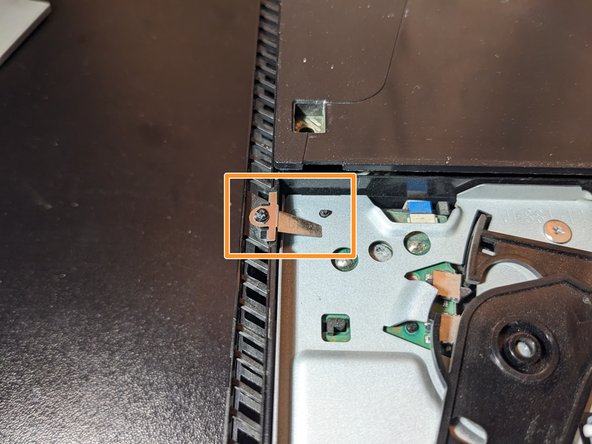
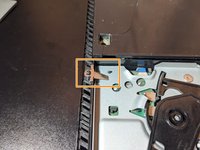
Use a Philips 00# screwdriver to unscrew the two 3.0mm screws.
-
Remove the small metal piece just by lifting up.
-
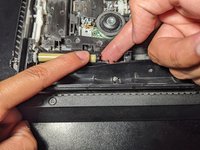
Remove disc drive by first pulling up from the back side and then slide it out.
-
-
-
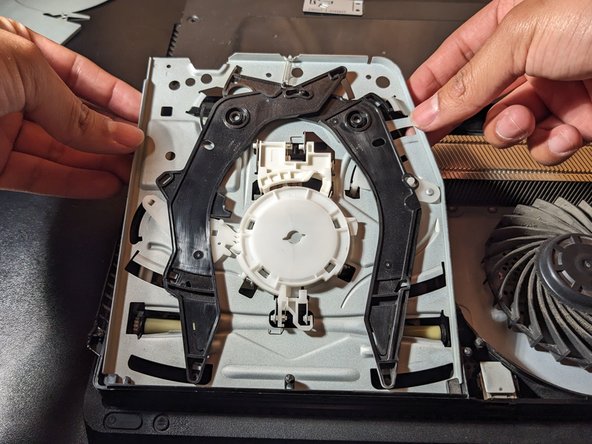
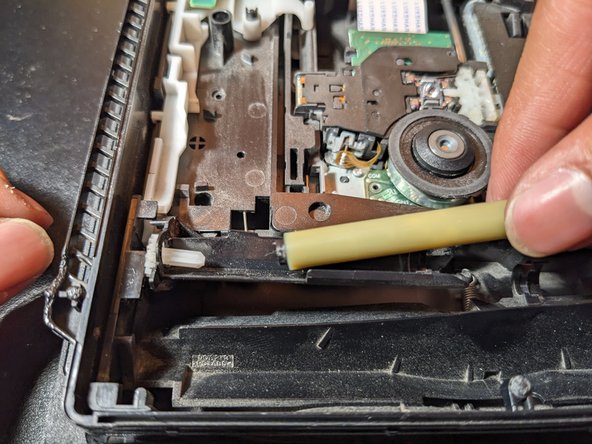
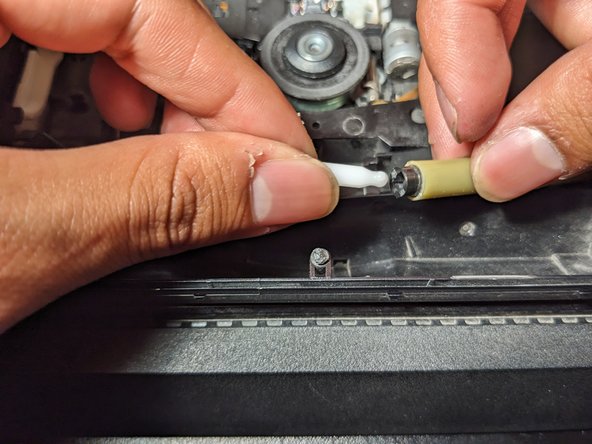
To remove rollers, pull up on the white connector rod.
-
Then slide the left roller out of the white small gear.
-
-
-
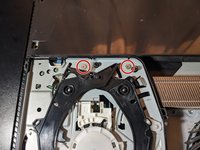
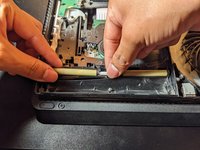
To return the rollers back into position, first place the left roller back, connecting to the white gear, and push down until you hear a click.
-
Align the ends of the white connector rod to the holes at the end of the right roller. Then place the right side of the right roller down first so you can connect the left roller to the white connector rod.
-
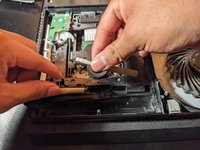
Push down between the white connector rod and the right roller until you hear a click.
-


To reassemble your device, follow these instructions in reverse order.
To reassemble your device, follow these instructions in reverse order.
Отменить: Я не выполнил это руководство.
8 человек успешно провели ремонт по этому руководству.

Команду

CSU Los Angeles, Team 46-64, Harris Spring 2024 Участник CSU Los Angeles, Team 46-64, Harris Spring 2024
CSULA-HARRIS-S24S46G64
1 член
Автор 6 руководств
2 Комментариев
Good write up! I was wondering if you could share a link to where you purchased your new rollers? I did not find any on the iFixIt parts list.
Hello James, thanks for viewing my guide! I apologize for not including a link to new rollers. During this guide, I only cleaned my rollers but if you are looking for a replacement, here is a link I found on ebay! Make sure to choose the option "1200/Slim/Pro" when purchasing as the PS4 slim uses this type of rollers instead of "1000/1100" (notice the visual differences). Feel free to look for any cheaper alternatives. I hope this proves to be helpful in restoring your console!