Введение
In this guide I will show you how to disassemble your "Pokéwalker"!
This process is relatively simple and does not take very long to do.
Remember to take your time, and relax. This is not a competition, and being impatient may cause damage, as the plastic may be old and frail.
With that in mind, let's begin!
Выберете то, что вам нужно
-
-
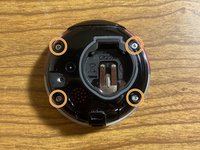
Flip the "Pokéwalker" over so the screen is facing the workspace.
-
Retrieve your PH0 screwdriver, and unscrew the screw on the left side. Note: The screw is attached to the back cover, so do not expect to separate the pieces.
-
Once the back is unscrewed, simply lift it off and set the back aside.
 Спросите у FixBot
-
-
-
If you have a battery in the "Pokéwalker" please gently remove it now.
-
I would recommend using a Spudger, or a Flat Head 1' for this task. Then gently lift it from the bottom (the top will keep the battery in place).
-
Once the battery is removed, please set it aside.
-
-
-
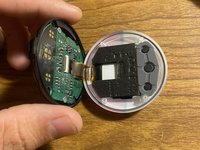
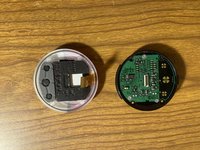
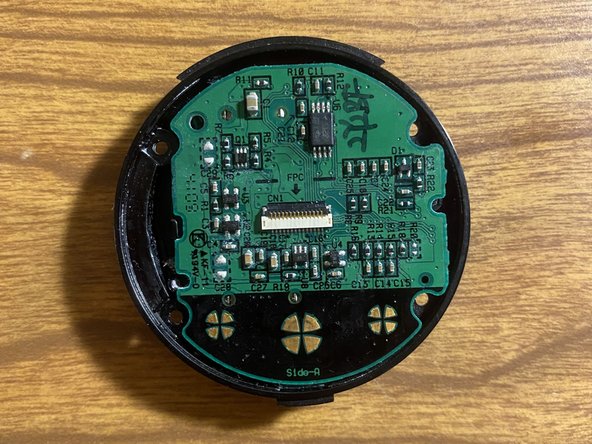
There is a second cover protecting the motherboard. At this point we will remove it. Please take this step with extra caution as there is a ribbon cable beneath it.
-
Please grab your Tri-Wing Y0 screwdriver, and remove the 4 screws on this cover.
-
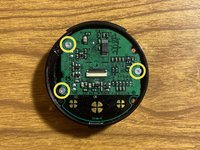
Shown in Image 2 - Once the screws are removed, please set your screws aside for organization. Once the screws are put aside, please gently lift away the internal cover as to not damage the ribbon cable. Try not to set it down unless something can prop it up.
-
-
-
-
We will now gently disconnect the "Pokéwalker" screen.
-
With a Spudger or your fingernail, please carefully lift the flap, thereby releasing the ribbon cable (shown in image 2).
-
Once you gently complete this task, please gently pull the ribbon cable away.
-
-
-
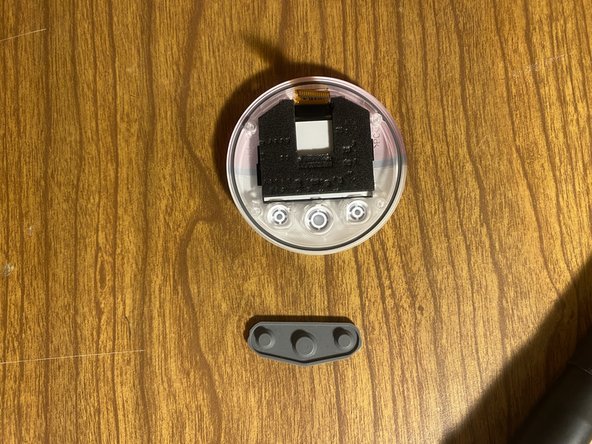
Before we continue disassembling the main unit, we will remove the parts that come with the screen.
-
Gently pull away the contacts for the "Pokéwalker" buttons (Image 2).
-
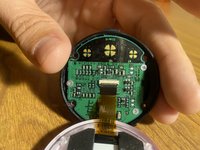
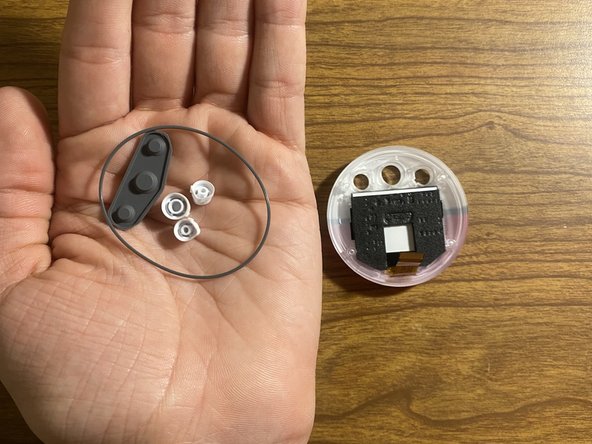
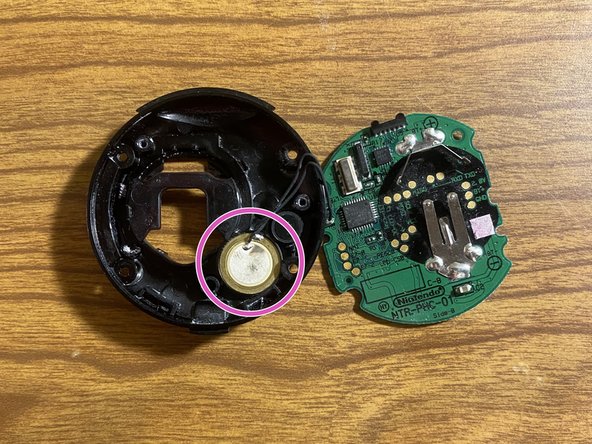
Then, place your hand over the ribbon cable side and turn over the screen to collect the rubber band, and buttons, while also avoiding the mess (results in image 3).
-
This will complete the removal of parts in the screen. Please set these pieces aside.
-
-
-
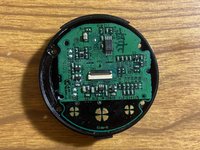
Next, we will remove the "Pokéwalker" motherboard.
-
Please grab your PH000 screwdriver, and remove the 3 screws located on the board.
-
Once these screws are removed, set them aside and we will move on.
-
-
-
Finally we will lift the motherboard away from the casing. Please do this gently.
-
As we can see in Image 2, the "Pokéwalker" speaker appears to be attached to the internal casing. It could be separated from the motherboard with soldering, but this unnecessary for this disassembly.
-
Congratulations! You have successfully disassembled a "Pokéwalker"!
-


To reassemble your device, follow these instructions in reverse order. Please be gentle reassembling as the plastic may be frail.
Отменить: Я не выполнил это руководство.
2 человек успешно провели ремонт по этому руководству.
3 Комментарии к руководству
My screw broke inside, it makes me sad
I am sorry to hear a screw broke. I have been there with other projects in the past. We just need to try our best to be gentle.
Mine went through the wash. Still works kinda but put it away after rescuing my Pokémon in hopes it works properly after drying out. Any advice about that.