Перейти к основному содержанию

Power Cord Removal

Абсолютно необходимое руководство
Это руководство предназначено только для использования в качестве обязательного условия для других руководств. Оно не полностью само по себе.

Выберете то, что вам нужно

  1. Power Cord Removal, Safety precautions: шаг 1, изображение 1 из 1
    • Before you begin, ensure the device is powered down and cool to the touch.

    • Ensure the machine is unplugged.

    • Turn the power switch counterclockwise into the OFF position.

  2. Power Cord Removal, Unwrap the power cord: шаг 2, изображение 1 из 3 Power Cord Removal, Unwrap the power cord: шаг 2, изображение 2 из 3 Power Cord Removal, Unwrap the power cord: шаг 2, изображение 3 из 3
    • Unwrap the power cord from the device completely.

  3. Power Cord Removal, Remove the on/off lever screw: шаг 3, изображение 1 из 1
    • Use a Phillips screwdriver to remove the screw securing the red on/off lever.

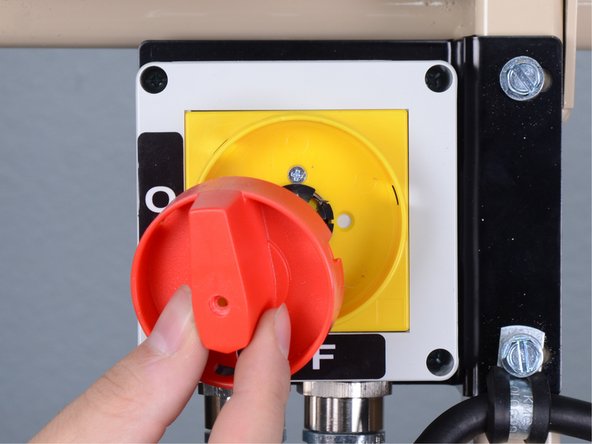
  4. Power Cord Removal, Remove the lever: шаг 4, изображение 1 из 2 Power Cord Removal, Remove the lever: шаг 4, изображение 2 из 2
    • Remove the red lever from the on/off switch.

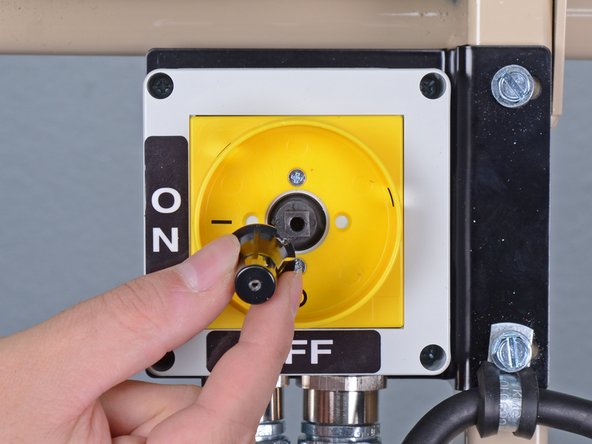
  5. Power Cord Removal: шаг 5, изображение 1 из 2 Power Cord Removal: шаг 5, изображение 2 из 2
    • Remove the black plastic cap from the center of the switch assembly.

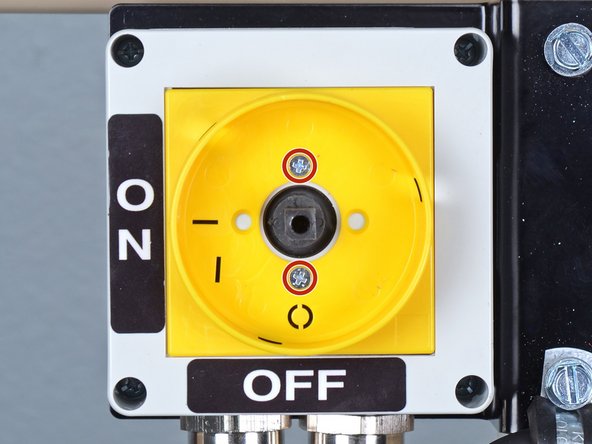
  6. Power Cord Removal: шаг 6, изображение 1 из 1
    • Use a Phillips screwdriver to remove the two screws securing the yellow switch guide to the switch assembly.

    • During reassembly, ensure this component is installed in the same orientation, with the circle in the 6 o'clock "OFF" position.

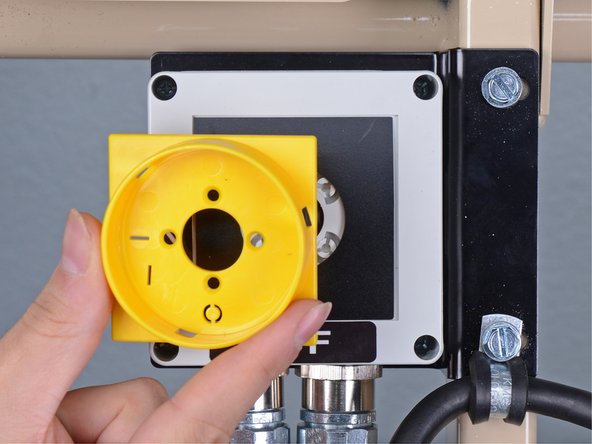
  7. Power Cord Removal: шаг 7, изображение 1 из 3 Power Cord Removal: шаг 7, изображение 2 из 3 Power Cord Removal: шаг 7, изображение 3 из 3
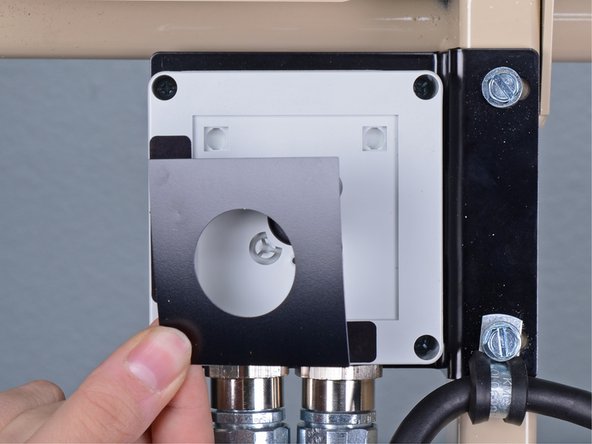
    • Remove the yellow switch guide from the switch assembly.

    • Remove the black plastic spacer from underneath the yellow switch guide.

  8. Power Cord Removal, Remove the on/off switch housing: шаг 8, изображение 1 из 1
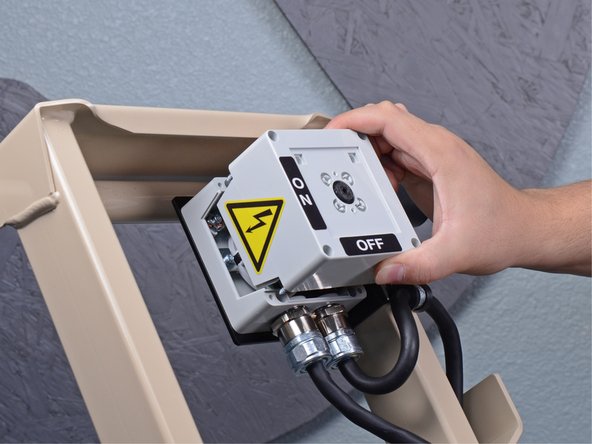
    • Use a Phillips screwdriver to remove the four screws securing the upper half of the switch housing to the lower half.

  9. Power Cord Removal: шаг 9, изображение 1 из 3 Power Cord Removal: шаг 9, изображение 2 из 3 Power Cord Removal: шаг 9, изображение 3 из 3
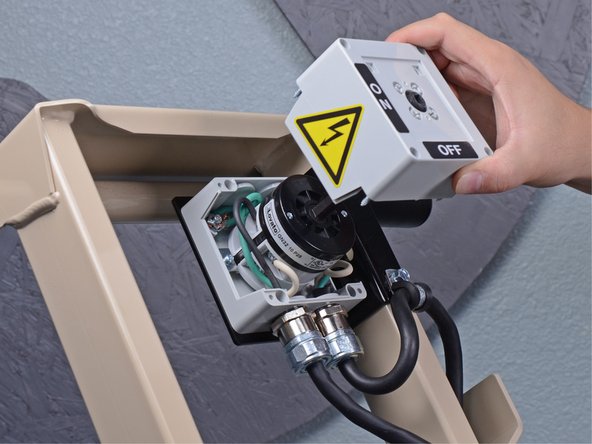
    • Lift the upper half of the housing straight up off of the lower half.

  10. Power Cord Removal, Remove the power cord: шаг 10, изображение 1 из 1
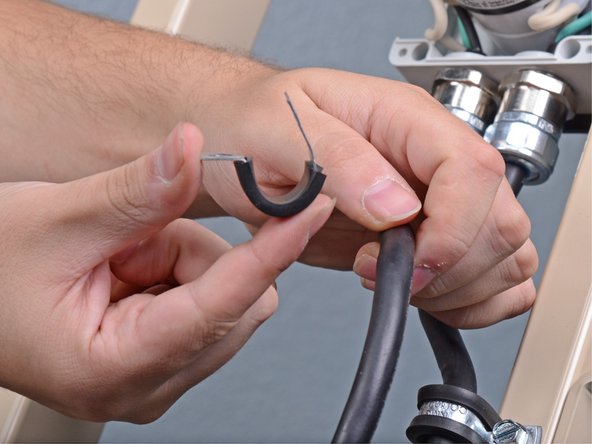
    • Use a 3/8 inch socket to remove the bolt securing the power cord loom clamp to the switch bracket.

  11. Power Cord Removal: шаг 11, изображение 1 из 3 Power Cord Removal: шаг 11, изображение 2 из 3 Power Cord Removal: шаг 11, изображение 3 из 3
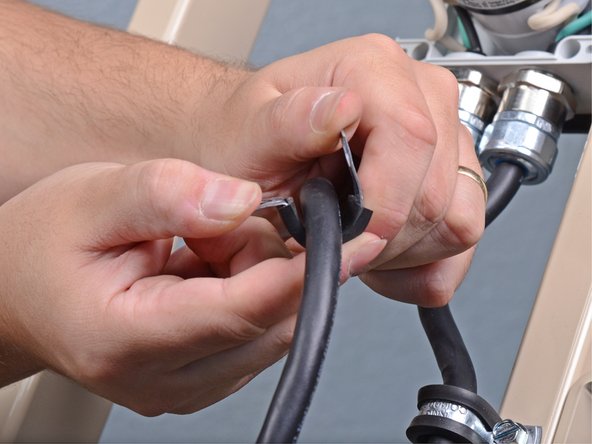
    • Remove the loom clamp from the power cord.

  12. Power Cord Removal: шаг 12, изображение 1 из 3 Power Cord Removal: шаг 12, изображение 2 из 3 Power Cord Removal: шаг 12, изображение 3 из 3
    • Use a 11/32 inch socket to remove the four nuts from the on/off switch bracket.

    • During reassembly, use a Phillips screwdriver in combination with the 11/32 inch socket wrench to tighten the bolts securing the switch to the bracket.

  13. Power Cord Removal: шаг 13, изображение 1 из 2 Power Cord Removal: шаг 13, изображение 2 из 2
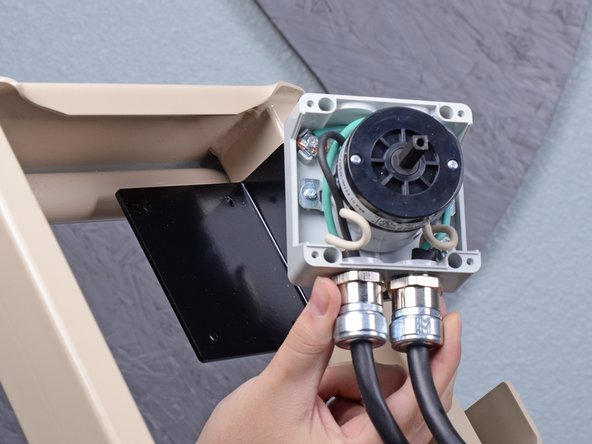
    • Lift the switch assembly off the switch bracket.

  14. Power Cord Removal: шаг 14, изображение 1 из 2 Power Cord Removal: шаг 14, изображение 2 из 2
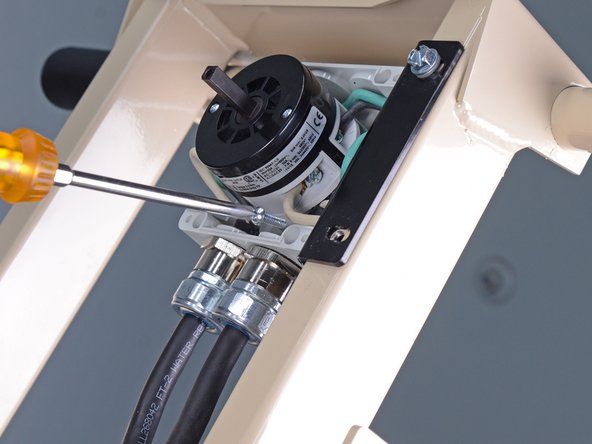
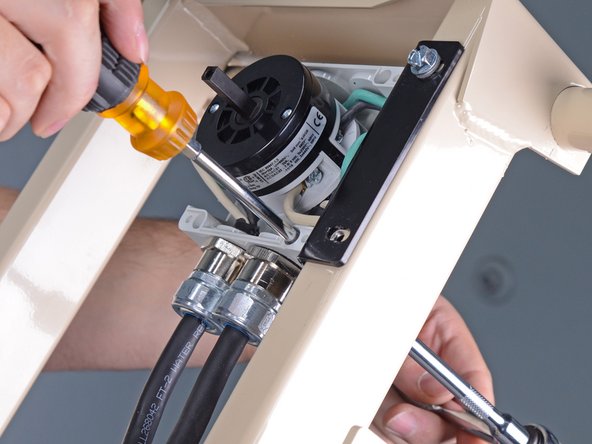
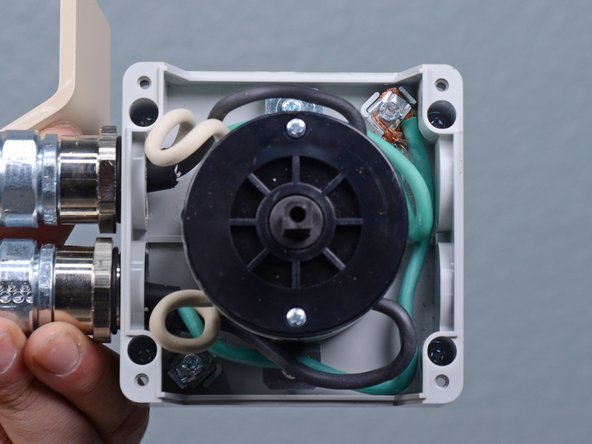
    • Use a flathead screwdriver to remove the screw securing the two green ground wires to the switch housing.

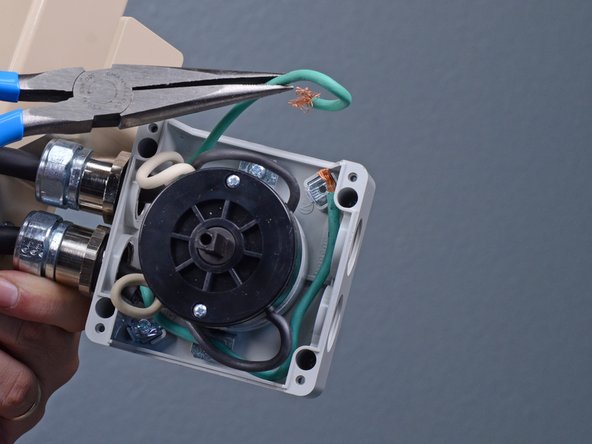
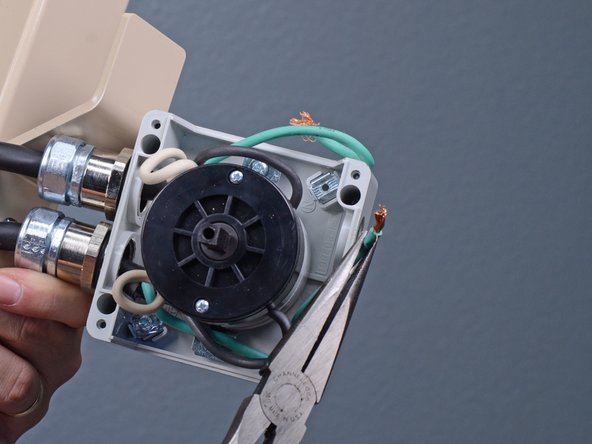
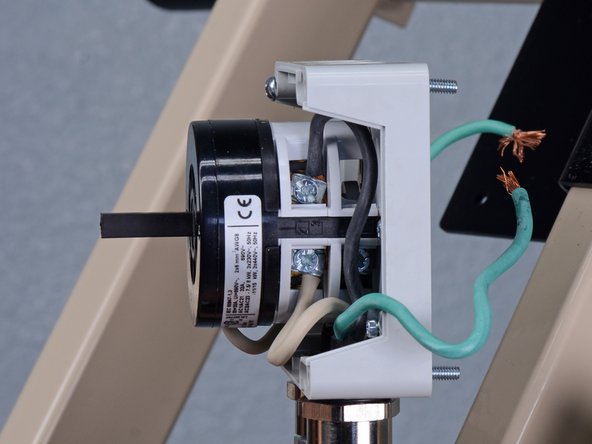
  15. Power Cord Removal: шаг 15, изображение 1 из 3 Power Cord Removal: шаг 15, изображение 2 из 3 Power Cord Removal: шаг 15, изображение 3 из 3
    • Separate the green wires from each other and move them away from the switch housing.

  16. Power Cord Removal: шаг 16, изображение 1 из 2 Power Cord Removal: шаг 16, изображение 2 из 2
    • Use a flathead screwdriver to loosen the two screws securing the black and white wires running from the power cord to the switch.

    • During reassembly, ensure each wire in installed in its correct location on the switch.

  17. Power Cord Removal: шаг 17, изображение 1 из 3 Power Cord Removal: шаг 17, изображение 2 из 3 Power Cord Removal: шаг 17, изображение 3 из 3
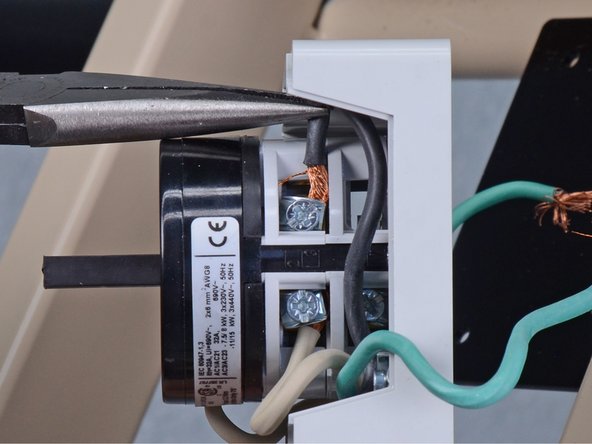
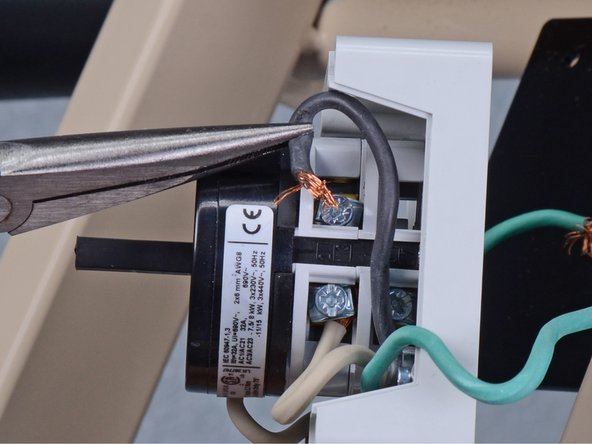
    • Remove the black wire from the switch.

  18. Power Cord Removal: шаг 18, изображение 1 из 3 Power Cord Removal: шаг 18, изображение 2 из 3 Power Cord Removal: шаг 18, изображение 3 из 3
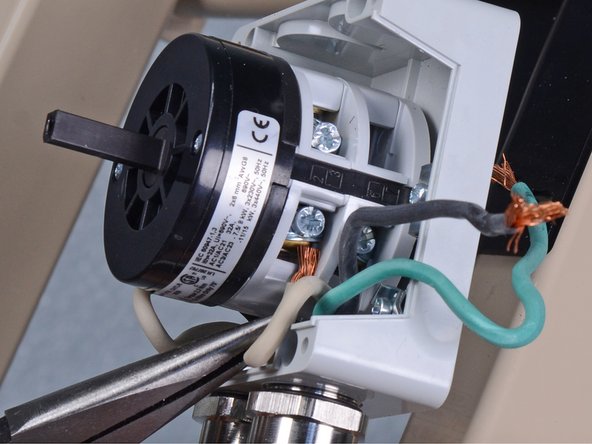
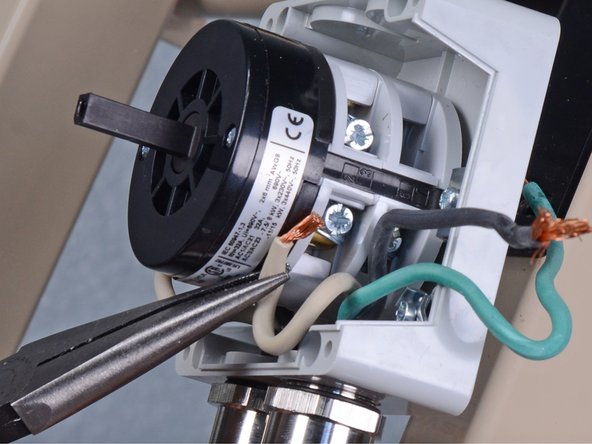
    • Remove the white wire from the switch.

  19. Power Cord Removal: шаг 19, изображение 1 из 3 Power Cord Removal: шаг 19, изображение 2 из 3 Power Cord Removal: шаг 19, изображение 3 из 3
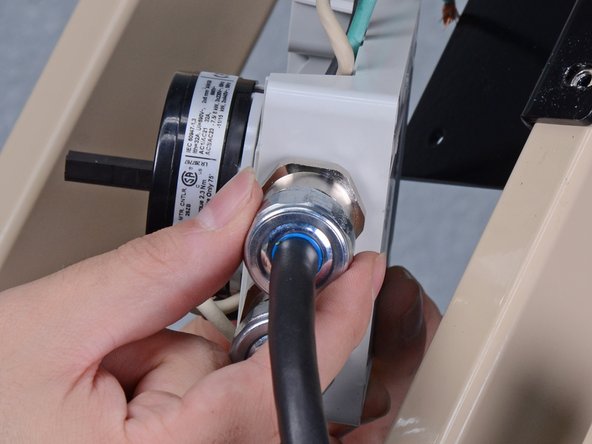
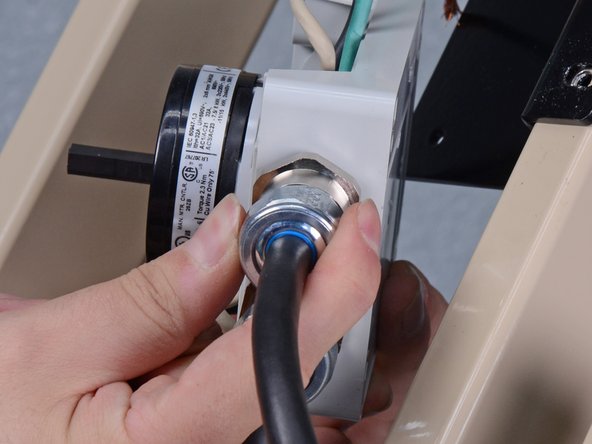
    • Use a 1-1/16 inch wrench or an adjustable wrench to loosen the power cord's strain relief fitting from the switch housing.

    • Once the fitting is loose enough to turn by hand, twist the power cord and fitting counterclockwise until it is fully unthreaded from the switch housing.

  20. Power Cord Removal: шаг 20, изображение 1 из 3 Power Cord Removal: шаг 20, изображение 2 из 3 Power Cord Removal: шаг 20, изображение 3 из 3
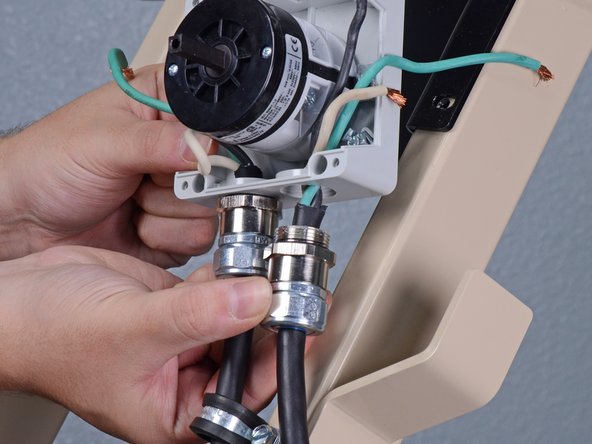
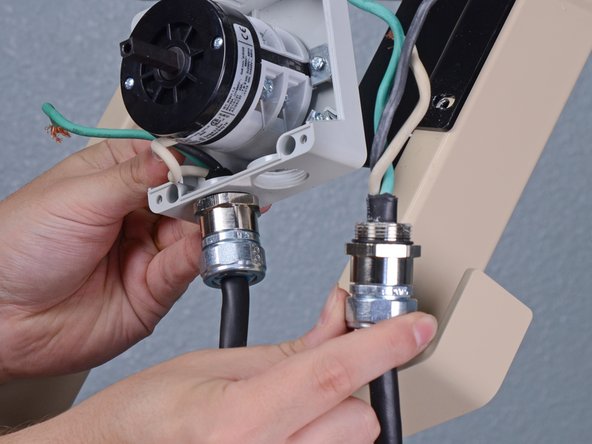
    • Remove the power cord from the switch.

Заключение

To reassemble your device, follow these instructions in reverse order.

Sam Omiotek

Участник с: 02/25/19

72 622 Репутация

Автор 288 руководств

0 Комментариев

Добавить комментарий

Просмотр статистики:

За последние 24часов: 0

За последние 7 дней: 0

За последние 30 дней: 0

За всё время: 32