Введение
The PowerA Enhanced Wired Controller for Nintendo Switch is a budget-friendly Switch and PC compatible controller with no rumble support but which comes in lots of designs.
Выберете то, что вам нужно
-
-
A cheaper alternative to the official Nintendo version, without a built-in battery and rumble motors it feels quite light
-
Start by flipping over the controller the controller to find eight #0 Phillips screws
-
-
-
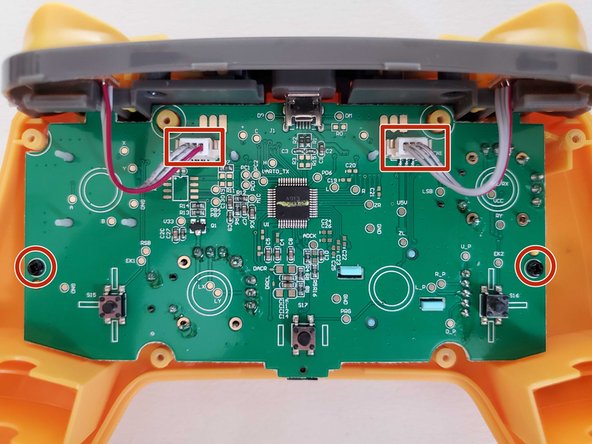
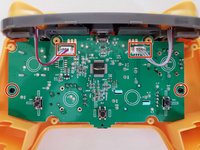
The front shell has mouldings for rumble motors but the motherboard does not have any apparent connections for them
-
Unplug the two shoulder button connectors
-
Remove the two screws that hold the motherboard in place
-
-
-
-
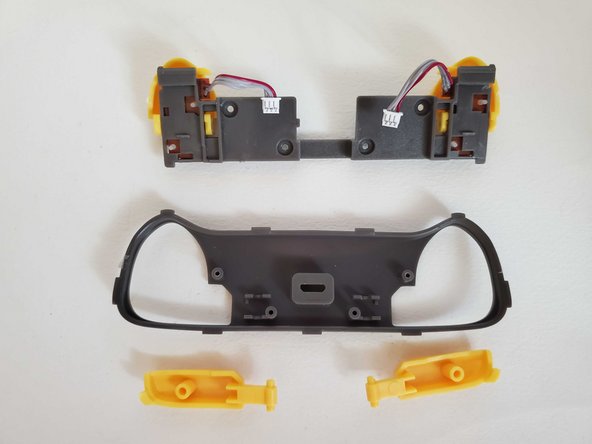
The front shell is pretty standard with removable buttons
-
The rear programmable buttons are moulded into the shell so are not replaceable
-
-
-
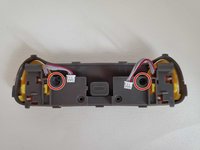
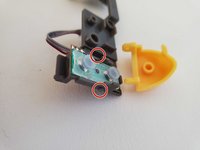
There are two more Phillips screws holding the button assembly together
-
Nothing holds the L and R bumpers but the ZL and ZR triggers are on a hinge
-
-
-
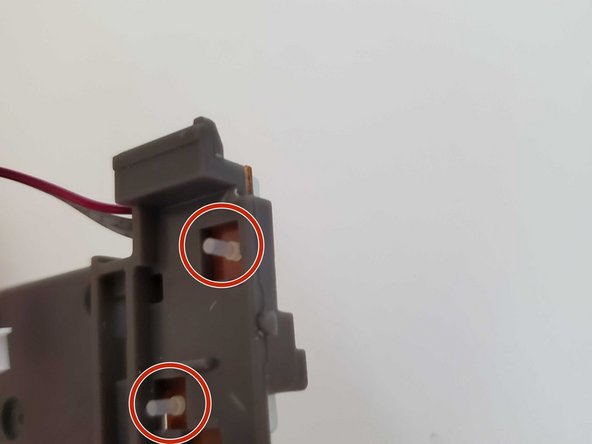
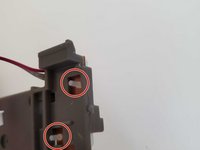
Small plastic posts hold the ZL and ZR triggers in place. Gently pry the triggers off the posts using a plastic pry tool or fingernails. These are easy to break so be gentle here. The elastomer underneath is held on by little posts that stick through the plastic. Removing them is easy but pushing them back in is a challenge
-
-
-
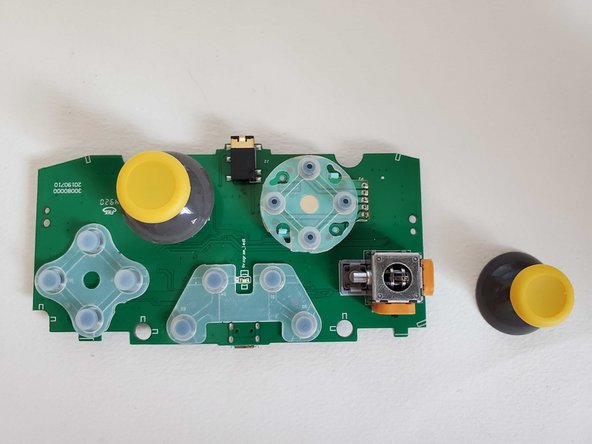
The elastomers are held in with little posts that go through the board. The sticks are soldered so are not easy to remove
-


To reassemble your device, follow these instructions in reverse order.
Отменить: Я не выполнил это руководство.
2 человек успешно провели ремонт по этому руководству.
2 Комментарии к руководству
My rubber pads have worn out. I've been looking for replacement pads, but no one seems to sell them.
You can probably order rubber pads for a ps4 controller and cut them to fit. Not ideal but they are easy to find online and relatively cheap