Введение
Buttons are a crucial part of any controller. However, after extended use, whether regular or light, the buttons will wear down. This guide will show you how to replace the buttons on your controller. Please note that this guide is for replacing the buttons, not the circuitry attached to them. If the buttons are acting strange, for instance reading a tap as a double tap, this guide may not help.
Выберете то, что вам нужно
-
-
Remove the (9) nine 9.2mm screws with a JIS #1 screwdriver.
-
Remove the two bottom plastic grip covers.
-
-
-
Remove the (2) two 9.2mm screws with a JIS #1 screwdriver.
-
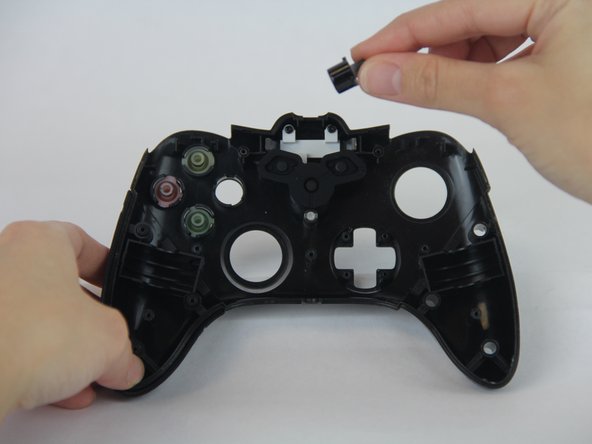
Remove the back cover of the controller.
-
-
-
-
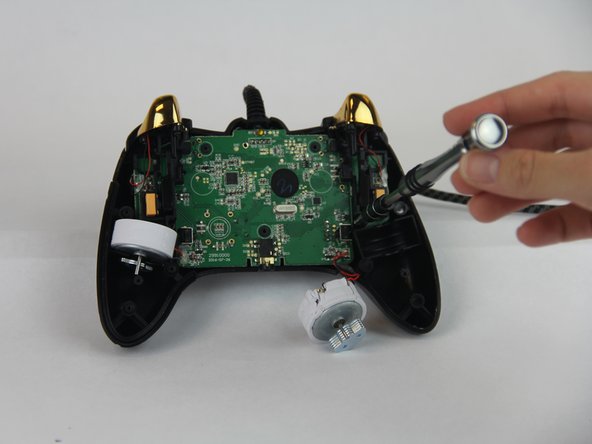
Remove the (5) five 9.2mm screws with a JIS #1 screwdriver.
-
Lift the motherboard and let it hang.
-
-
-
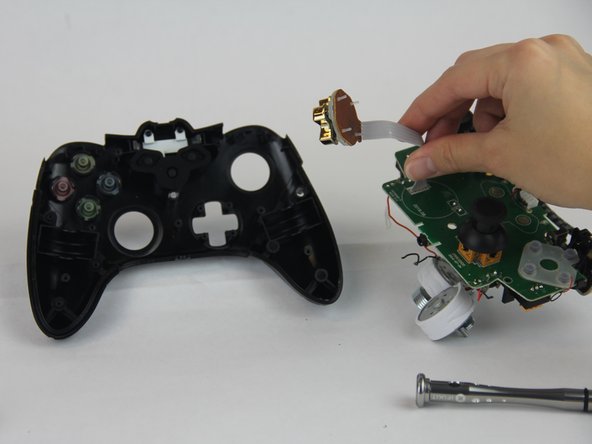
Remove the (4) four 9.2mm screws that are holding the motherboard to the controller.
-
Put the motherboard aside.
-


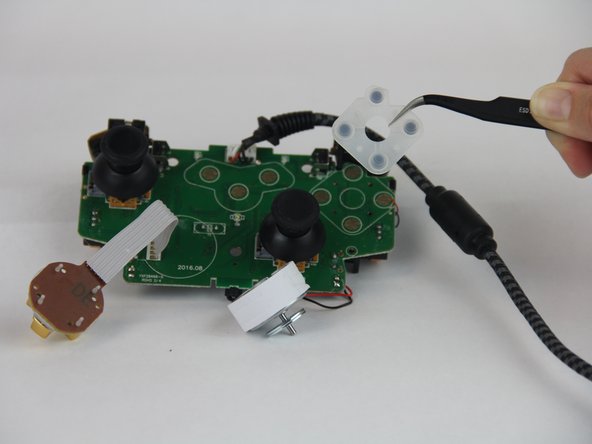
To reassemble your device, follow these instructions in reverse order.
To reassemble your device, follow these instructions in reverse order.
Отменить: Я не выполнил это руководство.
8 участников успешно повторили данное руководство.
Команда

USF Tampa, Team S14-G4, Boczar Fall 2017 Участник USF Tampa, Team S14-G4, Boczar Fall 2017
USFT-BOCZAR-F17S14G4
4 членов
Автор 5 руководств
2 Комментариев
Okay so what do you do if by any chance one of the links that are sawdered to the mother board for the D Pad Connection cable breaks… Then what? How would I go about fixing that????