Введение
Upgrade your RAM for an instant increase in speed.
Выберете то, что вам нужно
-
-
Use your thumbs to push the two battery retaining tabs away from the battery.
-
The battery should pop up enough to rotate it toward yourself and lift it out of the lower case.
-
-
-
Remove the three 2.3 mm Phillips screws securing the memory cover to the lower case.
-
-
-
-
Lift the memory cover slightly and pull it toward yourself to remove it from the lower case.
-
-
-
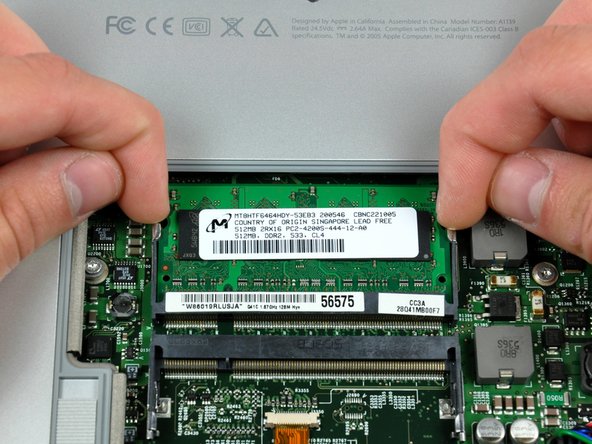
Use your fingertips to pull the two RAM arms away from the sides of the RAM chip. The chip should pop up slightly.
-
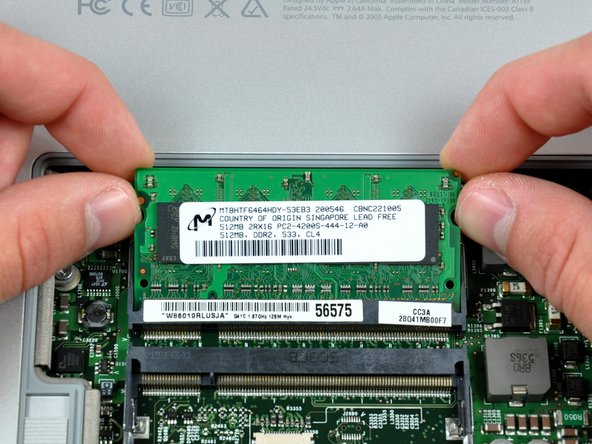
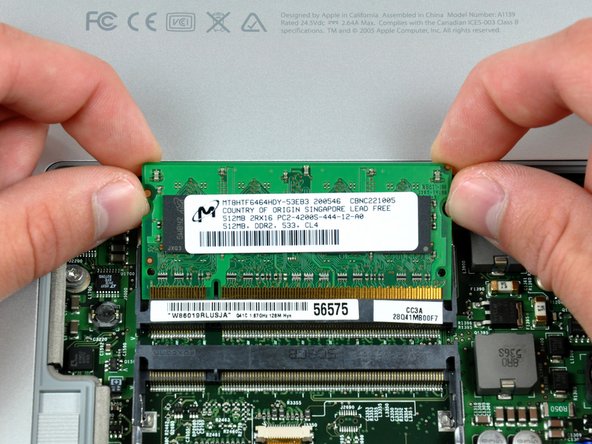
Pull the RAM chip away from its socket and remove it from the logic board.
-


To reassemble your device, follow these instructions in reverse order.
To reassemble your device, follow these instructions in reverse order.
Отменить: Я не выполнил это руководство.
24 участников успешно повторили данное руководство.
Прикрепленные документы

Один комментарий
What is the maximum ram that I can bump up this system to?