Введение
Is your Dell Latitude 5520 or 5530 runs slowly, or limited by the RAM? No worry! With this 5 to 10 minutes tutorial, you will be able to update the RAM !
Выберете то, что вам нужно
-
-
Take your RAM kit, an iFixit Mediator and a Phillips Screwdriver (if you have an iFixit Kit, you can go for the J1 bit on the Manta Toolkit ot the "1" on the Protech Toolkit)
-
-
-
Unplug your computer from the charger, flip it on the back of the screen, remove the 9 captive screw (they will not fall from the bottom case) and use after the Mediator on all the side of the laptop to pop the bottom case off.
-
-
-
-
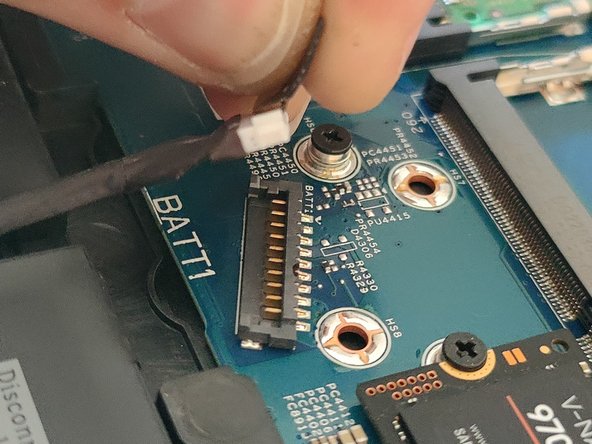
Locate the Battery connector, it is mandatory to remove all power from the computer before working on the Hardware.
-
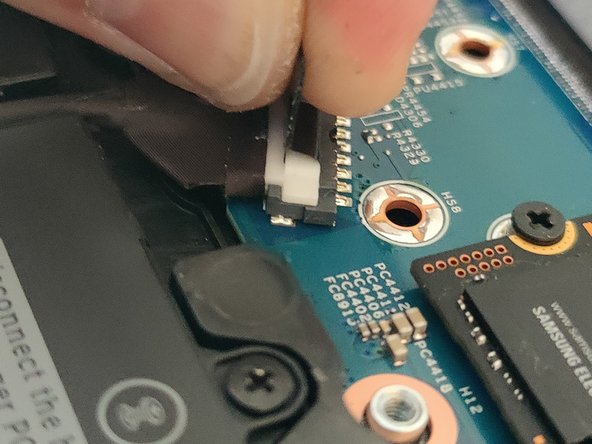
Unplug the battery by pulling on the black tab on the white connector. It doesn't require a lot of force.
-
-
-
To remove the RAM, you will need to pull the metal bracket on both side of the RAM to free it and you can now remove it.
-
You can now plug the new sticks of RAM. To do it, you need to ensure that they are in their right spot.
-
-
-
You can now replug the battery and put back the bottom cover and the 9 screws
-
-
-
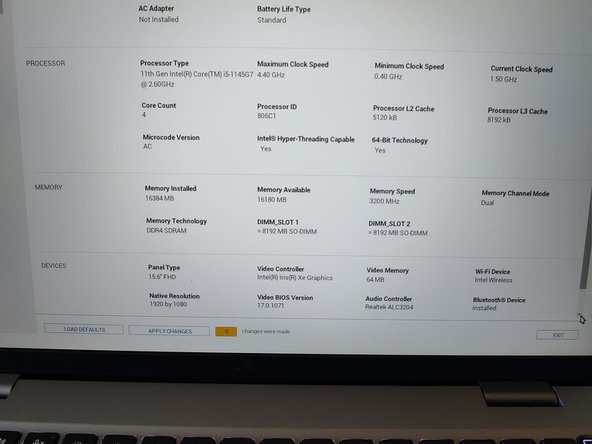
At the first restart (after 2 or 3 attempt), you will have and error message, saying that the amount memory have changed. You can either check it by the BIOS by clicking on "Go to BIOS" or clicking "Continue" to go to your operating System.
-
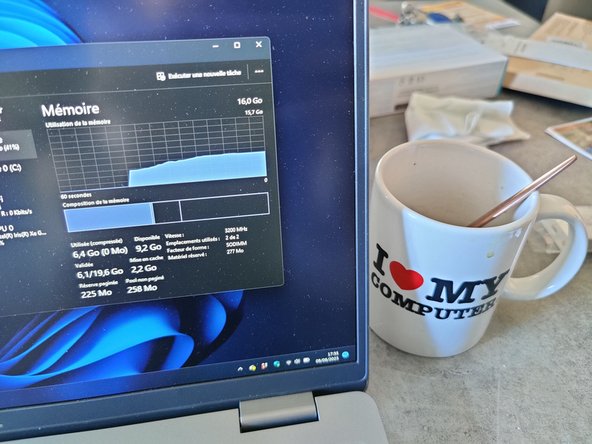
And it's over :)
And it's over :)
Отменить: Я не выполнил это руководство.
2 участников успешно повторили данное руководство.
Особая благодарность этим переводчикам:
100%
INFOREAпомогает нам починить мир! Хотите внести свой вклад?
Начните переводить ›


