Введение
This guide will help you replace a faulty motherboard. To complete the repair, you will need to be able to solder intricate connections and keep track of many different plugs that will be disconnected during the removal process.
Выберете то, что вам нужно
-
-
Remove the six 7.9mm Phillips #0 screws on the back and bottom.
-
Remove the one 3.8mm Phillips #0 screw on the bottom.
-
Remove the two 7.5mm Phillips #0 screws on the back and bottom.
-
-
-
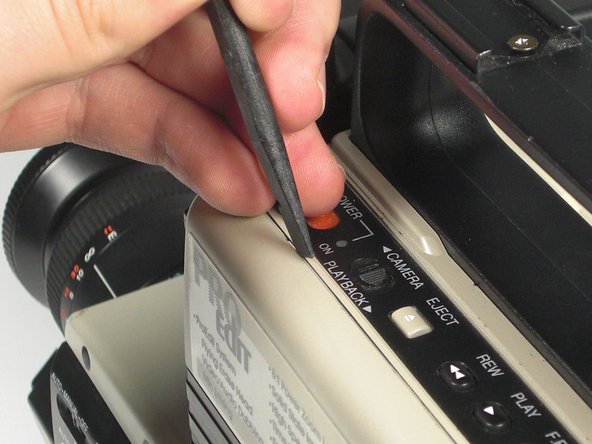
Remove 5.8mm Phillips #1 screw from the side button panel.
-
Slide the viewfinder all the way to the right and remove the 7.9mm Phillips #0 screw.
-
-
-
-
Pull the left panel away from the rest of the camcorder.
-
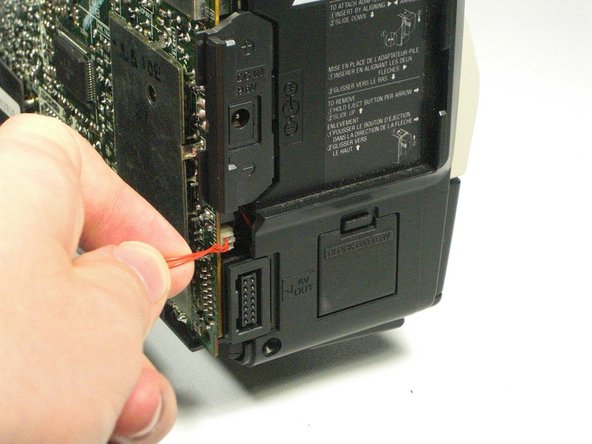
Unplug the red speaker cable located at the rear of the device.
-
-
-
Pull back the plastic tabs along the edges of the motherboard.
-
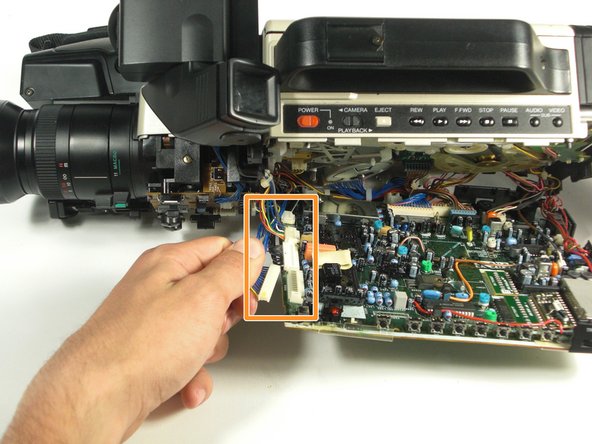
Disconnect all the cables along the left side of the motherboard.
-
-
-
Disconnect all cables along the bottom of the motherboard.
-
Pull the motherboard away from the camcorder.
-
-
-
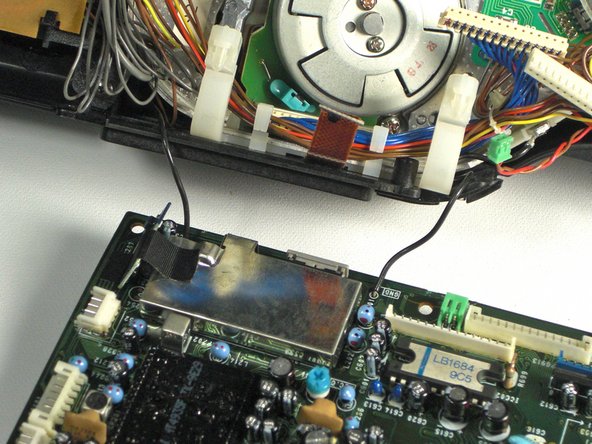
Desolder the two black wires holding the motherboard to the camcorder using a soldering iron.
-


To reassemble your device, follow these instructions in reverse order.
To reassemble your device, follow these instructions in reverse order.
Отменить: Я не выполнил это руководство.
Еще один человек закончил это руководство.
Команда

Cal Poly, Team 5-20, Amido Winter 2011 Участник Cal Poly, Team 5-20, Amido Winter 2011
CPSU-AMIDO-W11S5G20
4 членов
Автор 7 руководств