Перейти к основному содержанию
Присоединяйся к сообществу ремонтников - Создай аккаунт

Razer Blade RZ09-0102 Motherboard Replacement

Просмотров: 6,4 тыс.

Просмотр статистики:

За последние 24 часа:
2
За последние 7 дней:
10
За последние 30 дней:
70
За все время:
6 360
Комментарии: 5

3 комментариев к шагам, 2 комментариев к инструкции.

Перейти к комментариям инструкции
Завершено: 5

5 пользователей отметили эту инстркукцию как "завершенное". Вы будете следующим?

Избранные: 0

Никто не добавил эту инструкцию в избранное (и не подписался на нее). Будете ли Вы первым?

Необходимое время: 50 минут
Сложность: Умеренно
Razer Blade RZ09-0102 Motherboard Replacement

Replacing the motherboard should be a last resort in the troubleshooting process so if you are not entirely sure it needs to be replaced double check before following this guide. Laptop motherboards are more integrated than as many separate components in a full size CPU are built into these motherboards. A motherboard may need to be removed if it is faulty and needs to be replaced or just to be upgraded. For this device the motherboard is required to be removed to access the underside of the keyboard.

Выберете то, что Вам нужно

Инструменты

    1. Razer Blade RZ09-0102 Motherboard Replacement, Rear Panel: шаг 1, изображение 1 из 1
      • Before you begin, be sure to turn off your laptop.

      • Using a Torx T5 screwdriver, remove the ten 1/8 inch screws securing the back cover.

      • Remove the back cover.

      Спросите у FixBot

      Добавить комментарий

    1. Razer Blade RZ09-0102 Motherboard Replacement, Battery: шаг 2, изображение 1 из 2 Razer Blade RZ09-0102 Motherboard Replacement, Battery: шаг 2, изображение 2 из 2
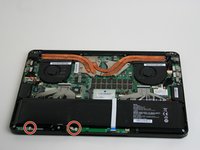
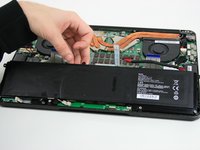
      • Remove the seven screws holding the battery in place using a Phillips #0 screwdriver.

      Спросите у FixBot

      Добавить комментарий

    2. Razer Blade RZ09-0102 Motherboard Replacement: шаг 3, изображение 1 из 1
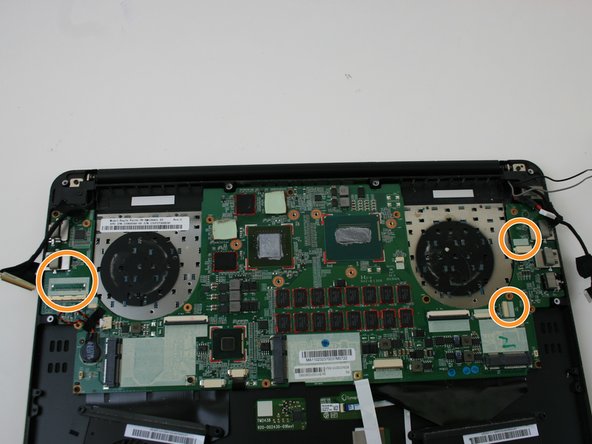
      • Unlock the ZIF connectors securing the right ribbon cable.

      • To unlock a ZIF connector, use an opening tool or your fingernail to flip up the small, hinged locking flap.

      • Carefully pull the two ribbon cables out of their sockets.

      Спросите у FixBot

      Добавить комментарий

    3. Razer Blade RZ09-0102 Motherboard Replacement: шаг 4, изображение 1 из 1
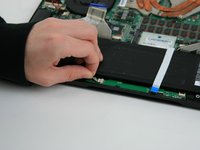
      • Use an opening tool to unlock the ZIF connector securing the white ribbon over the battery.

      Спросите у FixBot

      Добавить комментарий

    4. Razer Blade RZ09-0102 Motherboard Replacement: шаг 5, изображение 1 из 2 Razer Blade RZ09-0102 Motherboard Replacement: шаг 5, изображение 2 из 2
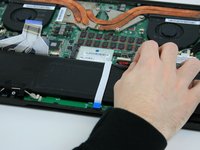
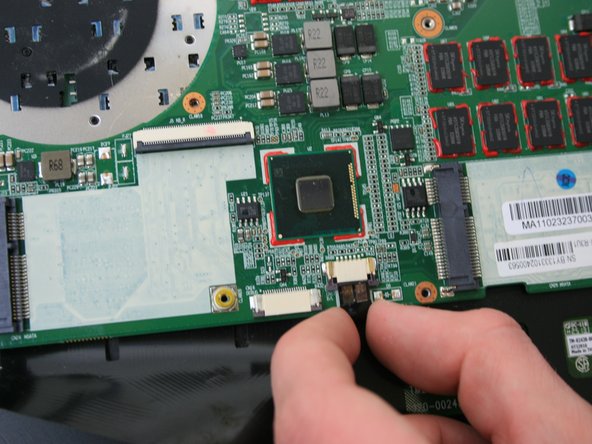
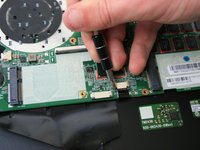
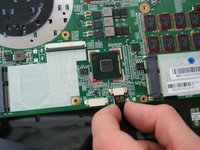
      • Carefully pull out the two connectors out of their sockets.

      • Pull parallel to the motherboard, not straight up.

      Спросите у FixBot

      Добавить комментарий

    5. Razer Blade RZ09-0102 Motherboard Replacement: шаг 6, изображение 1 из 2 Razer Blade RZ09-0102 Motherboard Replacement: шаг 6, изображение 2 из 2
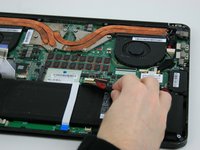
      • Pull the wide battery connector towards the battery to disconnect it from the motherboard.

      • Pull parallel to the motherboard, not straight up.

      Спросите у FixBot

      Добавить комментарий

    6. Razer Blade RZ09-0102 Motherboard Replacement: шаг 7, изображение 1 из 2 Razer Blade RZ09-0102 Motherboard Replacement: шаг 7, изображение 2 из 2
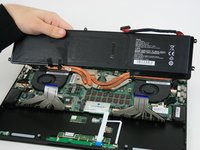
      • Remove the battery from the laptop.

      Спросите у FixBot

      Добавить комментарий

    1. Razer Blade RZ09-0102 Motherboard Replacement, Speakers: шаг 8, изображение 1 из 2 Razer Blade RZ09-0102 Motherboard Replacement, Speakers: шаг 8, изображение 2 из 2
      • Using a Phillips #0 screwdriver, remove the two screws holding down the speaker.

      Спросите у FixBot

      Добавить комментарий

    2. Razer Blade RZ09-0102 Motherboard Replacement: шаг 9, изображение 1 из 1
      • Disconnect the wire by pinching with your fingers and pulling up.

      Спросите у FixBot

      Добавить комментарий

    3. Razer Blade RZ09-0102 Motherboard Replacement: шаг 10, изображение 1 из 1
      • Remove the speaker.

      Спросите у FixBot

      Добавить комментарий

    1. Razer Blade RZ09-0102 Motherboard Replacement, Fan: шаг 11, изображение 1 из 1
      • Remove the three black rubber pads that cover the screws holding the fan.

      Спросите у FixBot

      Добавить комментарий

    2. Razer Blade RZ09-0102 Motherboard Replacement: шаг 12, изображение 1 из 1
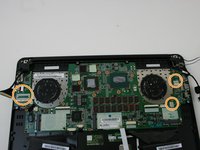
      • Use the Phillips #0 screwdriver to remove the three 1/4 inch screws.

      Спросите у FixBot

      Добавить комментарий

    3. Razer Blade RZ09-0102 Motherboard Replacement: шаг 13, изображение 1 из 1
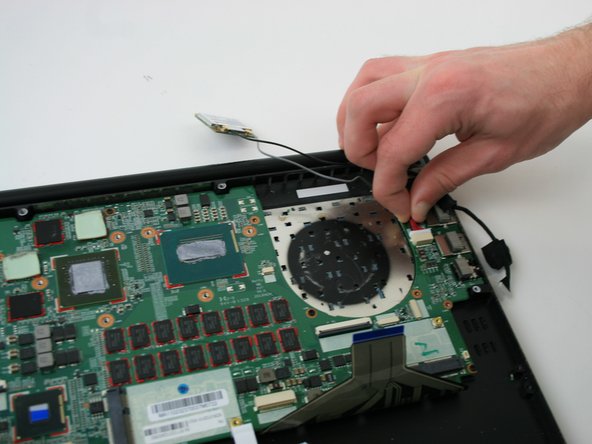
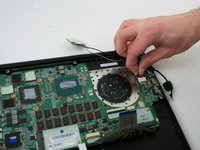
      • Disconnect the wire that goes from the fan into the white connector, but leave the wire attached to the fan.

      Спросите у FixBot

      Добавить комментарий

    4. Razer Blade RZ09-0102 Motherboard Replacement: шаг 14, изображение 1 из 2 Razer Blade RZ09-0102 Motherboard Replacement: шаг 14, изображение 2 из 2
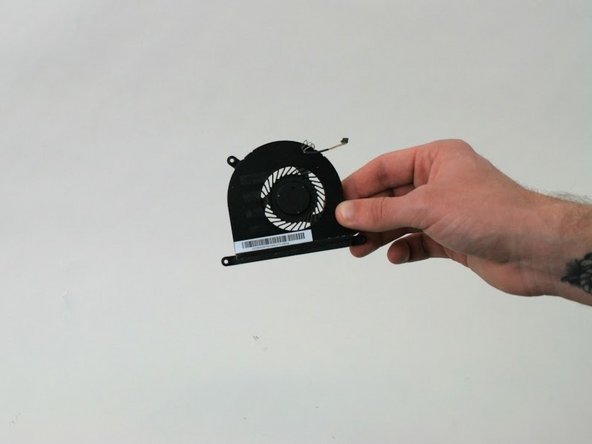
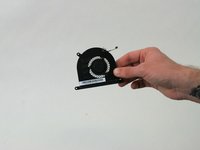
      • Lift the fan out with your hands.

      Спросите у FixBot

      Добавить комментарий

    1. Razer Blade RZ09-0102 Motherboard Replacement, Motherboard: шаг 15, изображение 1 из 1
      • On the left and right sides of the motherboard, remove the black tape holding down the wires.

      Спросите у FixBot

      Добавить комментарий

    2. Razer Blade RZ09-0102 Motherboard Replacement: шаг 16, изображение 1 из 1
      • Using a Phillips #0 screwdriver, remove the single 4.5mm long screw holding down the network card.

      Спросите у FixBot

      Добавить комментарий

    3. Razer Blade RZ09-0102 Motherboard Replacement: шаг 17, изображение 1 из 1
      • Pull out the network card from its connector on the motherboard.

      Спросите у FixBot

      Добавить комментарий

    4. Razer Blade RZ09-0102 Motherboard Replacement: шаг 18, изображение 1 из 3 Razer Blade RZ09-0102 Motherboard Replacement: шаг 18, изображение 2 из 3 Razer Blade RZ09-0102 Motherboard Replacement: шаг 18, изображение 3 из 3
      • Disconnect the 2 wires on right side and the 1 wire on the left that holds the motherboard down. To remove the two right wires pull them straight out of their connectors. To remove the left wire pull up on the metal clamp and pull the wire straight out.

      Спросите у FixBot

      Добавить комментарий

    5. Razer Blade RZ09-0102 Motherboard Replacement: шаг 19, изображение 1 из 2 Razer Blade RZ09-0102 Motherboard Replacement: шаг 19, изображение 2 из 2
      • Remove the wire located close to left hand side black ribbon cable. Pull down on both sides of the connector to remove.

      Спросите у FixBot

      Добавить комментарий

    6. Razer Blade RZ09-0102 Motherboard Replacement: шаг 20, изображение 1 из 1
      • Using a Phillips #0 screwdriver, remove the nine 5 mm screws holding down the motherboard to the laptop case.

      Спросите у FixBot

      Добавить комментарий

    7. Razer Blade RZ09-0102 Motherboard Replacement: шаг 21, изображение 1 из 1
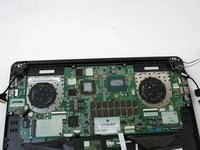
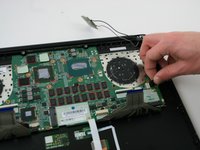
      • Lift the motherboard straight up out of case.

      Спросите у FixBot

      Добавить комментарий

Заключение

To reassemble your device, follow these instructions in reverse order.

Отменить: Я не выполнил это руководство.

5 человек успешно провели ремонт по этому руководству.

Автор

с

Evan Jepsen

Участник с: 10/04/18

309 Репутация

1 руководство автора

Команду

Linn Benton Community College, Team S2-G6, Karnes Fall 2018 Участник Linn Benton Community College, Team S2-G6, Karnes Fall 2018

LBCC-KARNES-F18S2G6

4 членов

Автор 84 руководств

2 Комментарии к руководству

I broke my white ribbon, where do I get a replacement? Anyone please help! Thank you!!!

ksm270 - Ответить Поделиться
Where can I purchase the motherboard, I am trying to replace mine and cannot find the part anywhere other than eBay.

rmasesg - Ответить Поделиться
Добавить комментарий

Статистика просмотров:

За последние 24 часов: 2

За последние 7 дней: 10

За последние 30 дней: 70

За все время: 6,360