Эта версия возможно содержит некорректные исправления. Переключить на последнюю проверенную версию.
Выберете то, что вам нужно
-
Этот шаг не переведен. Помогите перевести
-
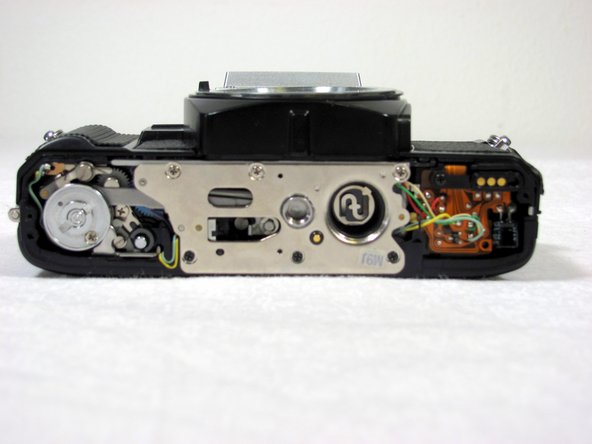
Flip the camera so that the bottom is facing you.
-
Take a spare coin and unscrew the battery cover off.
-
-
Этот шаг не переведен. Помогите перевести
-
Remove the batteries, making sure to note their proper alignment.
-
-
Этот шаг не переведен. Помогите перевести
-
Remove two 4.8mm screws.
-
Remove one 3.4mm screw.
-
Remove one 2.65mm screw.
-
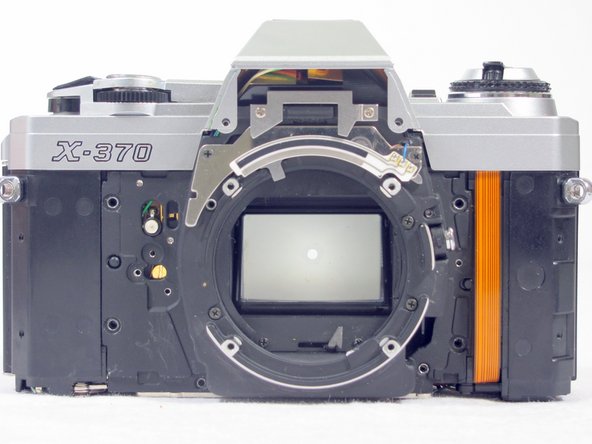
Lift off the back cover.
-
-
Этот шаг не переведен. Помогите перевести
-
Remove three 3.5mm screws.
-
Remove two 3.8mm screws.
-
Remove one 6.35mm screw.
-
Remove one 4mm screw. Lift off the disk.
-
Remove one 5.11mm screw.
-
-
-
Этот шаг не переведен. Помогите перевести
-
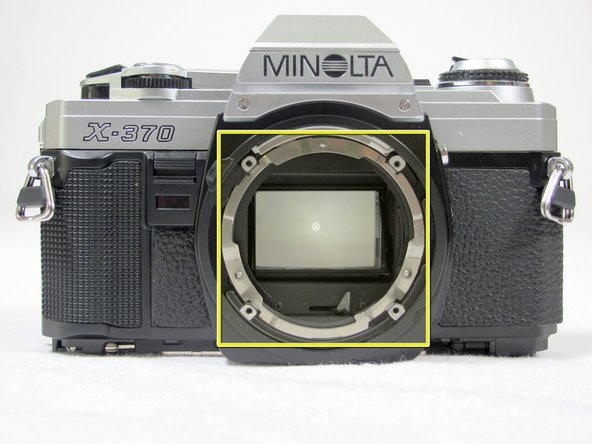
Remove four 4.45mm screws and remove the alignment ring.
-
Remove the interior metal ring and the black plastic ring. Pay attention to the spring's location.
-
-
Этот шаг не переведен. Помогите перевести
-
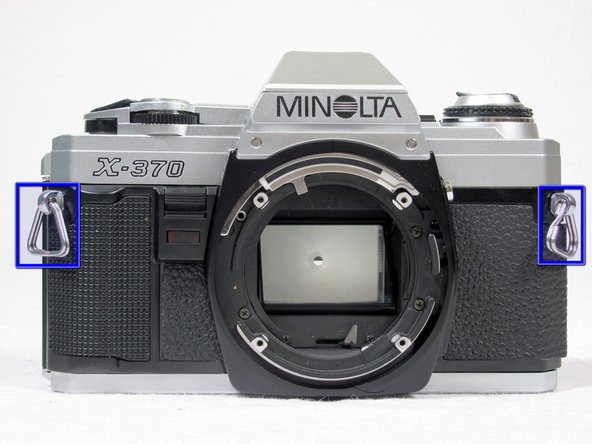
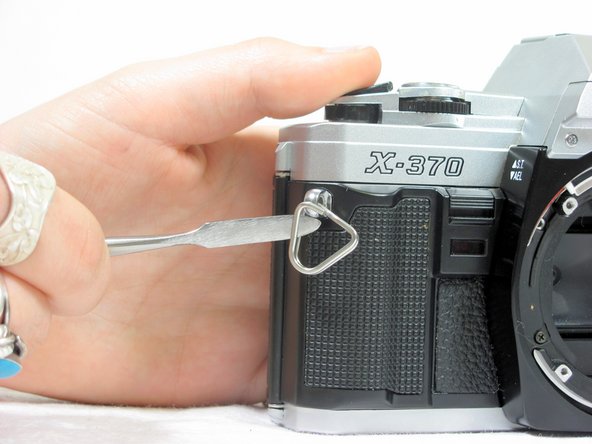
Remove the two black stoppers.
-
Using the metal spudger, remove the two triangular hangers.
-
-
Этот шаг не переведен. Помогите перевести
-
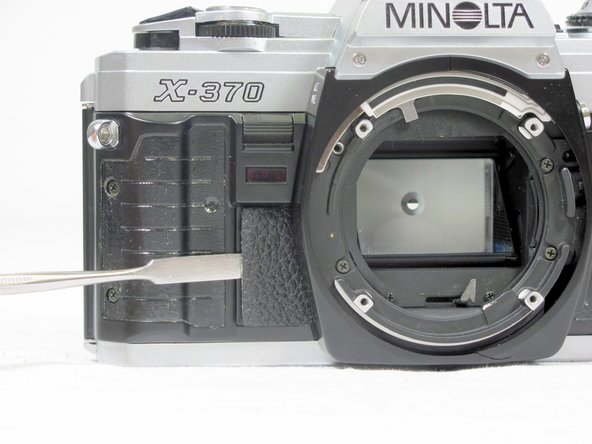
Using the metal spudger, peel off the right leather cover.
-
-
Этот шаг не переведен. Помогите перевести
-
Use the metal spudger to remove both the grip cover and the left leather cover.
-
-
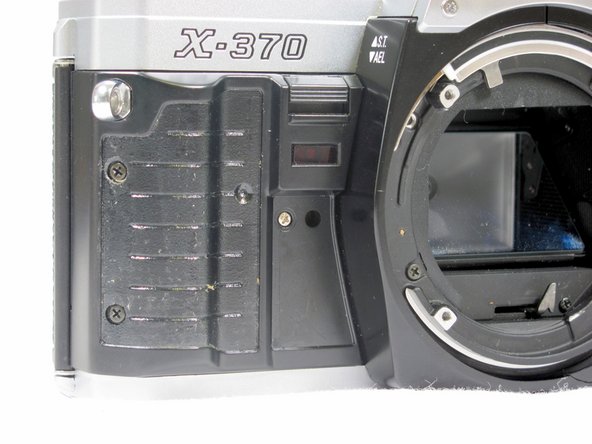
Этот шаг не переведен. Помогите перевести
-
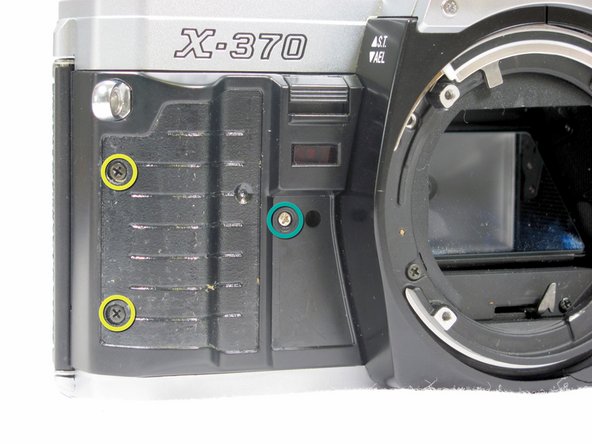
Remove two 5.3mm screws.
-
Remove two 5.3mm screws.
-
Remove one 2.35mm screws.
-
-
Этот шаг не переведен. Помогите перевести
-
Remove two 6.65mm screws.
-
Remove two 2.93mm screws.
-
Remove four 5.3mm screws.
-
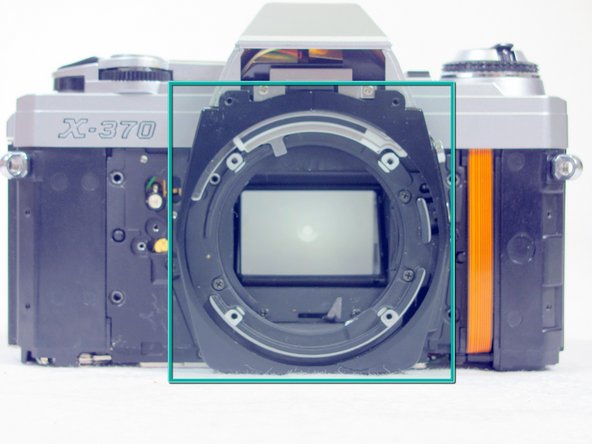
Remove the black plastic lens holder.
-


Отменить: Я не выполнил это руководство.
4 участников успешно повторили данное руководство.
Команда

Cal Poly, Team 8-7, Regan Spring 2011 Участник Cal Poly, Team 8-7, Regan Spring 2011
CPSU-REGAN-S11S8G7
4 членов
Автор 8 руководств
Один комментарий
I have Problems to assemble the new black plastic lens holder.
The space between camera Cup and the housing is very low.
Did someone have the same Problems ?