Выберете то, что вам нужно
-
-
All you need is in the Pro Tool Kit from iFixit.com
-
-
-
First you pop off the silver retainer around the whole gps system. The retainer is snapped on in various spots all around the retainer. Just work your way around till you pop all the snaps and it will come right off. Take not of the hole you see on the left part of the screen on the retainer to put back on the right way.
-
-
-
Now you need to take the 4 screws that are cicled in red out using a T5 Torx bit found in the pro tool kit.
-
-
-
-
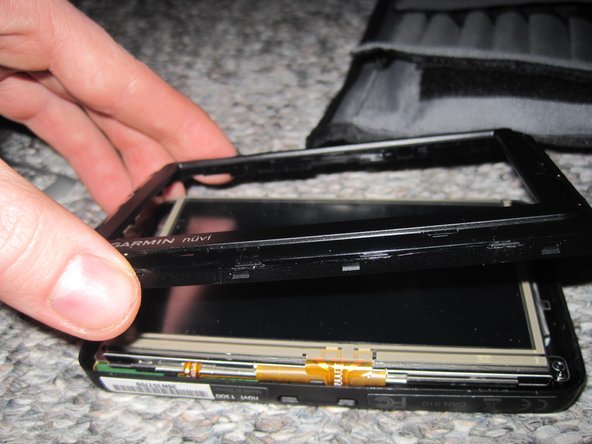
Now to pry screen retainer away from the back Plastic/Rubber side. To pry away take pry stick straight down between retainer and plastic/rubber back side and begin to pry up. If it doesn't come undone, pry in different spots little by little and it will come undone.
-
-
-
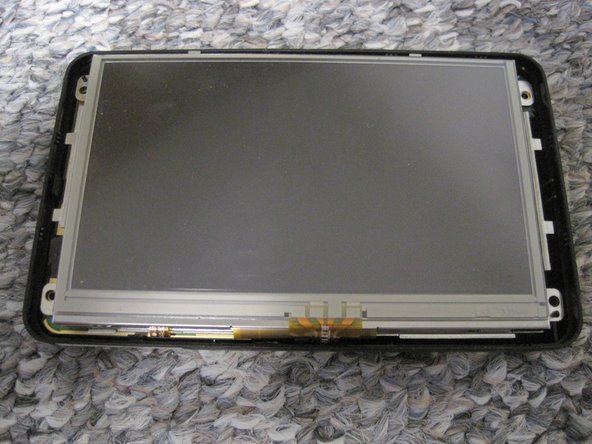
Lift LCD screen up taking care not to damage the ribbon cable connecting it to the circuit board underneath
-
-
-
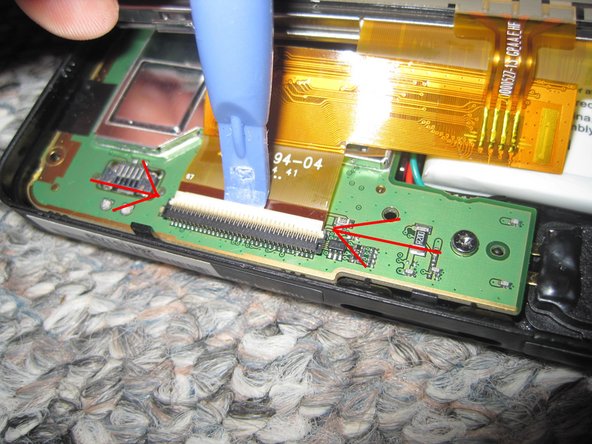
As you life the screen up off the circuit board there will be a ribbon cable attaching the screen to the board. Take a plastic tool on the top side of the white connector and pry up on it to disconnect the ribbon cable.
-
-
-
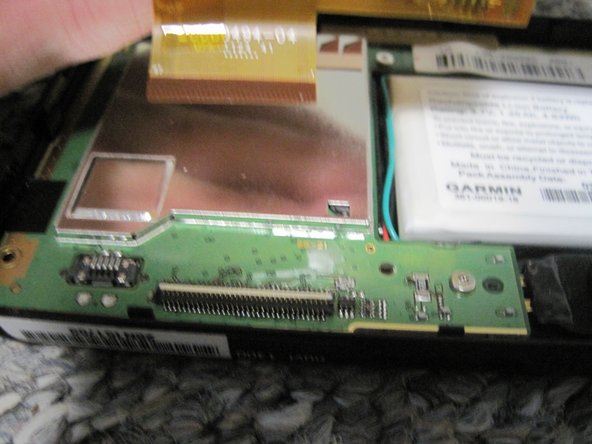
Take metal backing off of lcd screen.
-
There are 2 ribbon cables coming from the screen. The one on the left is for the screen and the one on the right is the digitizer.
-


To reassemble your device, follow these instructions in reverse order. When ordering a new screen make sure you get a lcd screen with digitizer. It will make it alot easeir down the road. I got on ebay and found a lcd screen with digitizer for $20.00 from a guy in china.
To reassemble your device, follow these instructions in reverse order. When ordering a new screen make sure you get a lcd screen with digitizer. It will make it alot easeir down the road. I got on ebay and found a lcd screen with digitizer for $20.00 from a guy in china.
Отменить: Я не выполнил это руководство.
6 участников успешно повторили данное руководство.
3 Комментариев
Nuvi 1300 requires a T5 - NOT, repeat NOT, a T6.
I followed the instruction and easily replaced scratced screen. Thanks a lot.
I actualy did.it before i